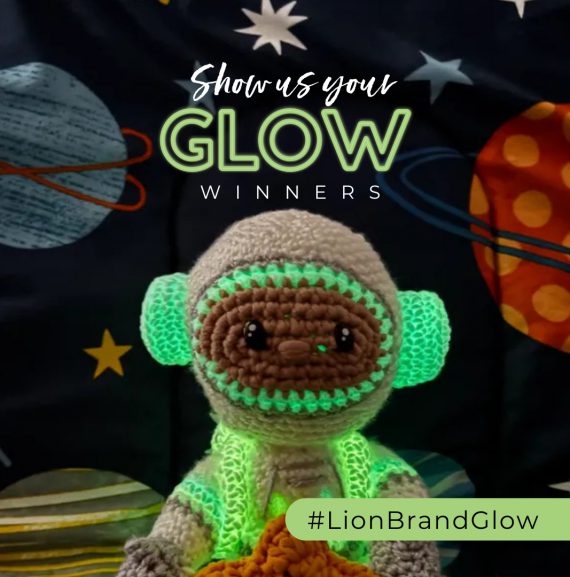
After a month filled with glowing creativity, we’re thrilled to announce the winners of the Show Us Your Glow Giveaway! With nearly 200 project entries from makers all over the world, this contest showcased the incredible ways DIY Glow™ Yarn can bring projects to life—day or night! From glowing accessories to illuminated amigurumi, your creativity truly…
Read More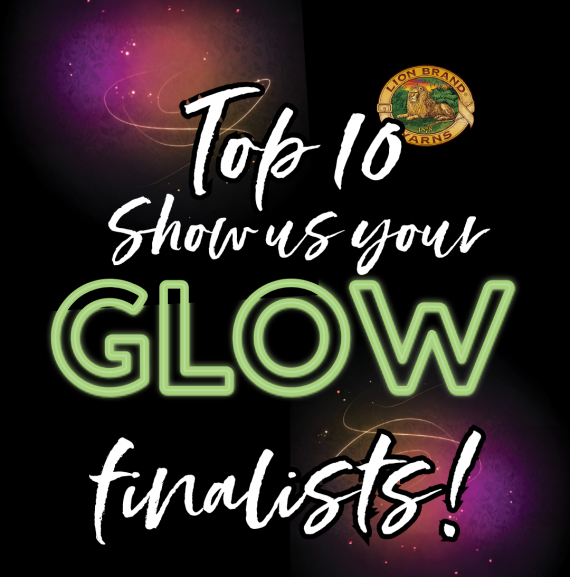
Your creativity, talent, and glow have been off the charts! When we launched the Show Us Your Glow contest, we knew our maker community would go above and beyond—but you’ve truly outdone yourselves. From stunning wearables to jaw-dropping home décor, the projects submitted have been nothing short of inspiring. Now, after weeks of glowing submissions,…
Read More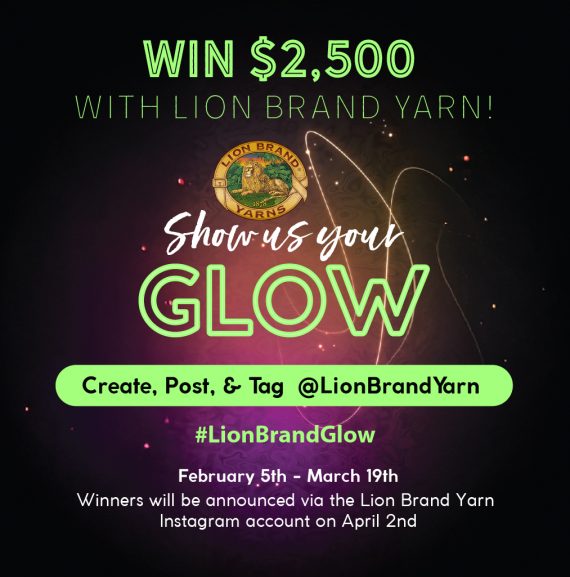
Your Creativity Can Win You $2,500! #LionBrandGlow It’s your time to shine and win BIG! Lion Brand is thrilled to announce the launch of our exciting new contest, Show Us Your Glow! This is your chance to craft with Lion Brand’s DIY Glow™ Yarn—a material that doesn’t just stand out, it lights up! It may…
Read MoreBe inspired; inspire others! Share your yarn creations on our community gallery with the hashtag #lionbrandyarn on Instagram, Twitter, or our website.