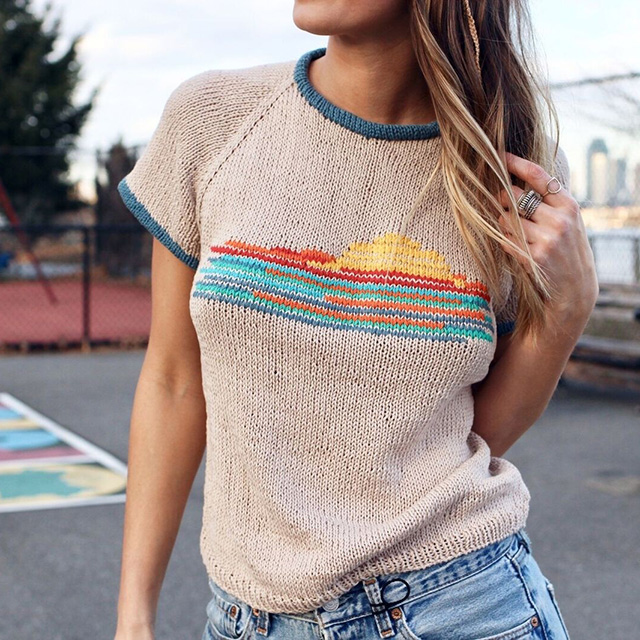
I’ve been knitting for around 15 years and can execute complex lace and design intricate cable patterns, but getting the correct amount of ease in my garments sometimes still eludes me. First, what is ease? There’s a lot more on this below, but basically it’s the amount of inches more or less than your actual…
Read More
Have you ever walked into a store and immediately fallen in love with something and thought to yourself, why should I spend money on this when I can make it? Well, that happened to me this past weekend and that’s what inspired this series! Home Goods will forever be my weakness, it’s like Target for…
Read More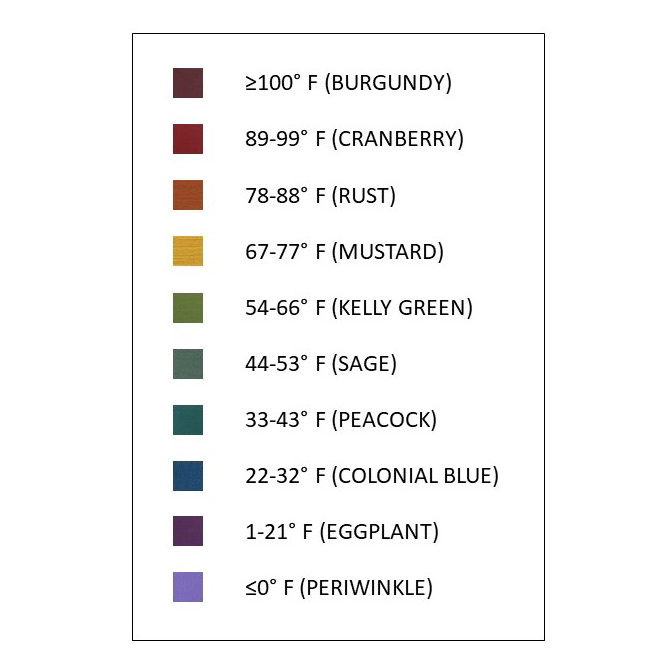
First, what is a Temperature Blanket? Over the last few years, temperature blankets have been taking the crafting world by storm (pun intended). And it’s easy to see why! They’re fun to make, can incorporate lots of colors, and have the potential to be a truly unique gift or heirloom piece. To make one, the…
Read More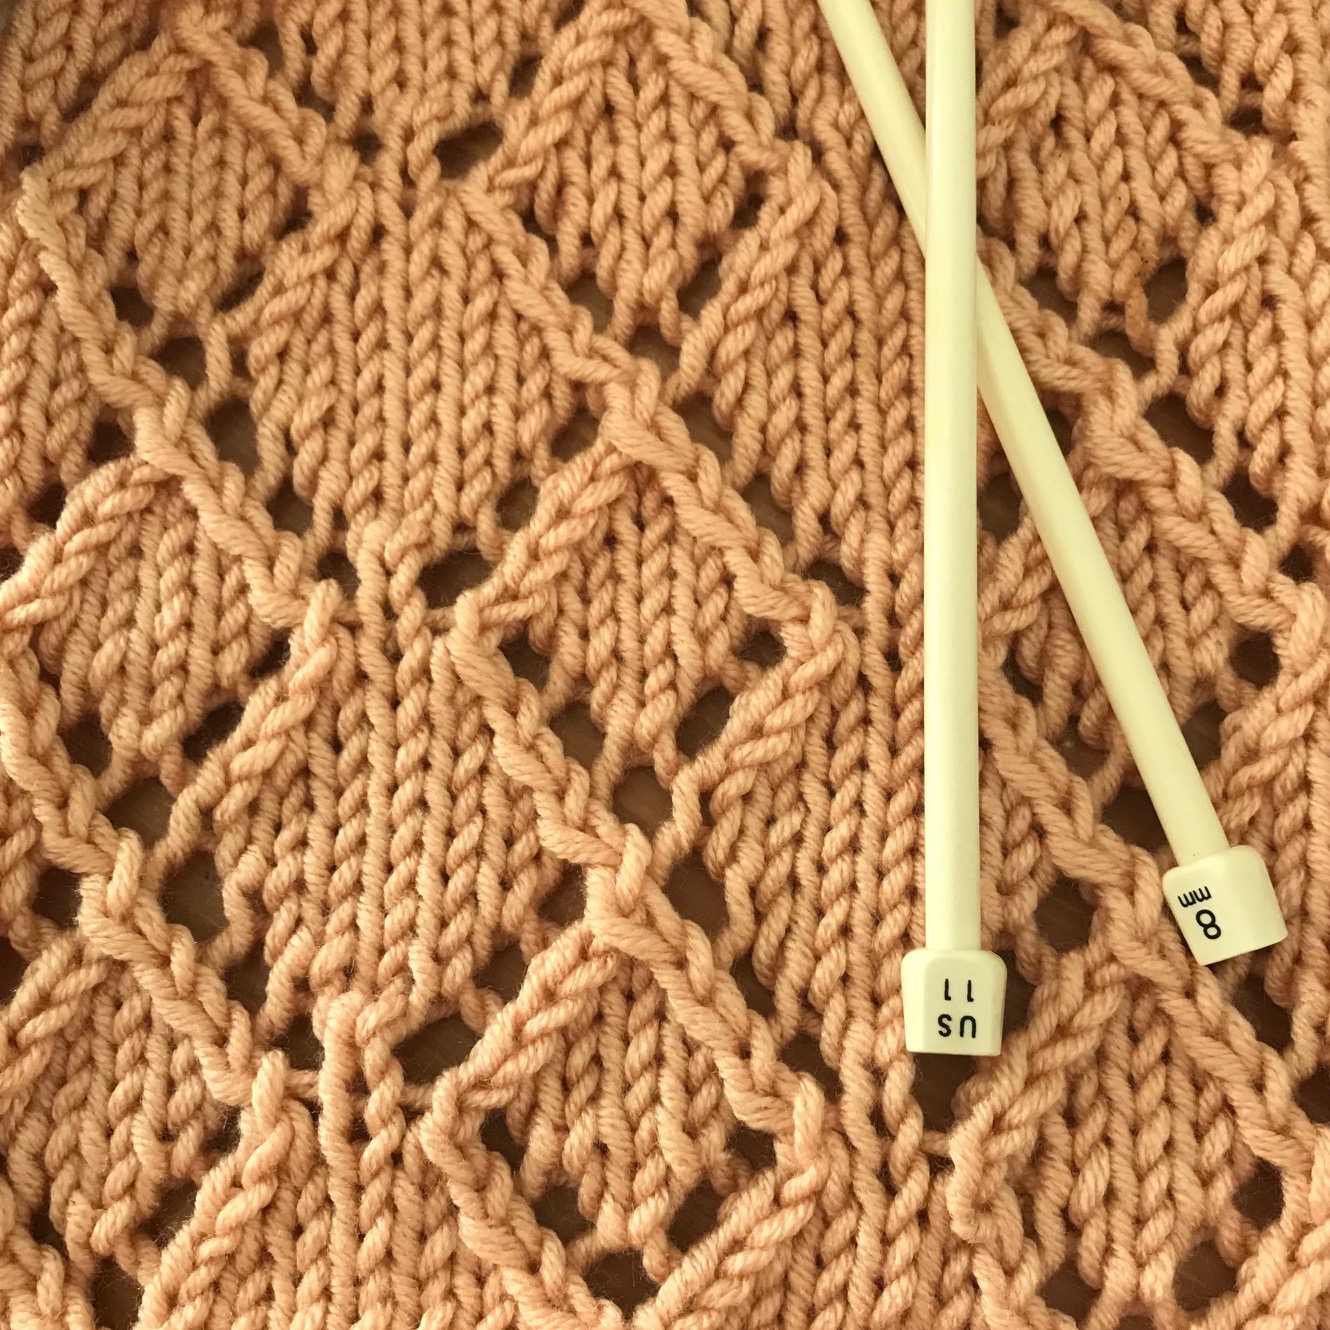
The Diamond lace stitch forms a lovely allover pattern, or work a single 8-st repeat as a focal panel surrounded by another stitch. Diamond lace is a lace stitch, but not true knitted lace, which has patterning on both sides of the fabric. For this stitch you will only be working patterning on the RS…
Read More
Yarns come in many different thicknesses, and these yarn weights go by many different names! Worsted, afghan, and aran weight yarns all fall under the same category, while fingering weight and sock weight yarns are one and the same. To help you keep track of what’s what, we’ve compiled a chart using the weight standards…
Read More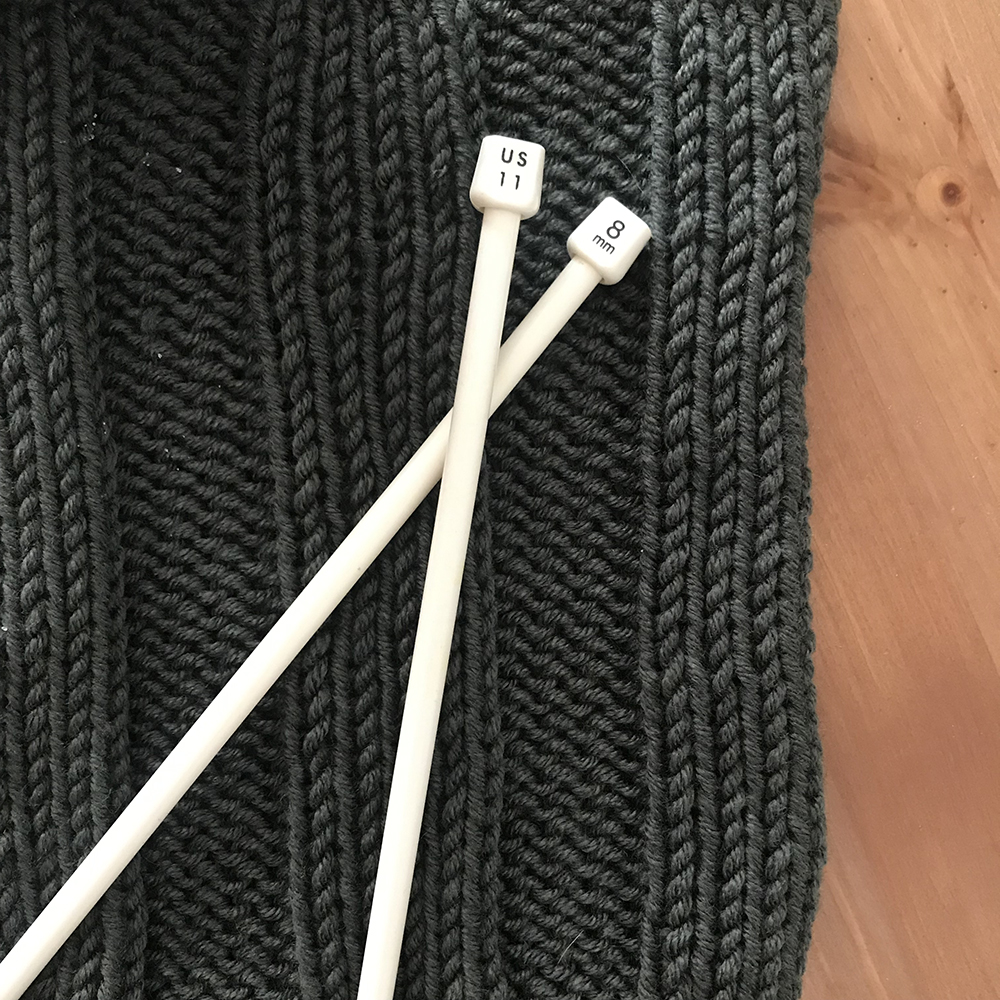
Ribbed stitches are extremely versatile and work in pretty much any yarn or project. You can create beautiful hats, scarves, cowls, blankets, and sweaters using a version of ribbing. Unlike a simple stockinette stitch (knit on the right side and purled on the wrong side), ribbing won’t curl in on itself as much. (The wider…
Read More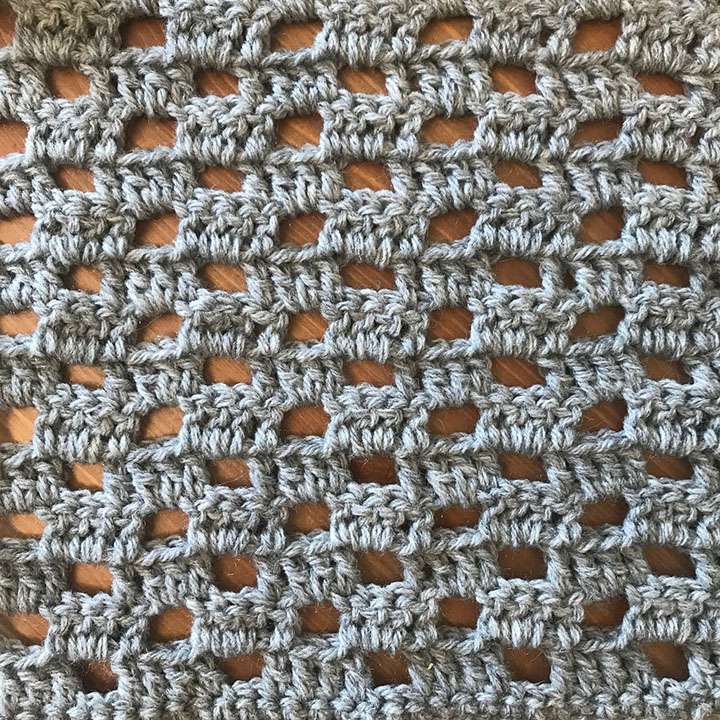
Materials Lion Brand Wool-Ease® in Grey Heather Size I (5.5mm) crochet hook (ch a multiple of 6 sts + 5) Set Up Row 1: Work 1 sc in 2nd ch from hook and in each ch across. Turn. Set Up Row 2: Ch 2 (counts as 1 dc throughout), skip first sc, 1 dc in next 3 sc,…
Read More
The Winter Lace stitch is an allover lace pattern. It is worked over a multiple of 12 stitches plus 1. This means to work it in large areas you would cast on multiples of 12 (12, 24, 36, etc.) plus one extra stitch. (So your cast on would be 13, 25, 37, etc.) You can…
Read More
One of our favorite (free!) resources for all things yarn is the website Ravelry. It’s an astounding collection of patterns (complete with reviews & tips), yarn information, and communities small and large to craft with. If you aren’t already taking advantage of this wonderful site, now’s the time! While the process is simple, it does…
Read More
If this is your first time venturing into the yarniverse, welcome! If you’re a knitting looking to cross-over to crochet, we’re happy to have you. We here at Lion Brand work hard to create accessible videos to help crafters pick up a new hobby, develop their skills, and try new things. With these 3 videos,…
Read More