Perhaps you’re new to the yarniverse (welcome!). Or maybe you’ve always crocheted, but are interested in picking up some needles. If you’re casting on for the first time, we’re so glad you chose to get started knitting with Lion Brand! With these 3 videos, you’ll be knitting in no time. Scroll down to learn a…
Read More
Hey there friend! I’m Ashleigh, the crochet designer behind the Sewrella blog & I’m so happy to see you here. I share a lot of information about blogging (including my very own income reports, gasp!) at www.Sewrella.com. I’ve learned a lot along the way and I’ll share a bit of that with you here in…
Read More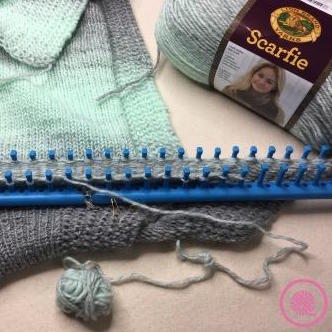
We’re thrilled to share: Kristen Mangus, of Goodknit Kisses, created a tutorial for loom knitters who love the Free Spirit Topper! You can find the knit pattern for this ruana-style wrap on our website, but you can visit Kristen’s blog to find the loom knit variation. Scarfie has a wonderful natural gradation to it, and…
Read More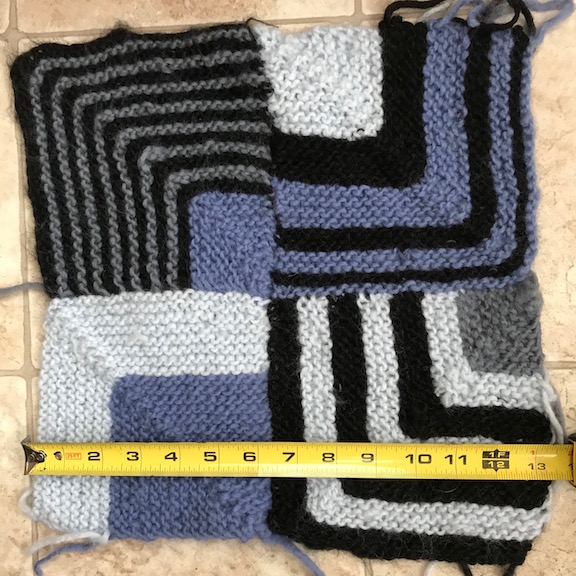
Mitered squares are knitted or crocheted modules that, like Log Cabin modules, are enlarged and attached to adjacent squares by picking up stitches and adding on. Mitering is a knitting (and sewing) technique that creates neat corners and hems of garments and table linens. A knitted mitered square, however, borrows mitering technique to create a…
Read More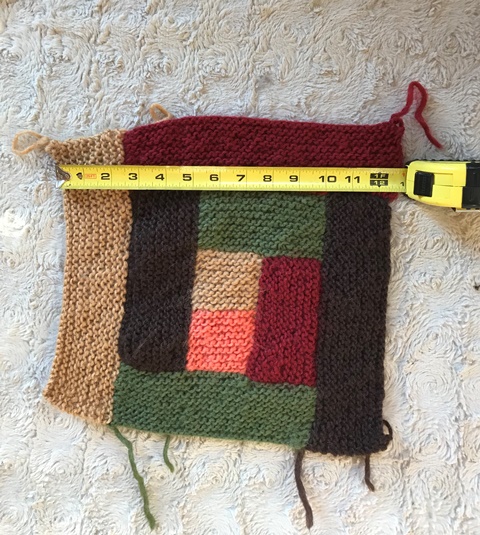
Modular knitting requires first, that you knit a shape—let’s say, a rectangle—and second, that you enlarge the shape. To enlarge, you pick up stitches along an edge, and knit out from them. You could accomplish this enlargement by knitting separate pieces and sewing them together like patchwork, but it’s easier, faster, and seamless when you…
Read More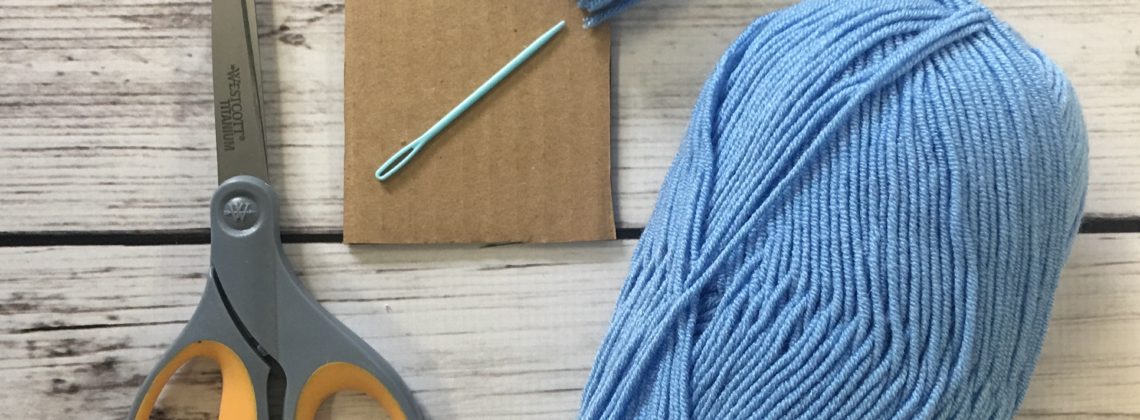
Tassels and pompoms are hot accents for Fall 2017. However, as a crafter you probably learned to appreciate the look of these extra add-ons to your projects before it became trendy to attach them to everything. Tassels are easy to make and are great for using leftover yarn. Materials Cardboard cut to desired dimensions (see…
Read MorePost by Gretchen, Lion Brand Yarn Studio Education Director This week in our Sock Along we were talking about gussets. A gusset is defined by Merriam-Webster as: 1. a usually diamond-shaped or triangular insert in a seam (as of a sleeve, pocketbook, or shoe upper) to provide expansion or reinforcement 2. a plate or bracket…
Read More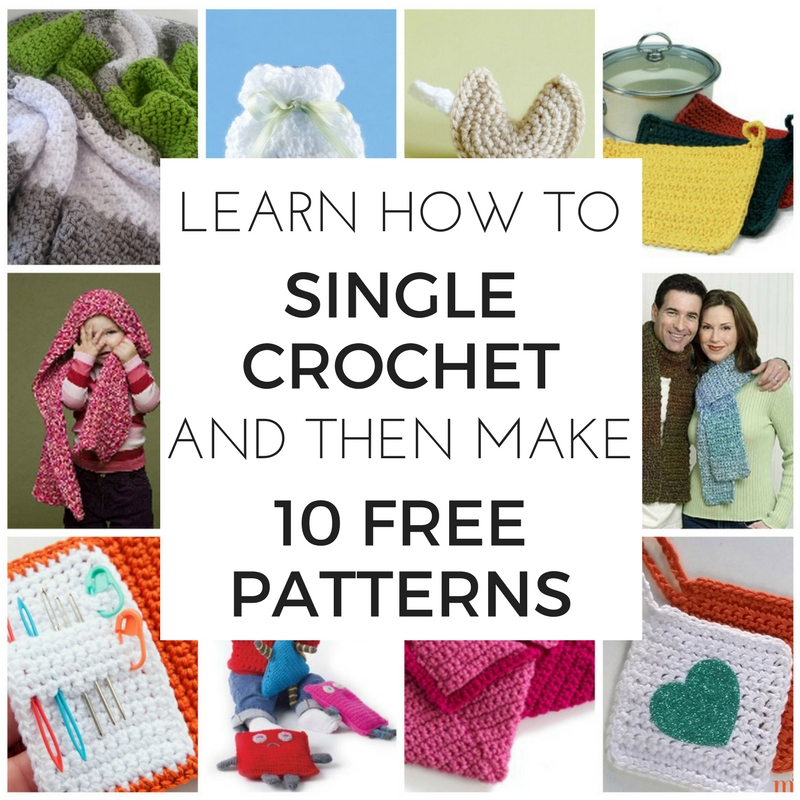
When you first learn to crochet, you have to start with the chain. But after that, the next step is usually the single crochet! It’s simple, it’s easy, and it’s where we all get our start. So here’s how to crochet the single crochet stitch… and a few free crochet patterns you can make to…
Read More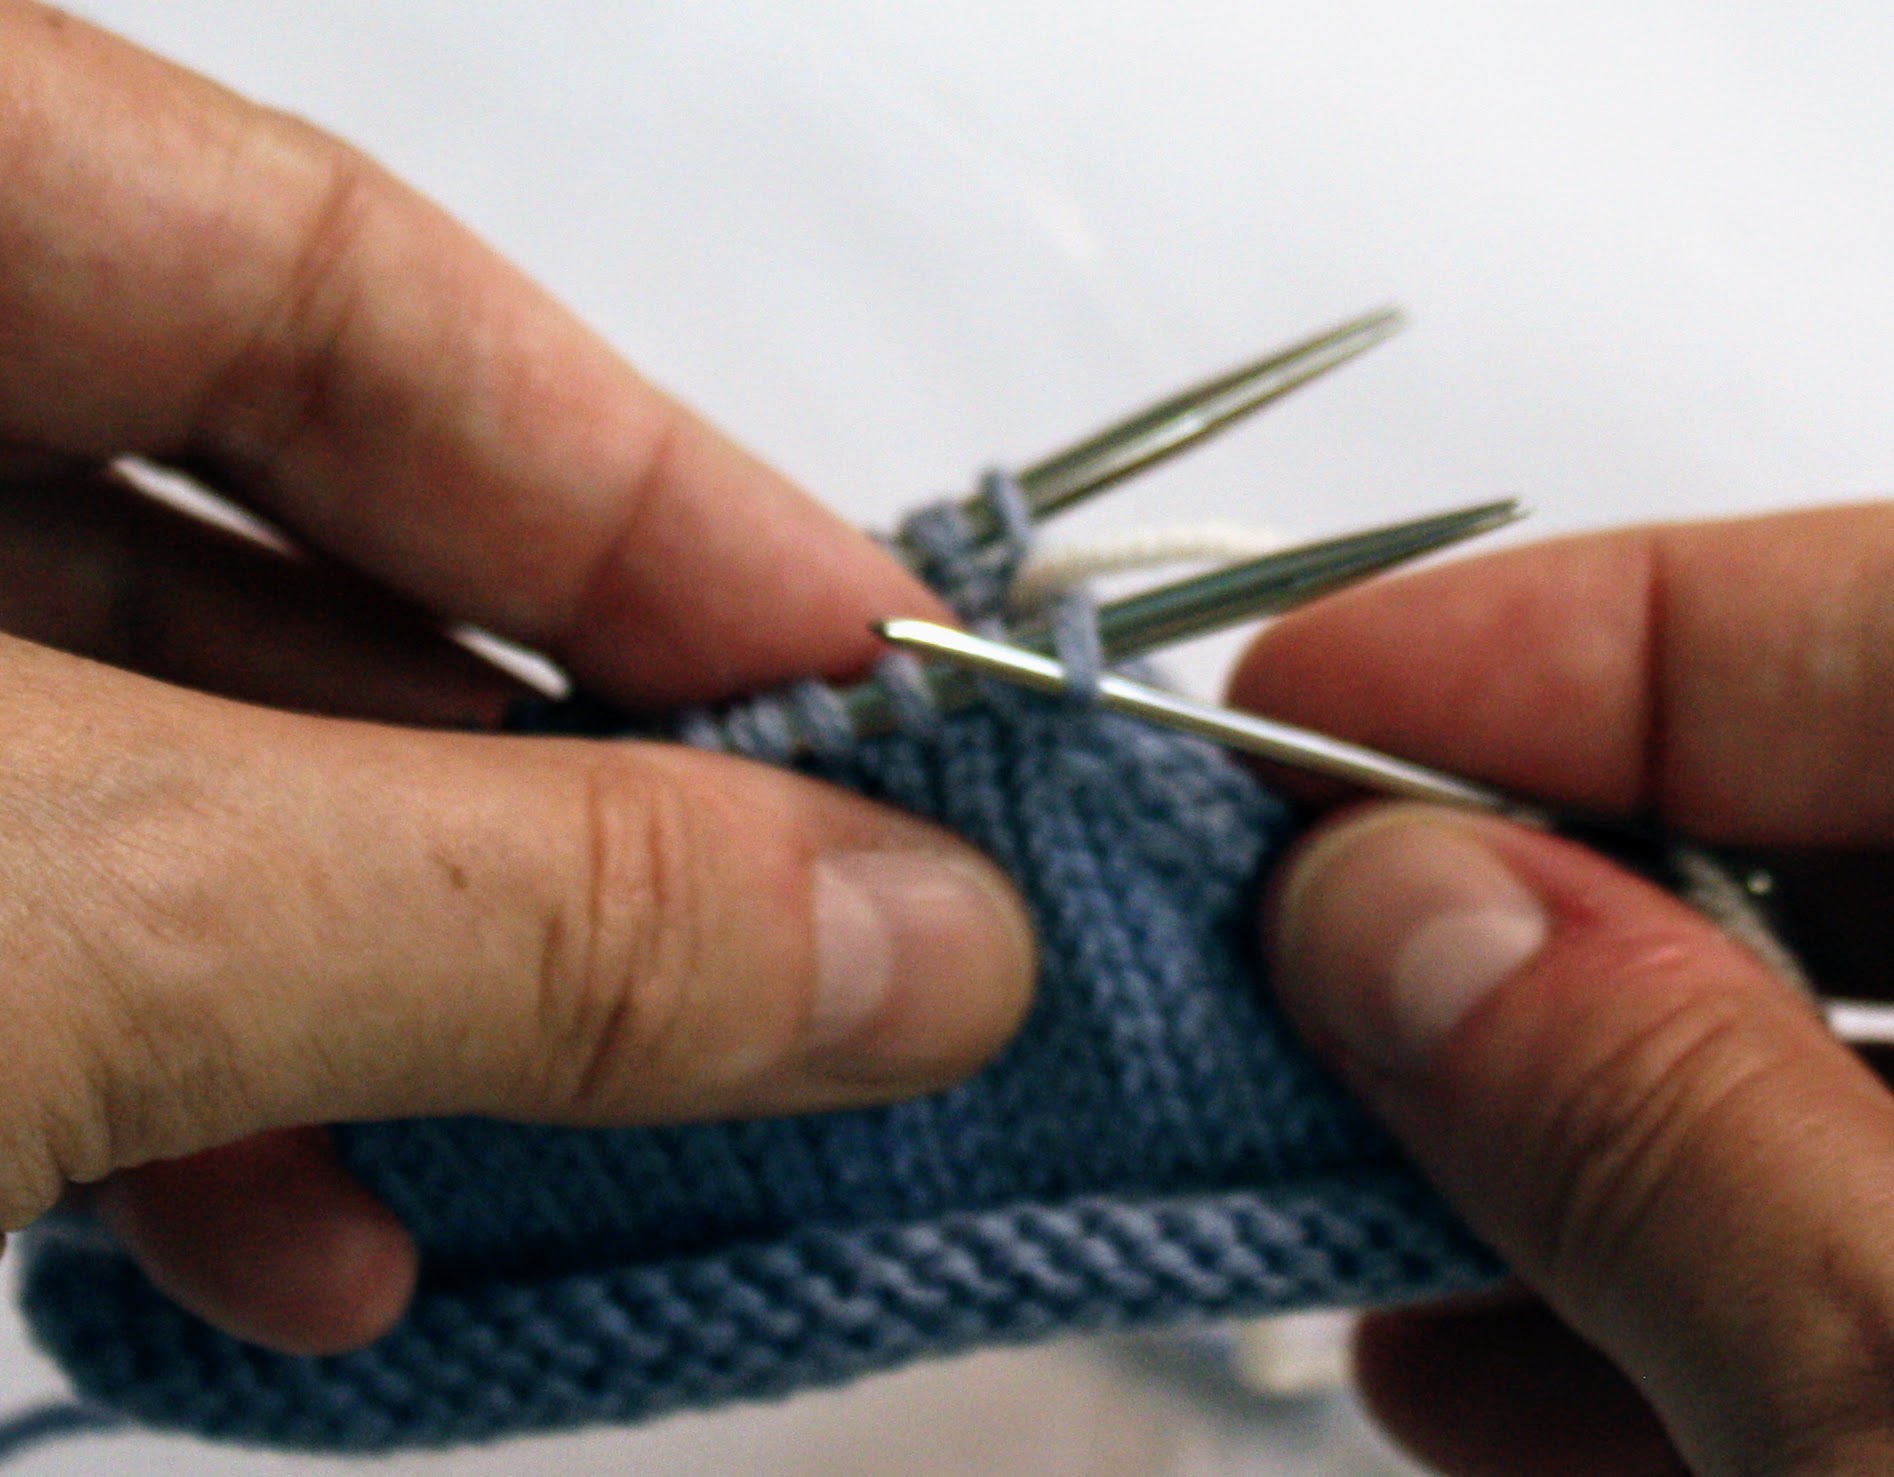
Post by Gretchen, Lion Brand Yarn Studio Education Director In my last post I mentioned covering increases next, but this week in the Sock Along we ended up talking about Kitchener stitch, also known as grafting. We have a participant who tried Magic Loop for the first time and has already finished one sock, but…
Read More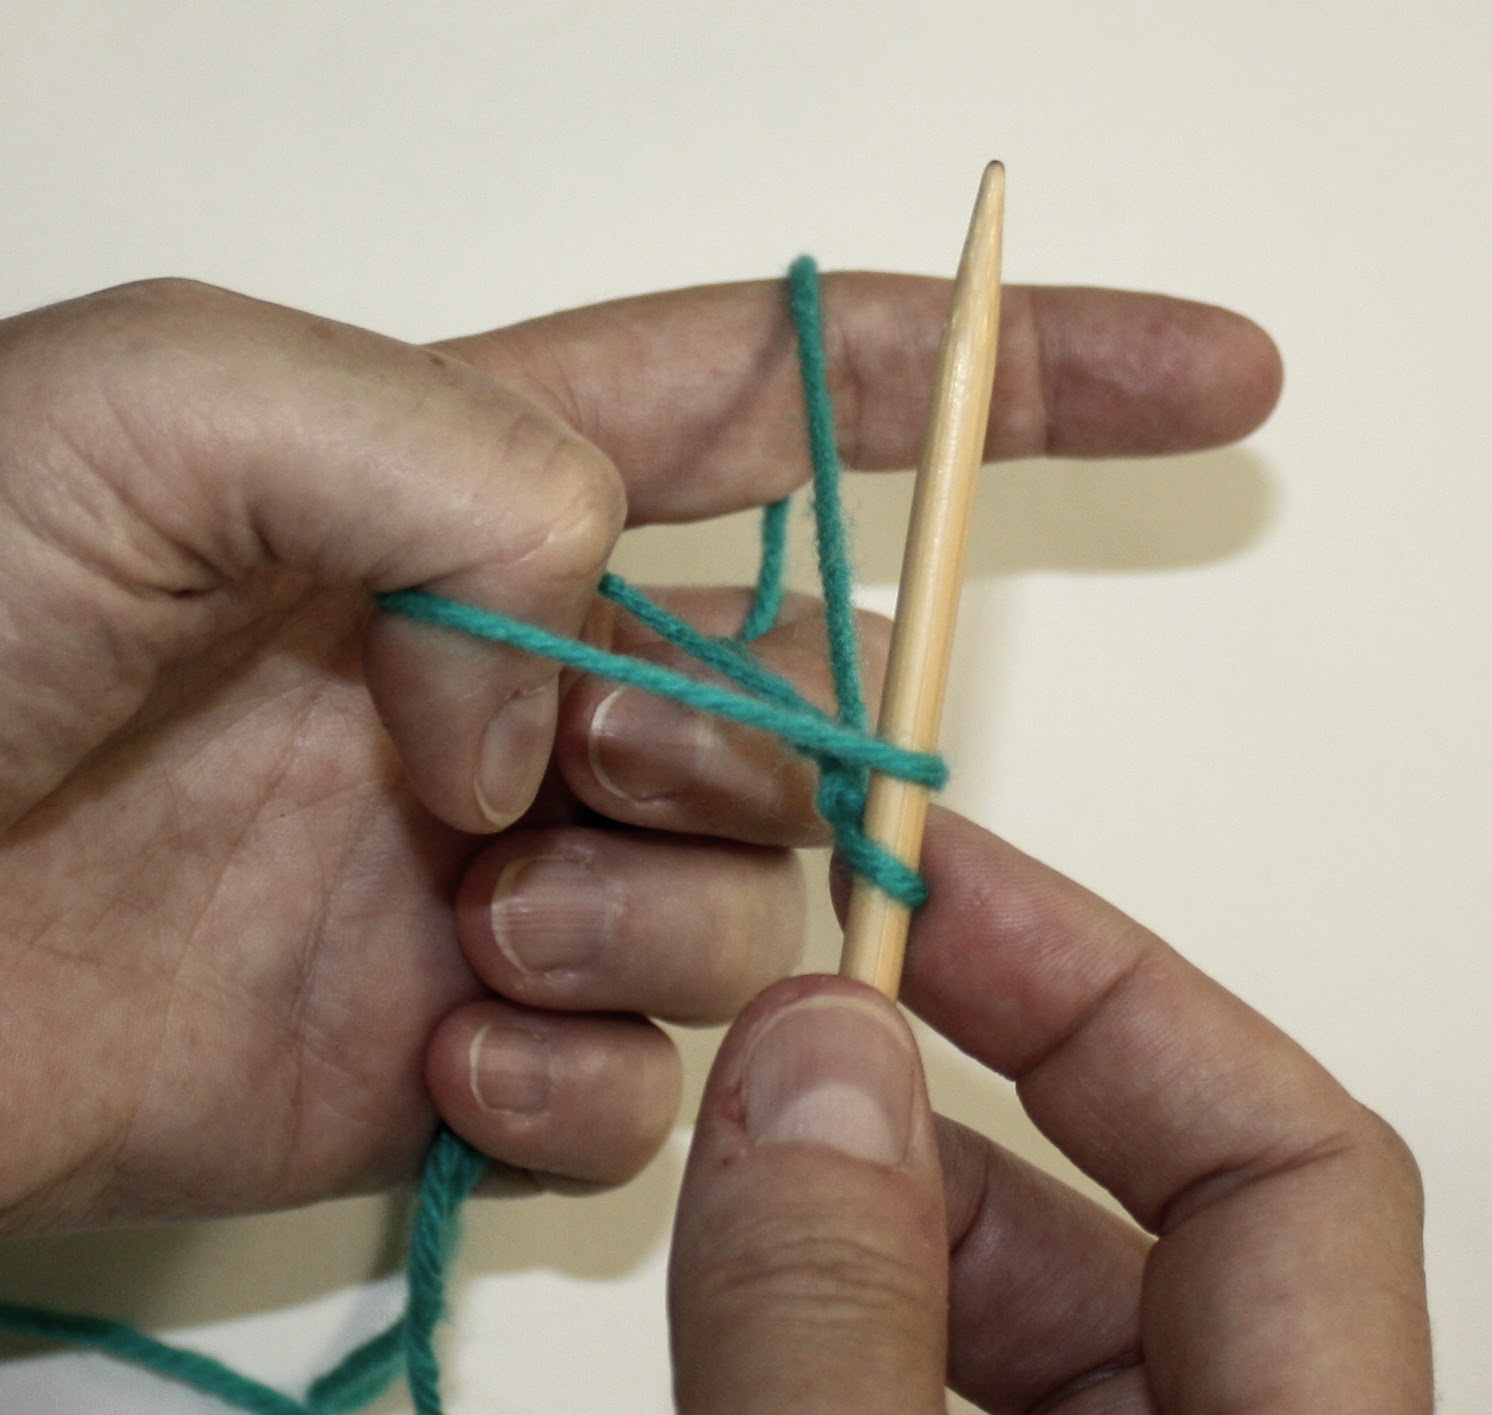
Post by Gretchen, Lion Brand Yarn Studio Education Director Since we had so many people outside New York City expressing interest our Summer Sock Along at Lion Brand Yarn Studio, we decided to share some of what we talked about in each session here on the Lion Brand Notebook. Even though everyone in the group…
Read More