
Technical editor and yarncrafting expert returns to share tips on finishing your crochet projects. Join her next month for tips on finishing your knitting project.
A great crochet ending begins with fastening off and weaving in. It may also include a great edging. Over the next three days, we will cover these three topics as well as tips and tricks for each one.
Click on any of the images to enlarge them.
You may think there’s not much to say about fastening off, and if you think this you are a little bit right and a little bit wrong. After all, fastening off simply involves cutting the yarn, leaving a long tail, and ensuring that the tail is secured. But, there are subtle ways to vary the fastening off process, especially when working in rounds, to achieve different results.
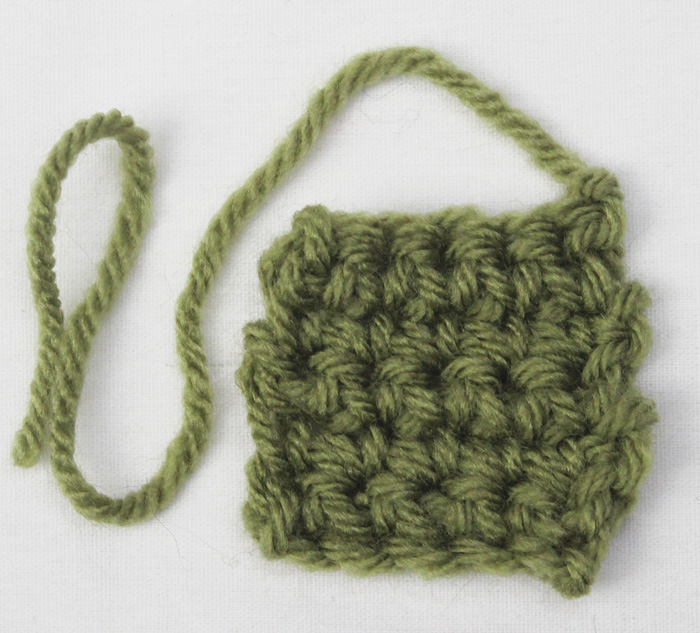
Perhaps the most common way to fasten off is finish the last stitch of a row or round, cut the yarn, draw the tail all the way through the last loop on the hook, and pull to tighten the resulting knot. This method forms a small, knot near the top of the last stitch. This knot is usually pretty secure and after carefully weaving in the tail the piece is at little risk of unraveling.
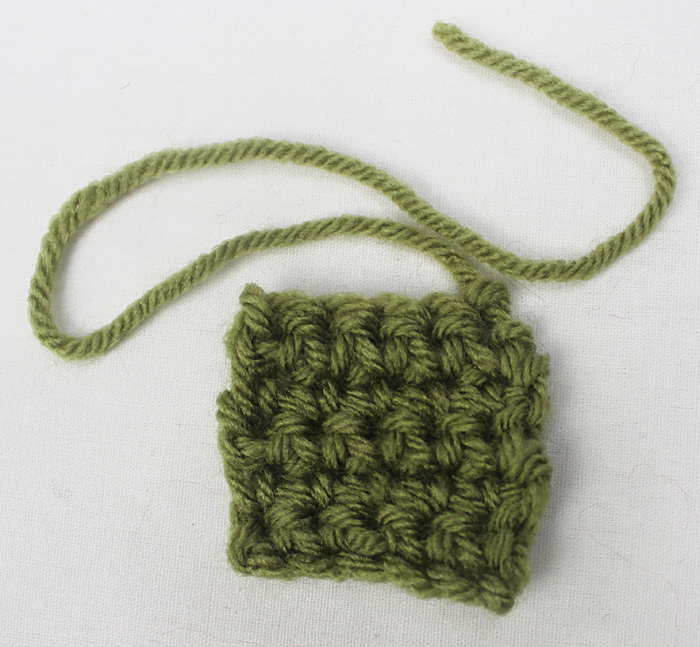
Sometimes the little knot can leave a noticeable bump on the edge of a piece. Accordingly, some people fasten off without leaving a knot. Instead of completing the last stitch and then drawing the tail through the last loop on the hook, the tail is drawn all the way through when working the final yarn over of the last stitch. This omits the knot and tiny bump. To be sure that this type of fastening off is sufficiently secure, extra care must be taken weaving in the end.
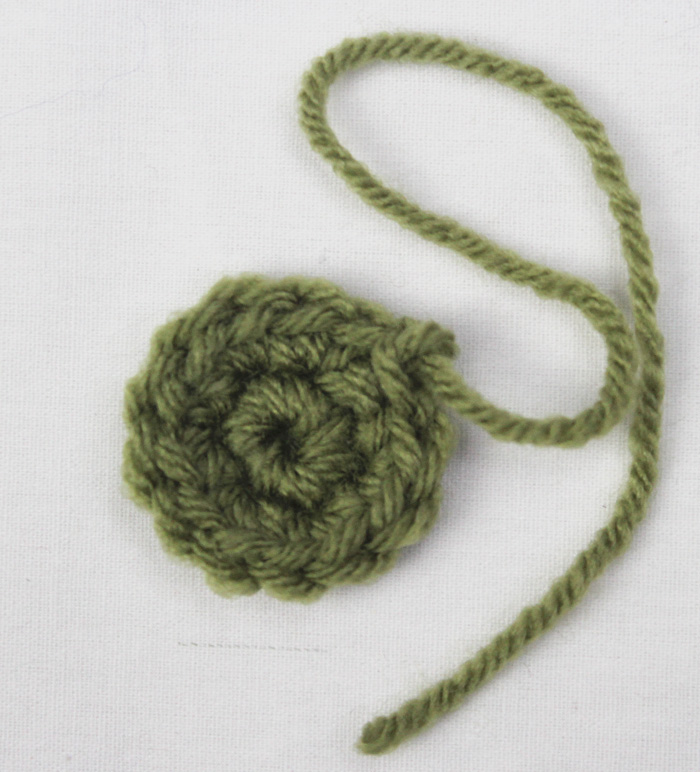
The join at the end of joined rounds or in the last round of continuous rounds (spirals) may not look as smooth and seamless as desired. This can be partly due to the bump caused by fastening off leaving a knot, but is also due to the slip stitch typically used to join rounds. The top of the joining slip stitch looks the same as the top of the other stitches in the round, but it is sandwiched between the first and last stitch of the round. This can leave a bit of a bulge or gap. In addition, if you attempt to count the stitches in the last round by counting the tops of the stitches, it will appear that there is one more stitch in the round (because the joining slip stitch looks like the other stitches). Several different techniques can be used to provide a smoother and more seamless look.
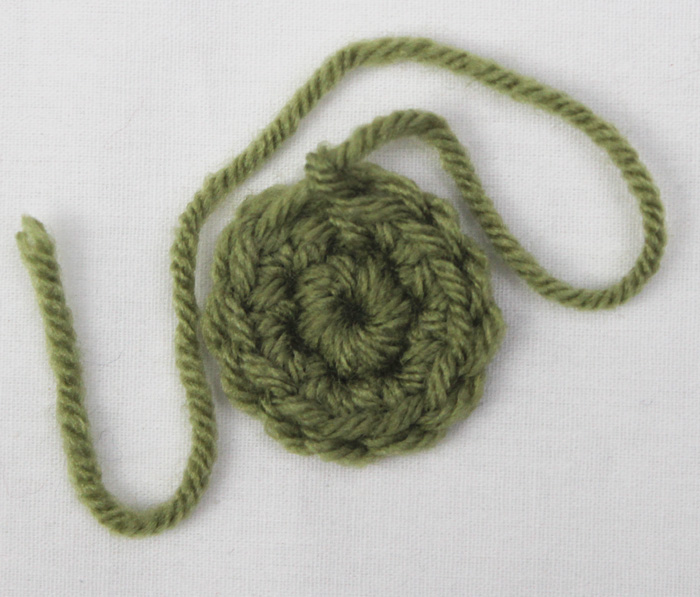 Working the Joining Slip Stitch in the 2nd Stitch
Instead of working the joining slip stitch in the first stitch of a round, the joining slip stitch can be worked in the 2nd stitch of the round. If worked carefully, this places the top of the slip stitch directly on top of the top of the first stitch, eliminating sandwiching the slip stitch between the first and last stitches (photo 4). After working the joining slip stitch in the 2nd stitch, fasten off without leaving a knot and weave in the end carefully to create a near seamless look.
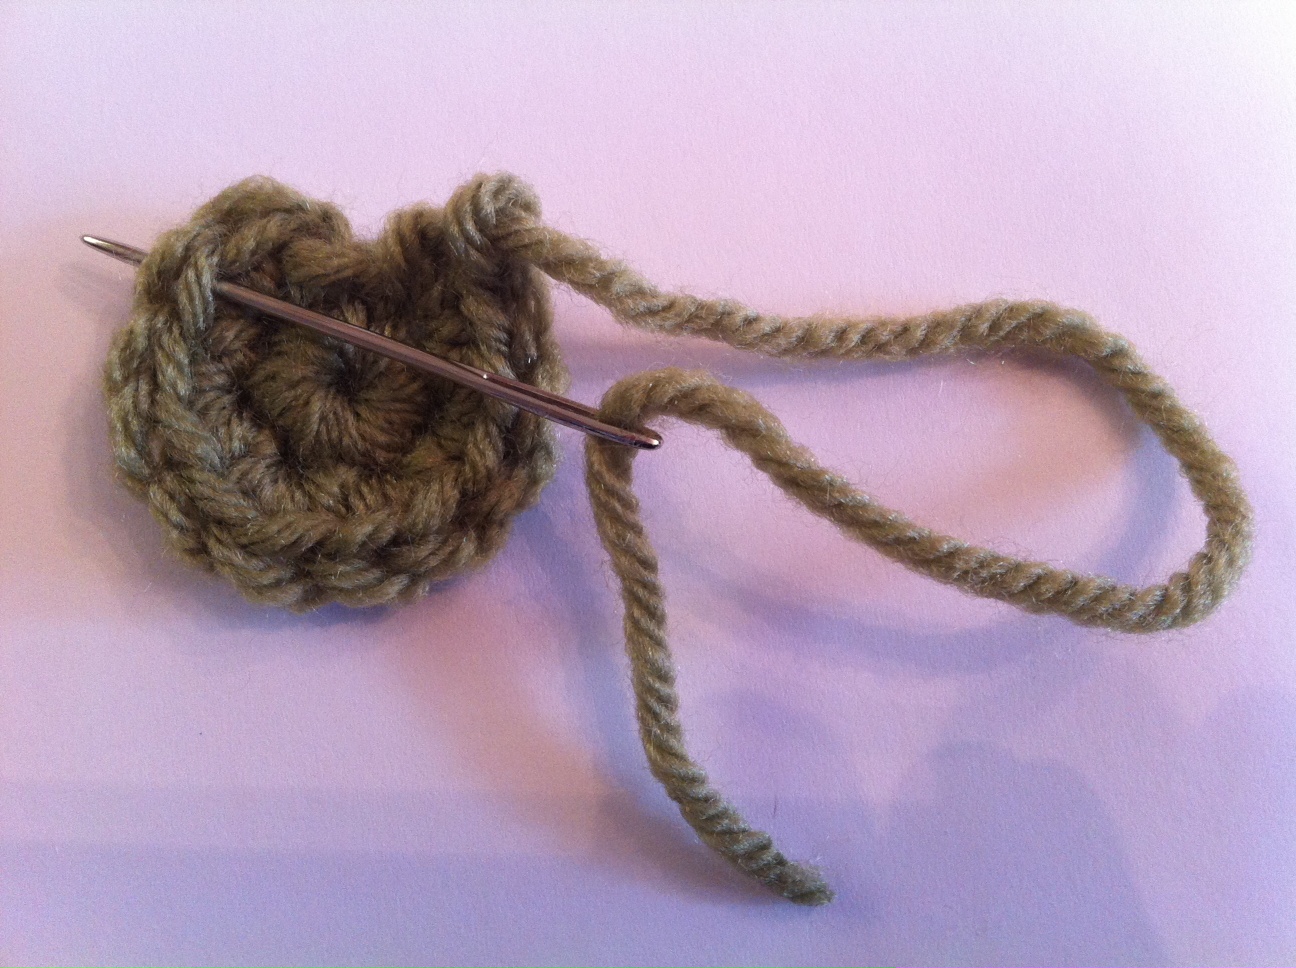
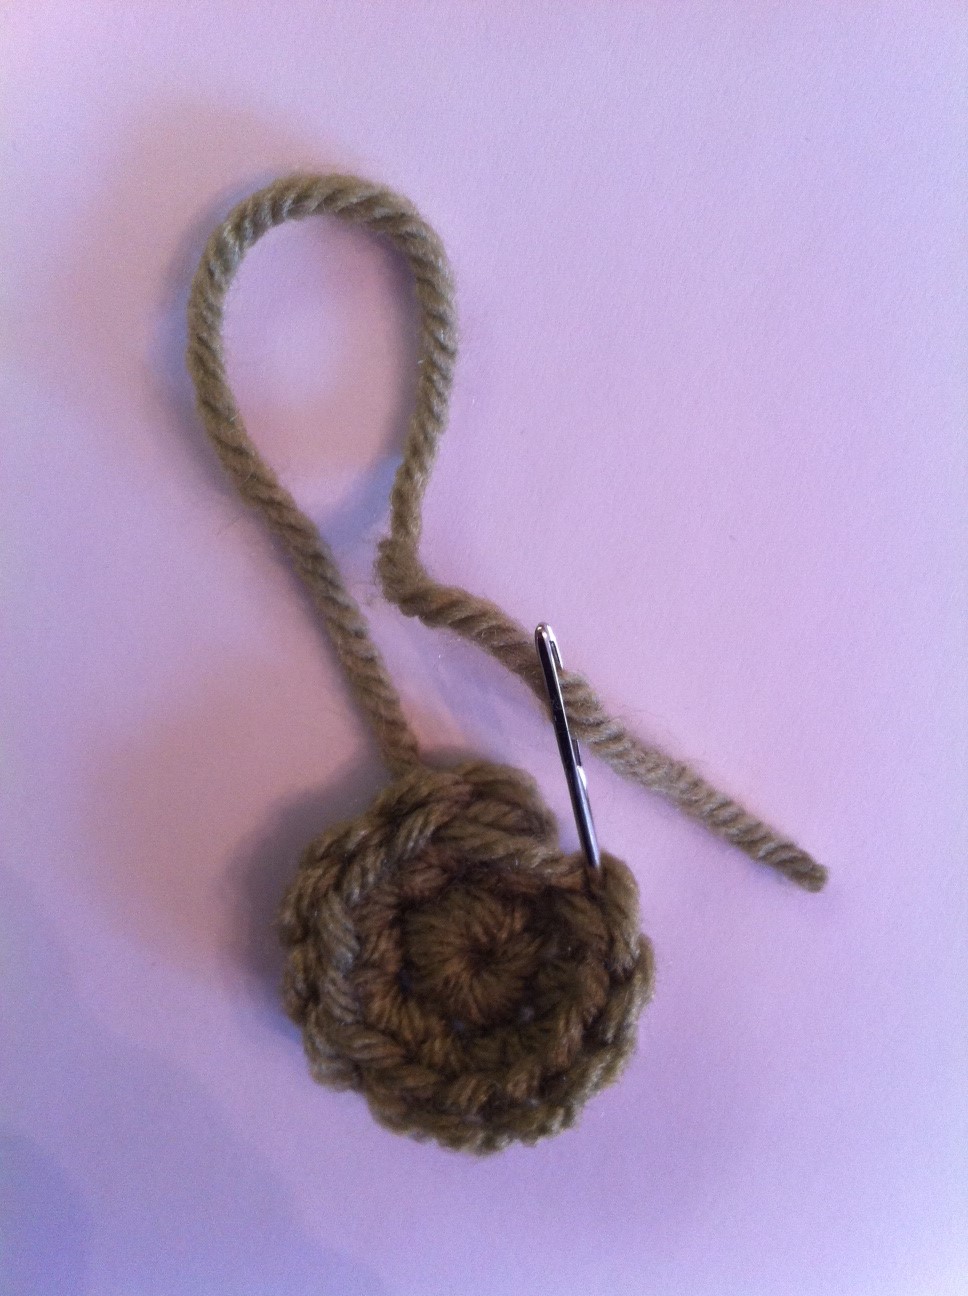
Do not work a joining slip stitch. Work the last stitch of the round. Cut the yarn leaving a long tail and fasten off the last stitch without leaving a knot. Sew the beginning and end of the round together, duplicating the look of the top of the first stitch, as follows:
For more articles by Kj Hay, click here.
You must be <a href="https://blog.lionbrand.com/wp-login.php?redirect_to=https%3A%2F%2Fblog.lionbrand.com%2Fgreat-endings-to-your-crochet-project-pt-1%2F">logged in</a> to post a comment.
Judi
Thanks for the tips on ending off a row. I tried it and it really does work! :~)
Brandyce
Glad to hear that Judi! I hope you continue to find more useful information on our blog 🙂
Sally
LOVE the needle join! Just did it on a project this week and it looks great. You can’t tell where the last stitch was done.
Babcia
thanks, I can use all the help I can find!
Thanks cause I am new to all of this stuff just learning and it a slow process
Making a scarf