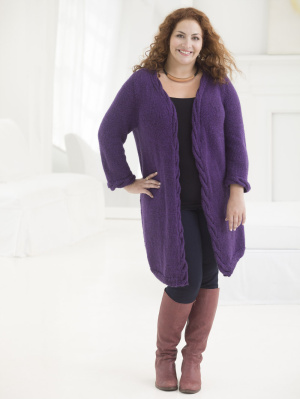
We’re back, and it’s hard to believe we’re so close to the end! All that’s left to do is each sleeve, then we sew the whole thing together. Are you looking forward to wearing your new sweater?
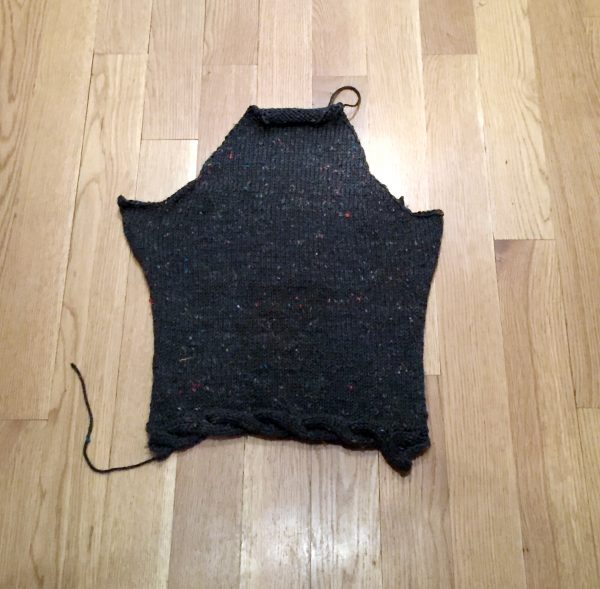
You should have finished up the right front this past week, and now you basically have the makings of a vest. So it’s sleeve time!

If you’re just joining us, don’t forget to hop over to our Ravelry group, where we are chatting, asking questions, and sharing projects.
I had briefly entertained the idea of trying to knock both sleeves out in one week, but then I remembered that sleeve week was also election week, and I didn’t want to push my luck. I’m sure we’ve all been pretty preoccupied, no matter how you feel about it. So it’s one sleeve at a time!

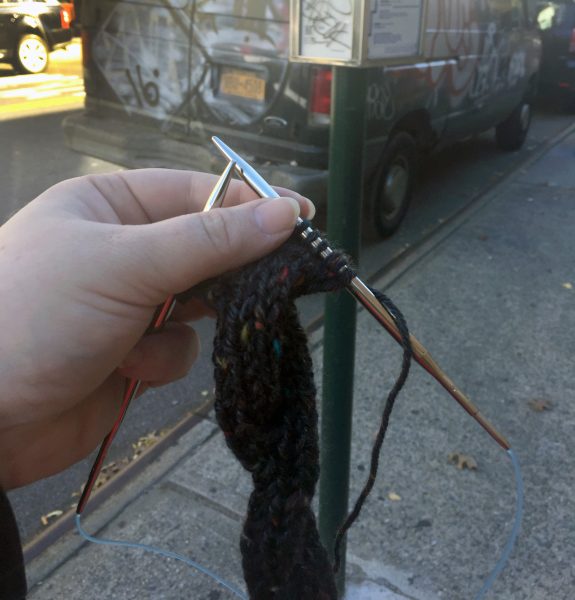
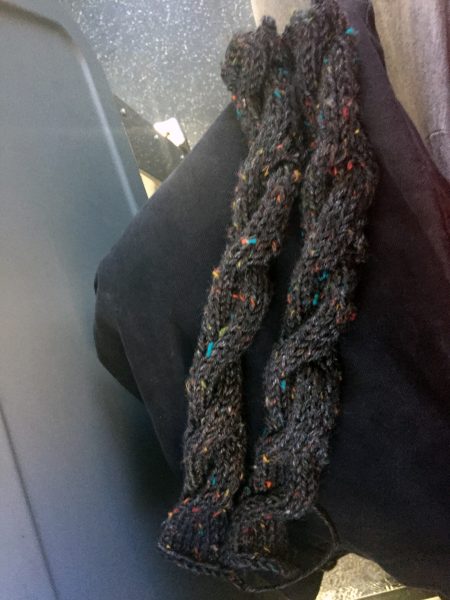
Each sleeve starts with a cabled band, and then you pick up stitches along the side to make the main part of the sleeve. I actually went ahead and made both bands at once. They’re small and quick, and then I was done using my cable needle. I could thank it for its service, and put it away so I no longer need to keep track of it.

I am making size 3, so the pattern says my bands should be 15 inches long. That seems like it’s going to be too big, but remember that the sleeves on this are designed to be a bit shorter. So the band isn’t right at your wrist, but up a little higher, where you’re likely wider. For me, to get roughly 15 inches I did six repeats of the cable pattern. I don’t know about you, but it was easier for me to keep track and make sure the two pieces were the exact same length if I was counting rows instead of measuring.
The pattern also gives a good suggestion for when you are picking up stitches: place three markers so that the band is divided into four equal parts. That way you don’t have to keep track of as many stitches at a time. It’s much easier to figure out how to evenly space 15 stitches over a shorter piece four times than it is to try and keep 60 stitches evenly spaced across the whole piece.
(Note: if you are new to picking up stitches, we have a tutorial available here.)

The rest of the sleeve is pretty straightforward. It’s stockinette, with several increases, then some binding off and decreasing to shape the top. I’d recommend marking each increase with a stitch marker, because it can be tricky to see m1 increases if you lose track of what row you’re on. You could also use a counter again.
So, it’s time for you to get started on the sleeves! I’ll be working up the other one, praying that the dreaded second sock syndrome doesn’t kick in before I finish.