
Some of us are a bit curvier than others, and that means we might want to make the occasional adjustment to a sweater pattern. Fortunately, in most garments it’s as simple as adding a bust dart in the right spot, creating a little extra space and reducing pulling across the chest.
The first step is to determine where you want the darts to be based on your body shape. How to figure this out will depend on your specific pattern, but you can either measure yourself and your piece to determine where they should be or simply hold the piece up to your torso to find the best place to start.
Next you will need to figure out how large you need the darts to be. You can measure your bust at its fullest point and subtract the finished measurement of the pattern to determine this, or you can use your bra cup size. If you are going by bra size, simply add an inch for each cup size up from A. Which method works best will, again, depend on the specific garment you are making. It may not be necessary with your pattern to add seven inches if you are a G cup, so it’s best to use these methods as a ballpark and make adjustments to suit your specific needs.
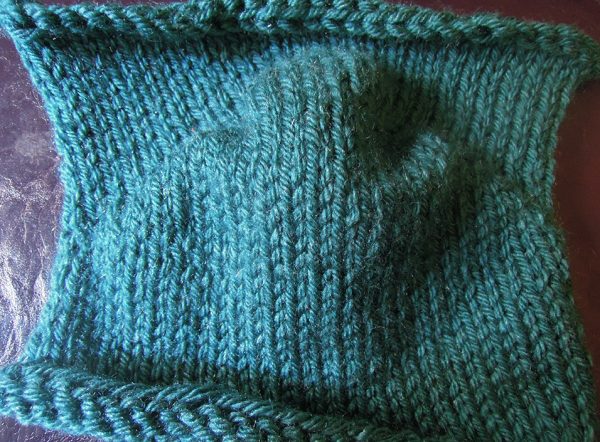
Short rows can be used to create extra room in a garment.
Once you have decided where to place the darts and how large to make them, it’s a simple matter of working short rows. If you are working in the round, you may want to place markers to indicate where the front of your piece begins and ends.
To make the short rows, start on the RS or at the beginning of the front of your garment in the round. Work across to two stitches before the end or before the marker indicating the end of the front. Wrap and turn*, then purl back to two stitches before the beginning, and wrap and turn again. You will then knit back to three before, w&t, purl back to three before, w&t. Continue like this, working to one stitch before the previous w&t each time, until the bust darts are the desired size. End after a purl row and w&t, so that you are continuing on the RS.
As you continue, every time you encounter a w&t, pick up the wrapped stitch and work it together with the stitch that is already on the needle. This will create a smooth line with no holes in the work. Once you have done that, you can continue the piece as written, and your garment will have a nice shaped bust!
Note: this is written for a piece worked in stockinette stitch. If you are making a garment with some sort of lace or color pattern, you may have to make adjustments to the placement or size of the darts, or determine whether they are possible at all.
*To wrap and turn: After knitting the last stitch, bring the yarn to the front. Then slip the next stitch WYIF. Turn the work. Bring the yarn to the front. Slip the stitch back WYIF. Then begin working with the purl row. At the end of the purl row, it will basically be reversed: move yarn to the back, slip the next stitch WYIB, turn work, move the yarn to the back, slip the stitch back WYIB.
Rebecca McDonough
Thank you for this – wonderfully simple instructions.