Lace knitting can seem daunting at first, but it’s actually not as hard as you might think. You are using the same basic stitches, increases, and decreases as always, just arranged in such a way as to make beautiful patterns.
The stitches you need to know to make simple, beginner lace are knit, purl, yarn over, k2tog, and ssk. If you need a refresher course on any of those, click on the term and it will take you to our tutorial on each. More advanced lace patterns may use other increases and decreases, but for now, those are enough.
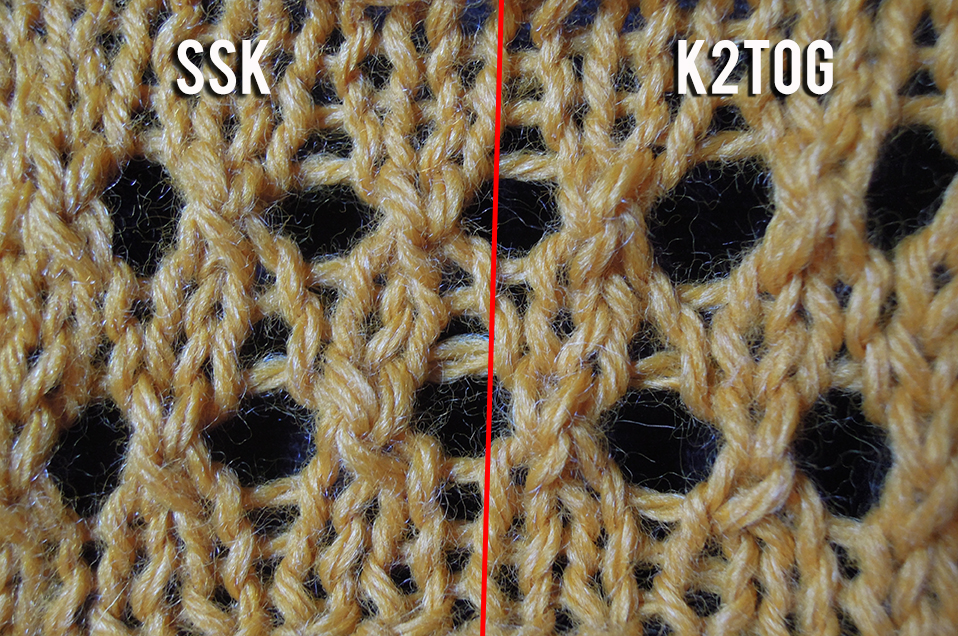
Left-leaning vs. Right-leaning decreases
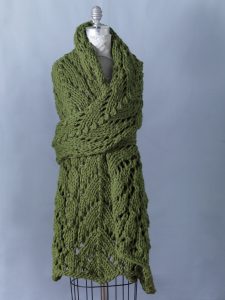
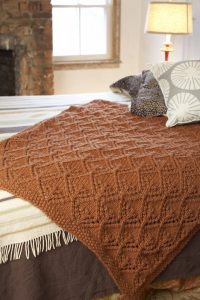
The various lace patterns are created by alternating the yarn overs, which make holes, with the decreases, which create direction in the pattern (ssk leans left while k2tog leans right). If you are working a pattern that is even, like a scarf or blanket, there should be the same number of yarn over increases as decreases. Something like a shawl or hat, or even some sweaters, will likely have an unequal number on some rows to create shaping.
The key to lace knitting is following the directions exactly. These will be either written out or shown as a chart. Sometimes a pattern will provide both — in that case you can use whichever you prefer — but often there will only be one or the other, so you should understand both. Written instructions are exactly what they sound like. The stitch pattern is written out in words, for example:
k2tog, yo, k1, rep to end
You will see some variation on “rep to end” a lot. It just means you repeat the stitch pattern over and over until you get to the end of the row (or round). Sometimes, the pattern will only want you to repeat part of a row. When this happens, the repeated part will be marked, usually with brackets, parentheses, or asterisks. It may also tell you to stop a certain number of stitches before the end of the row and do something else. For example:
k1, k2tog, yo, [k3, k2tog, yo], rep to 2 before end, k2
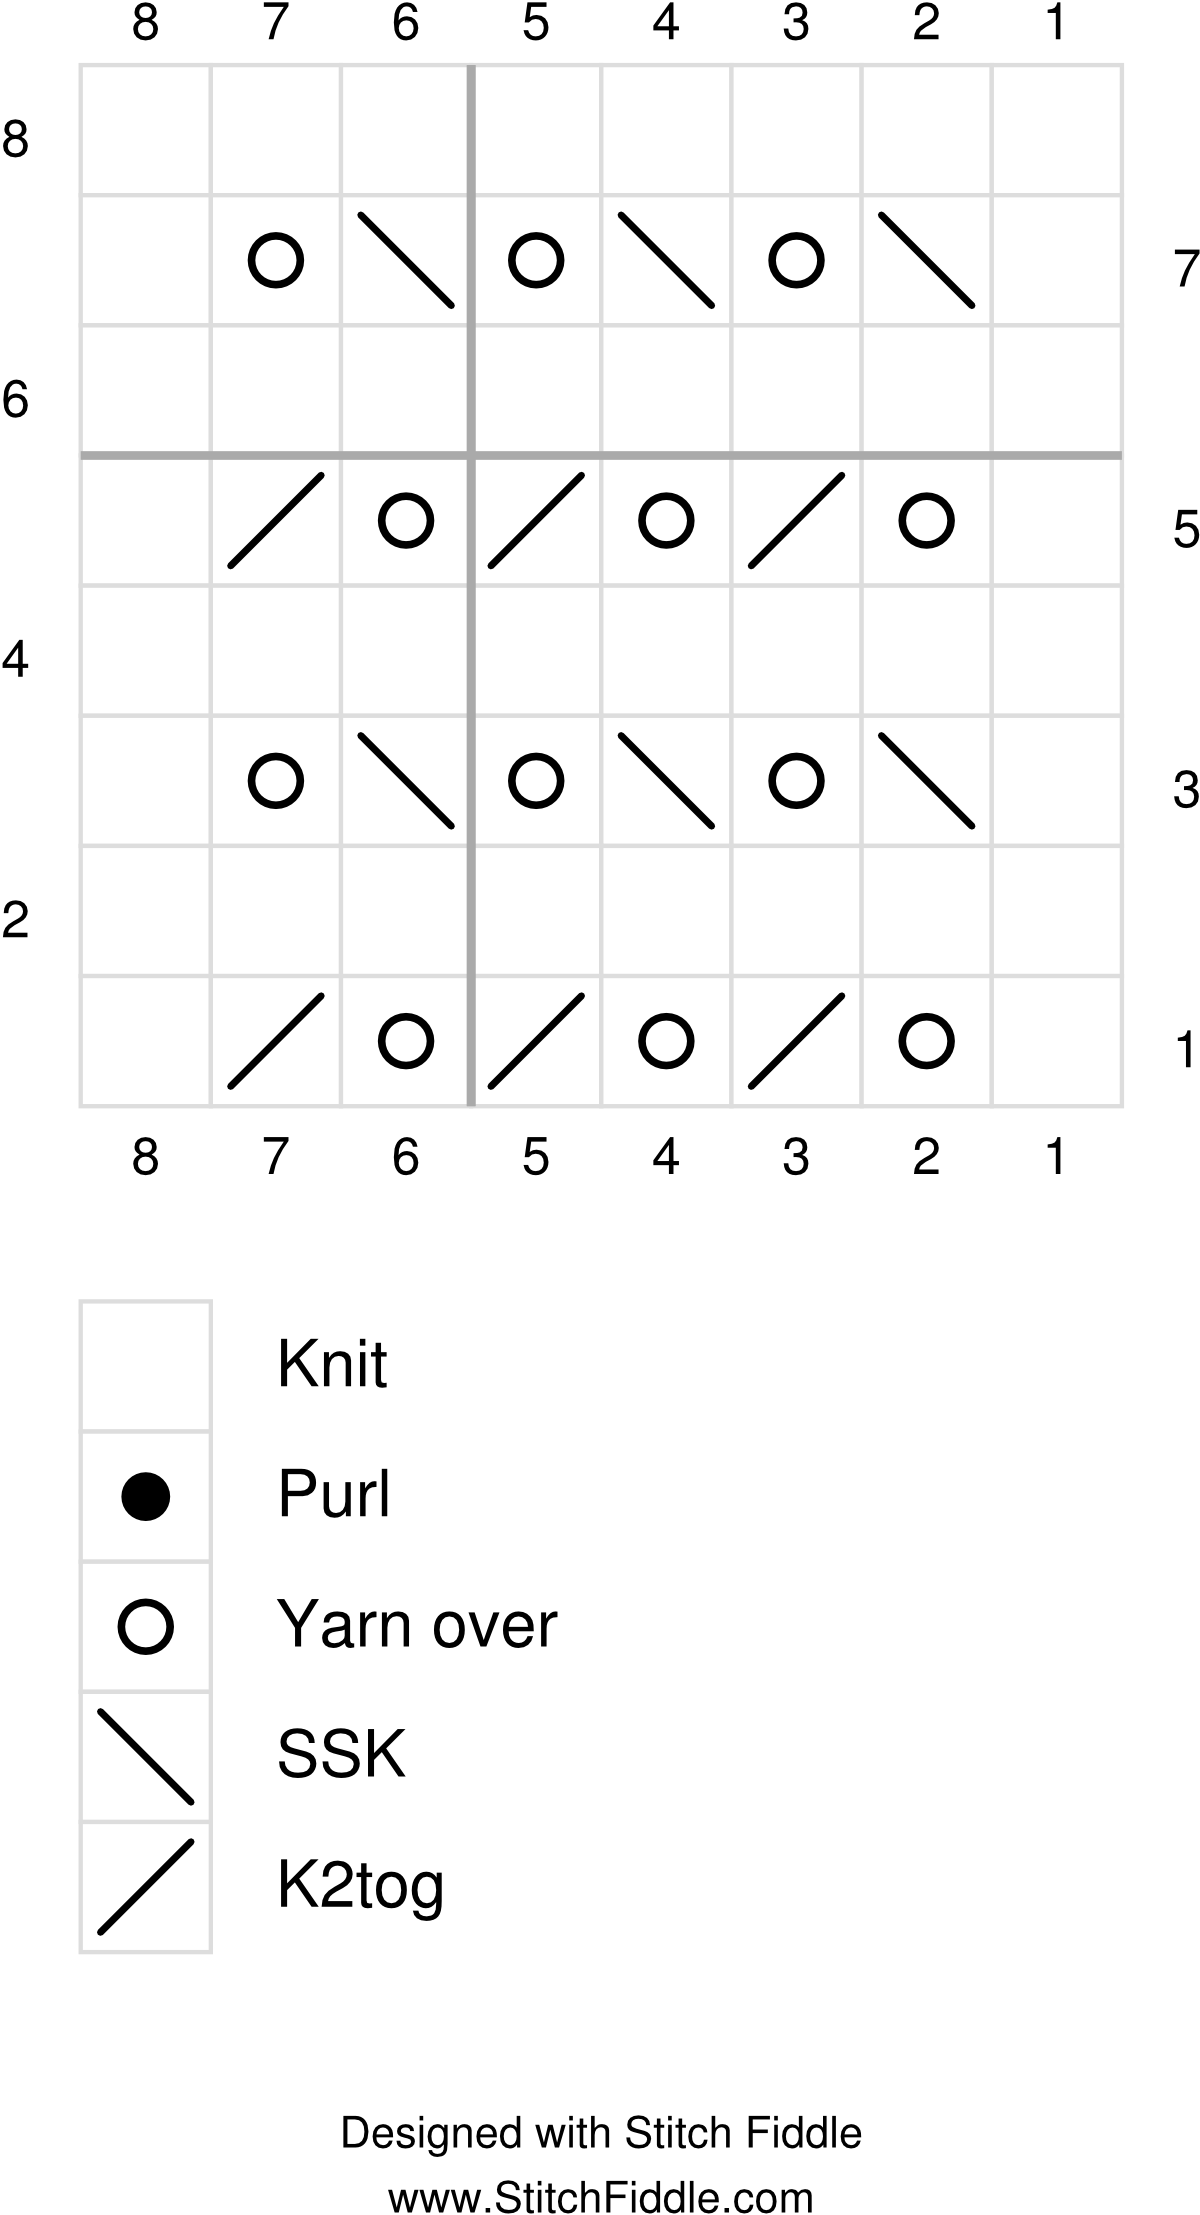
Charts take the same information and present it visually. They look like a grid filled with various symbols, usually with a key to tell you what each one means. You read them from bottom to top. When knitting flat, you will go right to left on right side rows and left to right on wrong side rows. In the round you will go right to left for every round.
The benefit of using written directions is that they’re easy to follow, but the drawback is that it can be harder to visualize if you’re doing it right. Charts lay everything out so you can see what the piece should look like, and are great if you’re a visual learner. But it’s easy to lose your place, which is why row counters and stitch markers come in handy. For example:
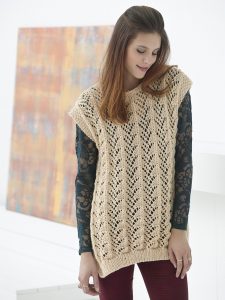
The best way to learn a new technique is to just jump in and do it. Below are a few of our easier lace patterns. Good luck!