Can you believe it — this is our final lesson! Today we will be learning how to increase and decrease in crochet.
Crochet increase and decrease stitches are not that different in principle than their knit counterparts. In essence, you increase by working two stitches in one space and decrease by working two stitches together.
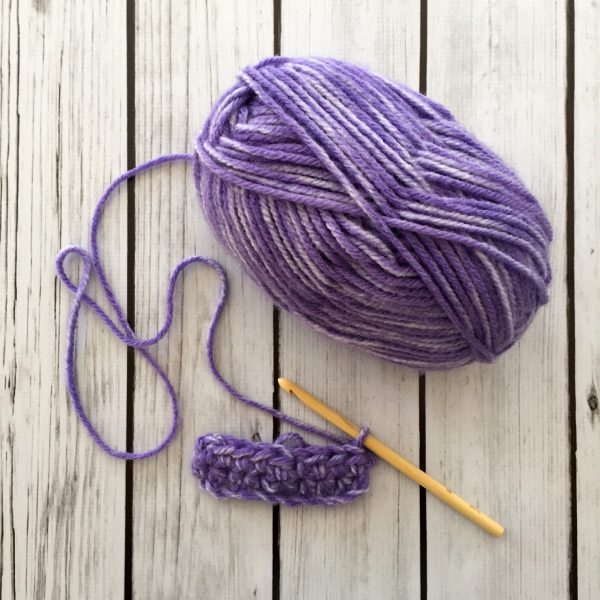
I promise, it’s not that hard.
As I said, the basic idea behind increasing is that you work two stitches into a single space. For this exercise, I am doing a half double crochet stitch.
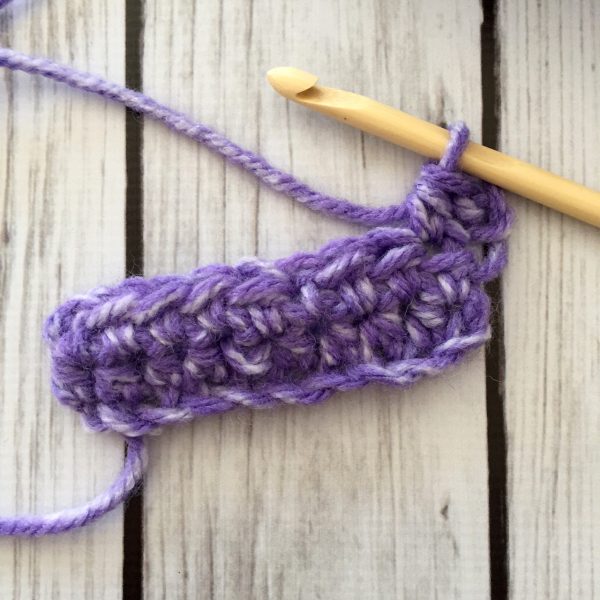
If you were planning to increase across a row, you would start with your turning chain and then NOT skip the first chain like usual. That mimics two stitches in the first space. Then move on to the next chain.
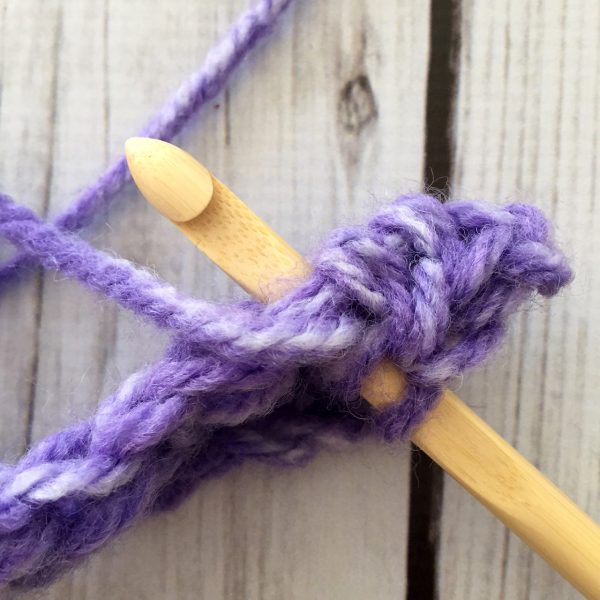
Then work another stitch into the same place where you just did the previous one.
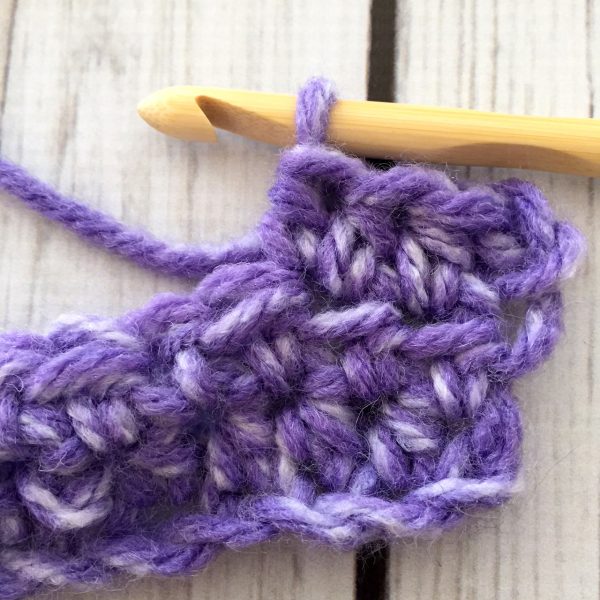
This is an increase of one stitch. If you do this across the row, you’ll easily see the effect.
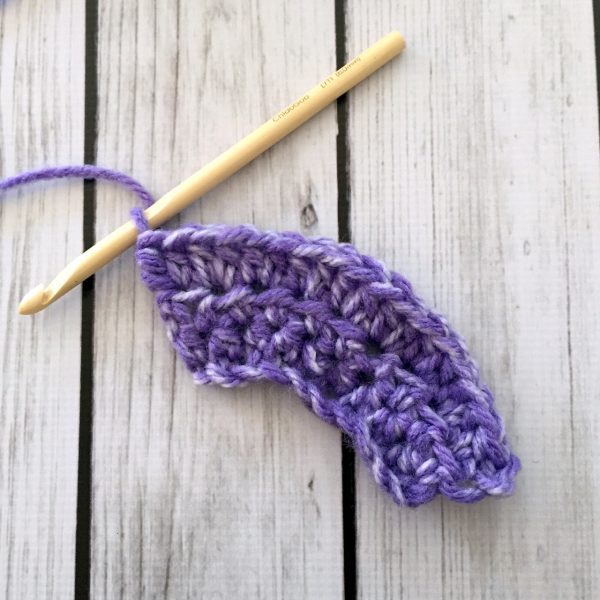
You can see the same effect when worked in double crochet, as well.
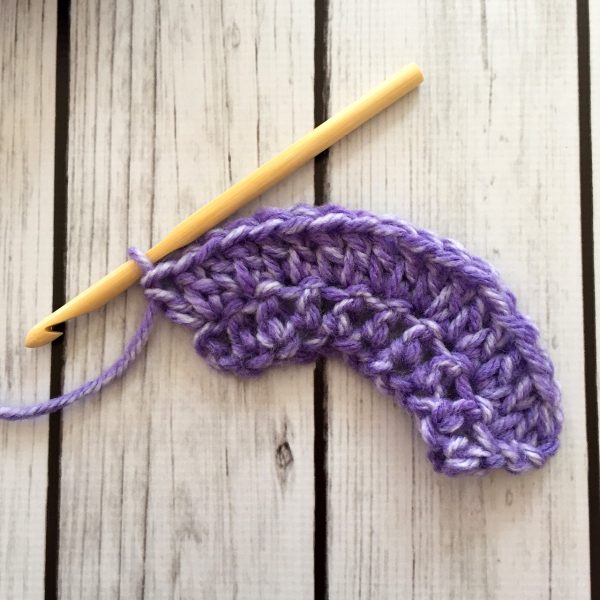
That’s all that it takes to increase! Keep practicing in both dc and hdc to prepare for our project next week. The process is the same no matter what stitch you are using, however.
Decreasing is a little more complicated, but with practice, it’s not too bad.
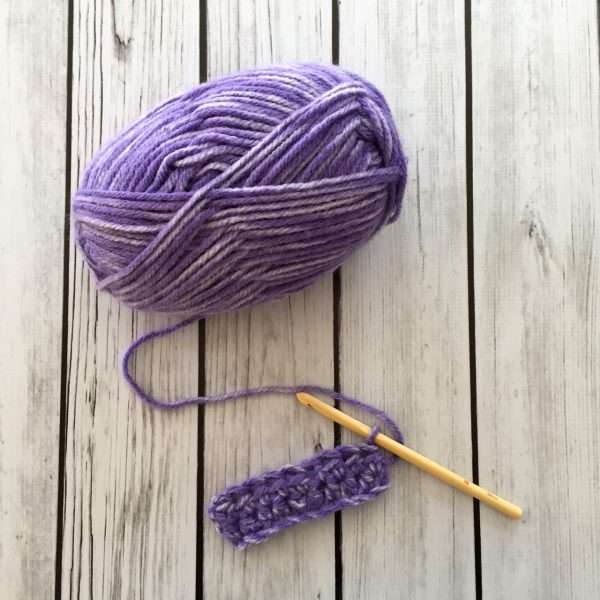
Again I’m working in hdc. To work decreases, essentially, you work all but the last step(s) of a stitch in one chain, then work all but the last steps again in the next chain, then yarn over your hook and pull it through all the loops.
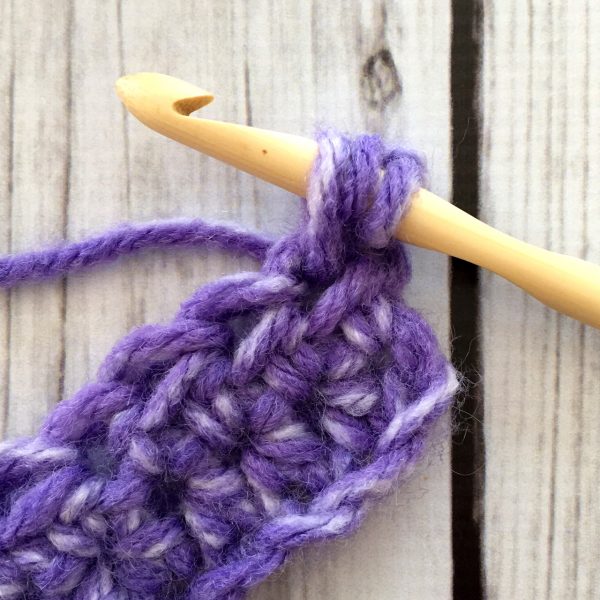
For example, in a regular hdc, you yarn over, insert the hook into the chain below, yarn over, pull the yarn through one loop, yarn over, and pull through all loops on the hook.
To decrease, you start the same way. Yarn over, insert the hook into the chain below, yarn over, and pull through one loop. Then, repeat those steps in the next chain.
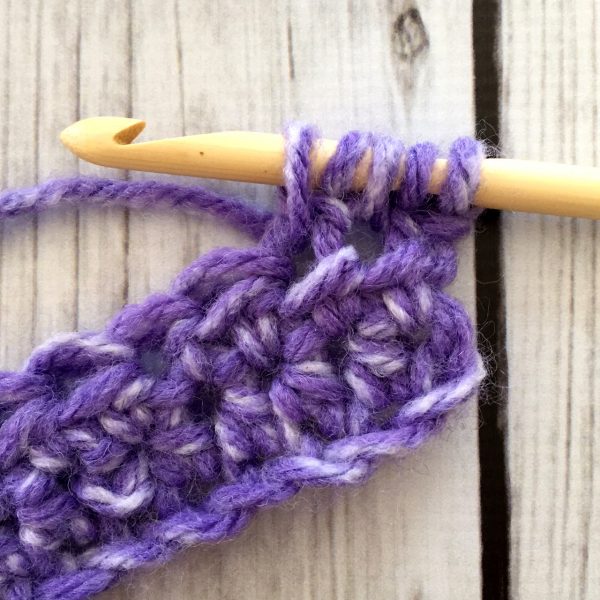
You should end up with 5 loops on your hook.
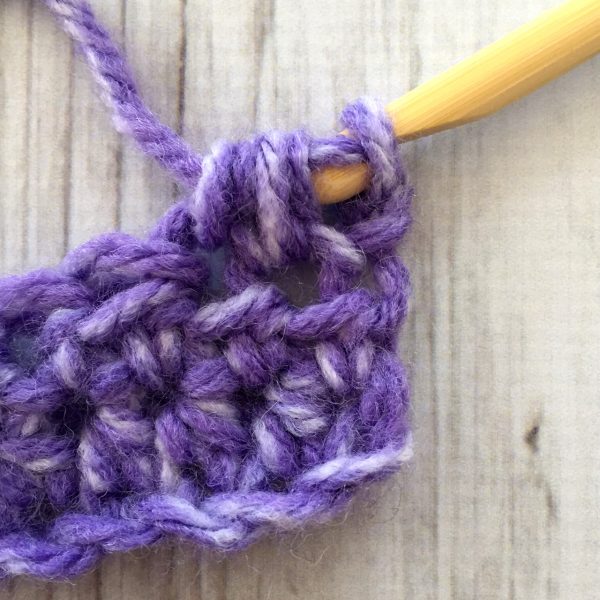
From there, you’ll yarn over and pull that yarn through all of the loops.
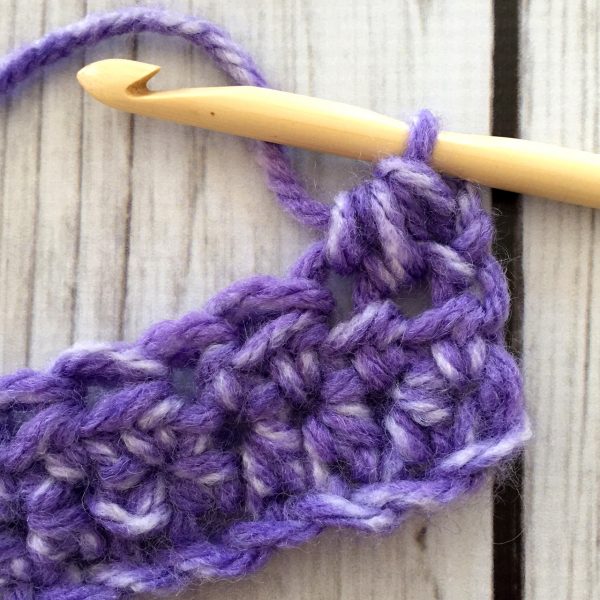
Congratulations, you have just decreased one stitch.
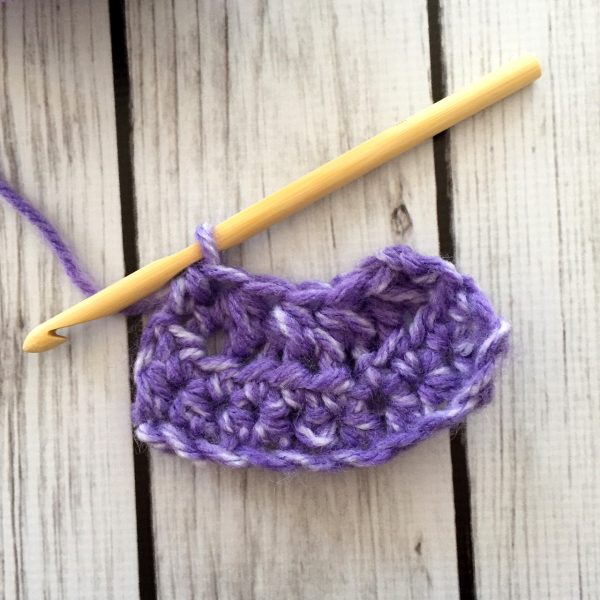
If you do this across the row, you’ll see the effect.
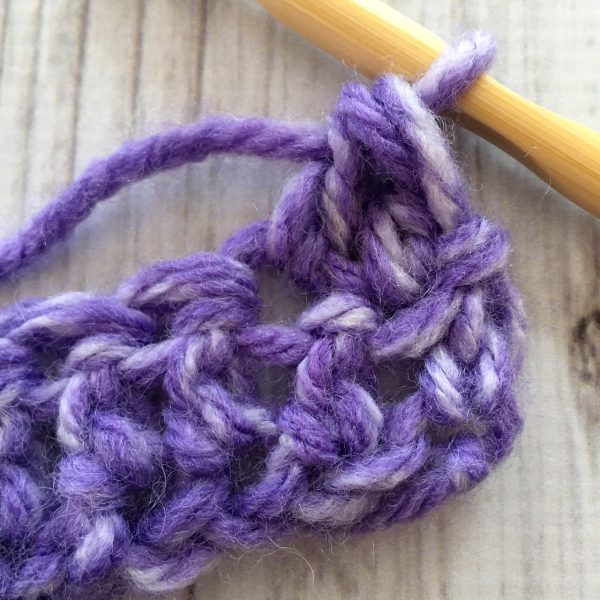
To do this with dc, you would again work the stitch up until the very last part, then repeat that in the next chain, then yarn over and pull through everything.
If you work increases and decreases in the same row, you can create cool zigzag and chevron effects.
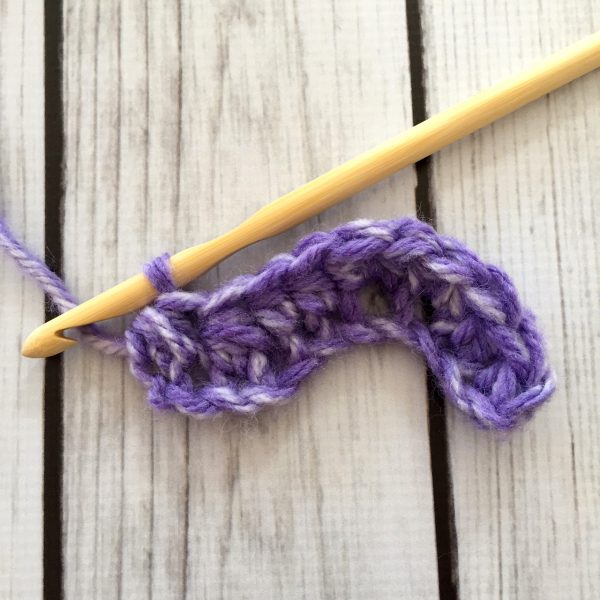
This is a good thing to play around with this week, because our next (and final!) project, the Level 3 Ripple Cowl, uses this technique.
Basically, work a few normal stitches, then increase twice, then work a few stitches, then decrease twice. That’s how you get the shape shown above.
For next week’s cowl, you’ll need two skeins of Heartland® — one each of two different colors. We’ll also be using a J-10 (6.00 mm) hook, which you should already have from previous projects.
Get practicing, and gather your supplies for our last project! This would also be a good time to think about future things you’d like to learn. Our final post will be about techniques and projects you can work on down the road, so if there’s anything specific, leave a comment and ask!
Happy stitching!