
Are you traveling this spring and summer? As we’re gearing up for warm weather and fun getaways, at the top of our to-do lists is planning which knitting and crochet projects to bring on the trip! Waiting around in airports plus time spent flying make for lots of crafting opportunities. And since you don’t want…
Read More
We’ve all been there… Walking down the yarn aisle and eyeing up everything we would love to have. We reach for a pretty yarn and then suddenly realize… we don’t know how much we need! Those moments can be stressful. Not any more! We’re Here To Help! The Lion Brand Design team has put together…
Read More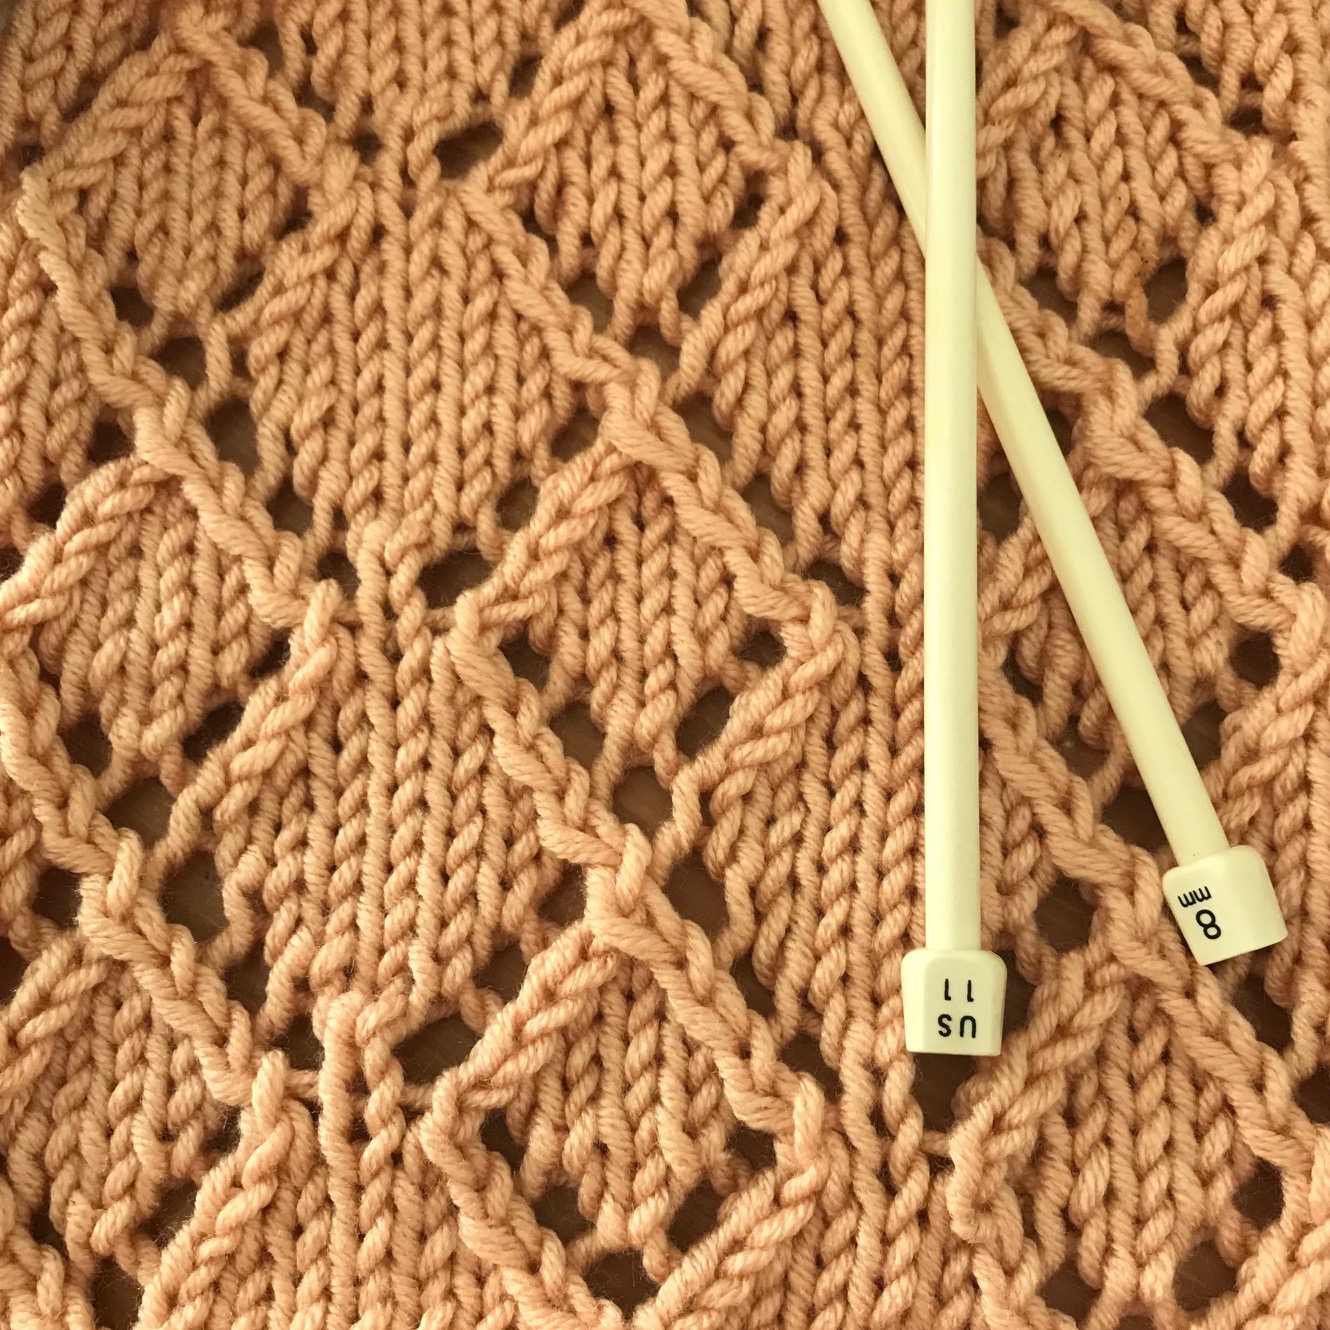
The Diamond lace stitch forms a lovely allover pattern, or work a single 8-st repeat as a focal panel surrounded by another stitch. Diamond lace is a lace stitch, but not true knitted lace, which has patterning on both sides of the fabric. For this stitch you will only be working patterning on the RS…
Read More
Yarns come in many different thicknesses, and these yarn weights go by many different names! Worsted, afghan, and aran weight yarns all fall under the same category, while fingering weight and sock weight yarns are one and the same. To help you keep track of what’s what, we’ve compiled a chart using the weight standards…
Read More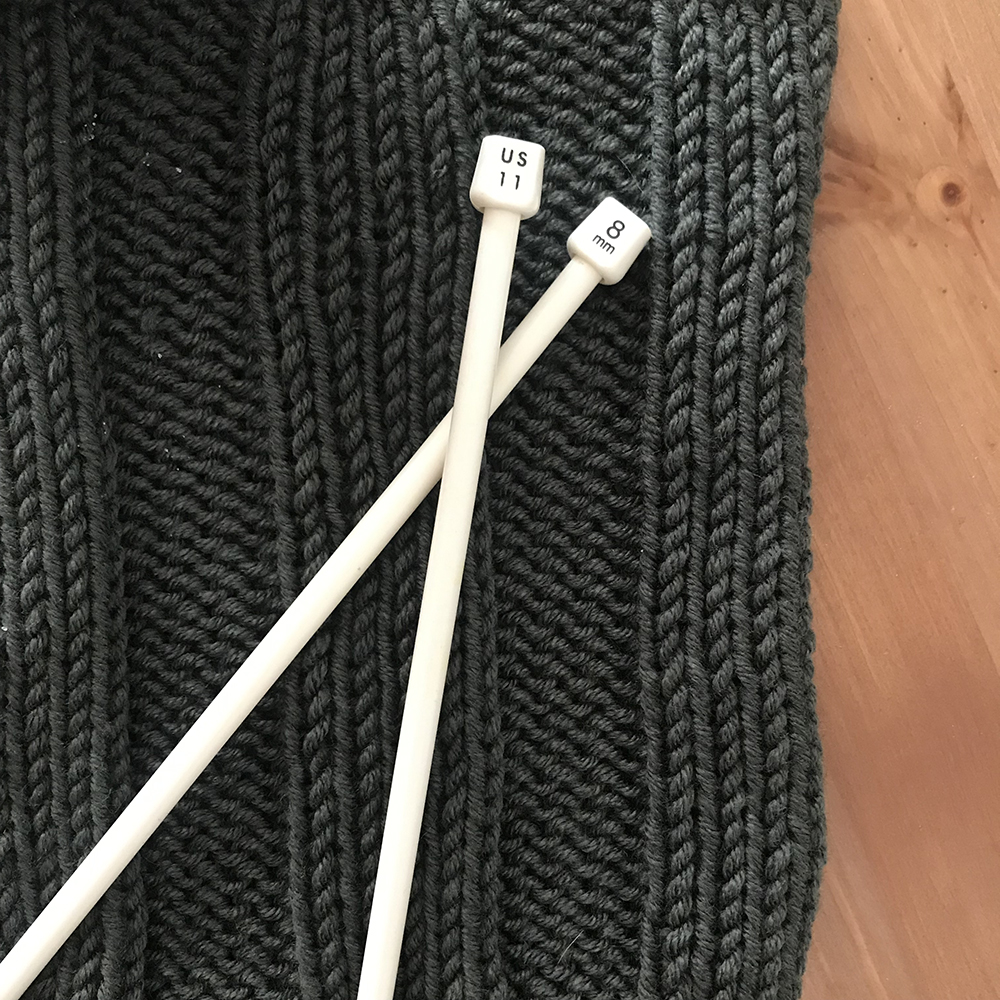
Ribbed stitches are extremely versatile and work in pretty much any yarn or project. You can create beautiful hats, scarves, cowls, blankets, and sweaters using a version of ribbing. Unlike a simple stockinette stitch (knit on the right side and purled on the wrong side), ribbing won’t curl in on itself as much. (The wider…
Read More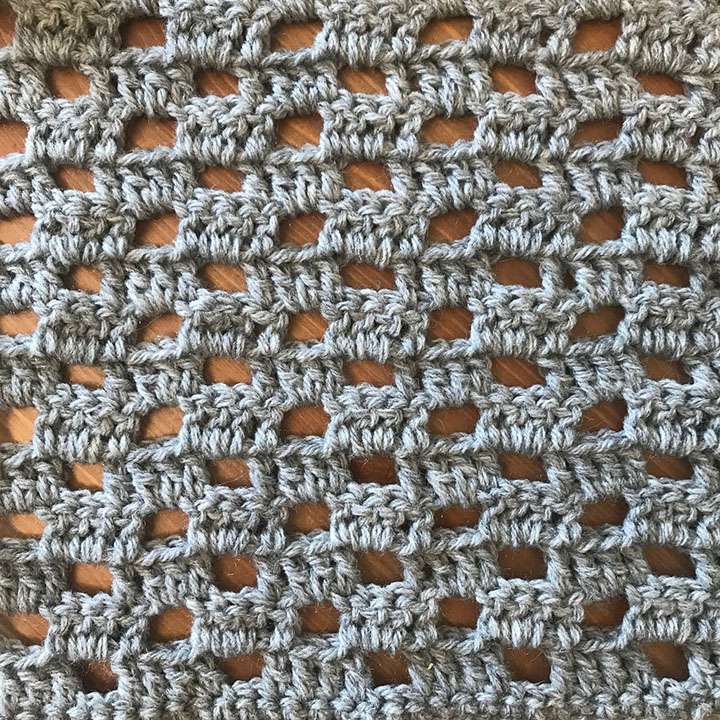
Materials Lion Brand Wool-Ease® in Grey Heather Size I (5.5mm) crochet hook (ch a multiple of 6 sts + 5) Set Up Row 1: Work 1 sc in 2nd ch from hook and in each ch across. Turn. Set Up Row 2: Ch 2 (counts as 1 dc throughout), skip first sc, 1 dc in next 3 sc,…
Read More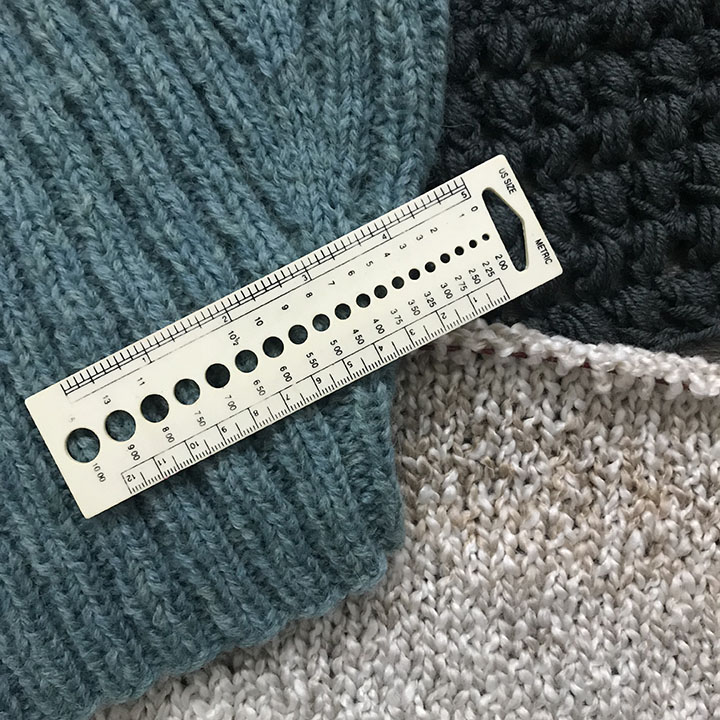
If you’ve followed a few patterns you probably have seen “save time, check your gauge!” or some encouraging form of this instruction. But why does gauge matter and how can it actually save you time? What Is Gauge? What Does It Do? Before we go any further, let’s look at what gauge is. Simply speaking,…
Read More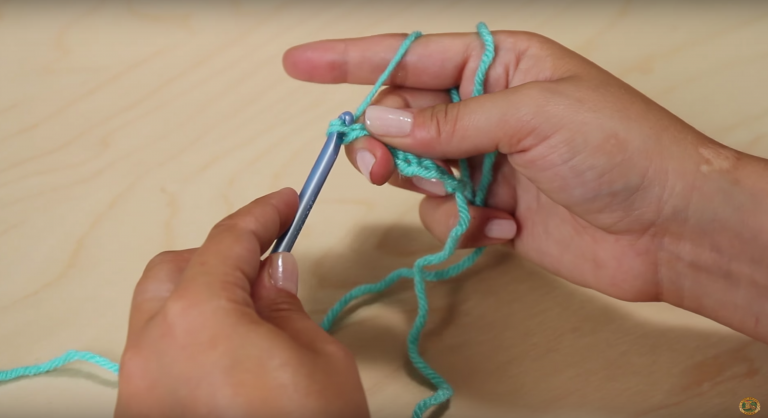
National Left-Handers Day is coming up on August 13th, so we’re shouting out our left-handed crafters! There are different options when it come to knitting and crocheting, but there’s something new to learn for any crafter who’s curious. If you’re interested in trying something new, then read on! Or if you’re a new crafter, who…
Read More
We started 2018 with the best of intentions: to stop the stash creep from taking over our lives. But as they say, the best intentions pave the road to certain disaster. Now we’re revisiting that New Year’s Resolution, and prepping for summer projects by getting organized, once and for all. If you’re committed to figuring…
Read More
If this is your first time venturing into the yarniverse, welcome! If you’re a knitting looking to cross-over to crochet, we’re happy to have you. We here at Lion Brand work hard to create accessible videos to help crafters pick up a new hobby, develop their skills, and try new things. With these 3 videos,…
Read More