
Turkish cast-on is a great method for creating seamless, even toe-up socks. It’s also useful for making hoods, purses, toys, mittens, and gloves without seams or gaps. With this step-by-step tutorial, you’ll be on your way to making smooth, beautiful pieces in no time!
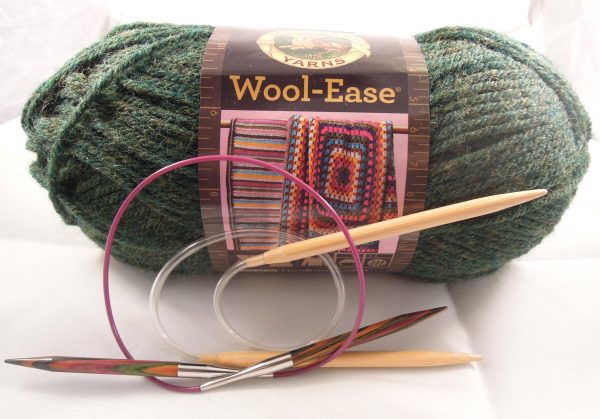
To start, you’ll need a skein of yarn and two circular needles of the same size. I used Wool-Ease® in Forest Green Heather and size US 9 needles. The length of the circulars is not important for the sake of learning, but shorter is easier to manage, so both of mine were 16 inches. My needles are made from different materials to make it easier to tell them apart here, but this is not necessary. If you get a vastly different gauge with different types of needles, it would be best to use two of the same kind so your garment is even.

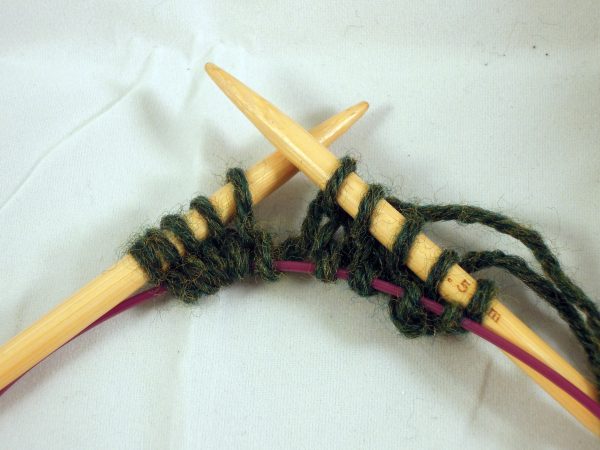
Hold the needles parallel, with the points toward the right. Needle A will be on top, and needle B is on the bottom, as pictured. Make a slipknot and place it on needle B.
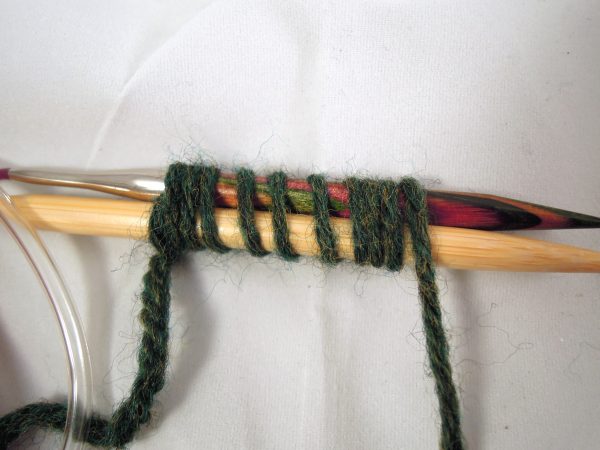
You will be wrapping the yarn around the back of both needles, and down over the front. You will do this half as many times as the number of stitches you need. In this case, to get 20 total stitches, I wrapped the yarn 10 times.
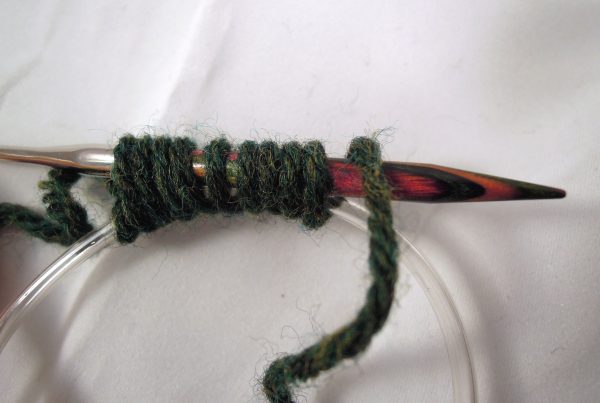
Next, pull needle B so that the stitches are on the cable part of the needle, letting the tips hang. You will be working the stitches on needle A first.

Making sure the working yarn is being brought up from behind, knit across needle A.
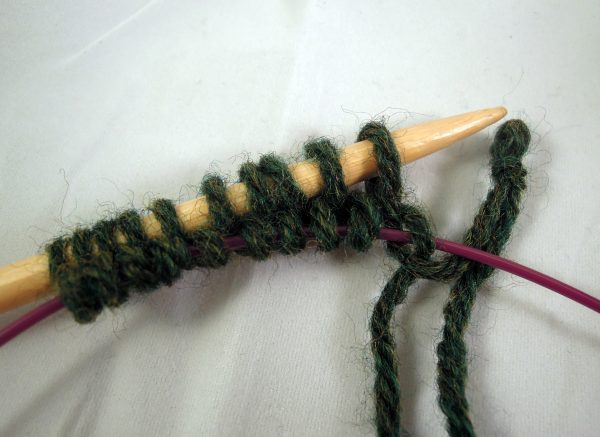
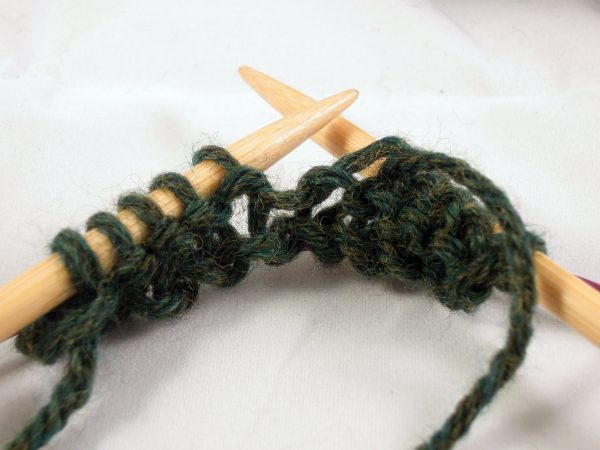
Turn the work so needle B is on top, then slide the stitches onto the left tip of needle B. At the same time, pull needle A until the stitches are on the cable and let it hang. Slide the slipknot off of needle B.
Knit across needle B.
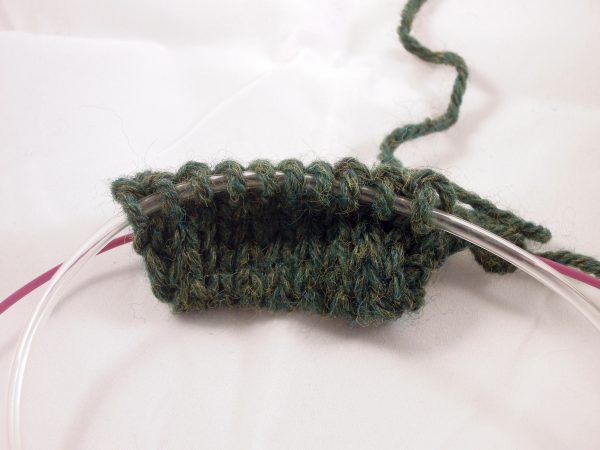
Continue working in the round in this manner, sliding the needles with each turn of the work. After several rounds, you should begin to see the shape of the piece emerge. This would be the toe of a sock, the tip of a mitten, or the bottom of a bag.
Turkish cast-on can also be worked back and forth to make hoods for sweaters. To do this, you will begin as before, but instead of working in the round, when you reach the end of needle B, you will turn and purl back.
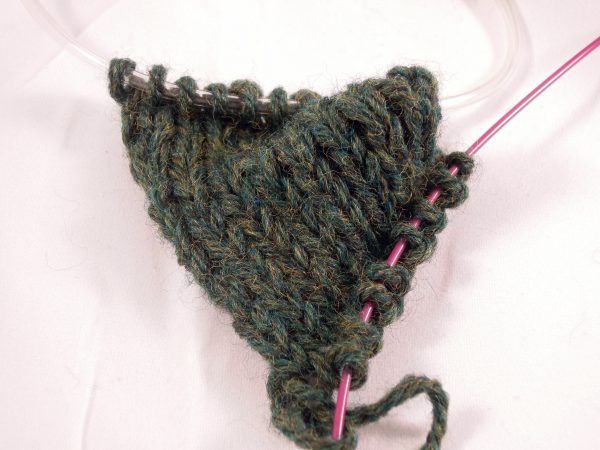
This creates the perfect seamless hood shape, closed in the back and open in the front.
While this method of casting on may seem complicated at first glance, it is actually quite easy once you get the hang of it. If you prefer not to use two circulars for your entire project, you can switch to different needles, like DPNs or a single long circular for magic loop, once you have the shape established.
That’s all there is to it! Go forth and create beautiful seamless garments.
Melva J. Phillips
I’m needing a knitting pattern using the turkish cast on for mittens. Starting the mittens from tip to cuff on circular needles. Please help.