
For beginners who are interested in weaving, a cardboard loom is a great way to learn and practice designs before deciding to invest in a sturdier loom – like the Cricket Loom or Martha Stewart CraftsTM Knit & Weave Loom Kit. This step by step tutorial will help you get started on your new journey into weaving!

You will need a 14 X 20 in. (35.5 X 51cm) piece of cardboard, a ruler, a large-eye blunt needle, pencil scissors, and, of course, yarn.
The tutorial below is for a placemat made with Lion® Cotton, but we also recommend Bonbons, Vanna’s Choice®, Cotton-Ease® for beginner weavers.
With the ruler and pencil, mark a line 1 in. (2.5 cm) from each short end of cardboard. Beginning 1/2 in. (1.5 cm) from one end of line, and ending 1/2 in. (1.5 cm) from opposite end of line, make 53 evenly spaced (about 1/4 in. (6 mm) apart) marks along length of line. Cut a slit in cardboard at each mark, down to the 1 in. (2.5 cm) border.
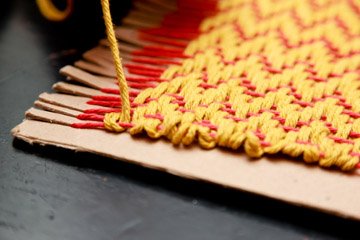
We are showing you the over 2, under 2 weaving method.
Wrap loom with base yarn, placing one strand in each notch then around the back of the loom to the next notch. At last notch cut yarn, leaving a 6 in. (15 cm) tail. There should be 53 strands. Thread blunt needle with about 10 in. (25.5 cm) of working yarn.
Note: Use a length of working yarn that feels comfortable to you. The longer the yarn, the more chance for tangles! The shorter the yarn, the more ends you’ll have to weave in!
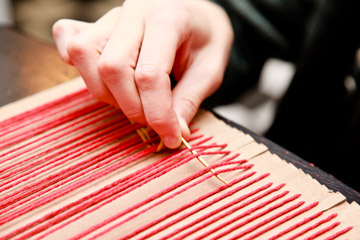
Gently lift up the strands you want to weave “under” with needle.
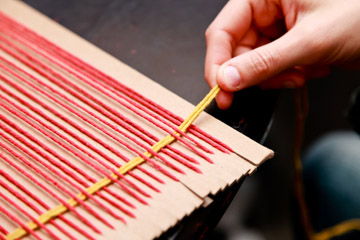
Pull yarn through to other side, keeping entire row loose, especially the edges.
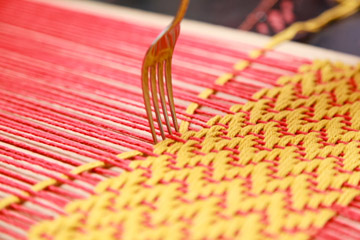
Push yarn down with a fork to even out the row. Pull yarn as needed to remove excess yarn. NEVER pull yarn tight as this will really distort the final shape.
When you reach the end of your working yarn, wrap it around the final strand and tie a knot.

Weave tail along edge to hide.
Cut tail close to work.
To start a new row, simply work the next row of your pattern with a new length of working yarn, leaving a 6 in. (15 cm) tail.
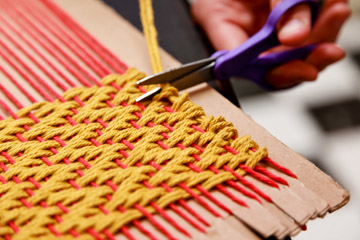
After you’ve woven in all tails, cut the strands that stretch across the back of your loom. Remove two of these strands from their notches and tie them together close to the edge of the piece to make fringe. Make sure to start at an end that is NOT an under 2 or over 2, because the knot will not work! You need to tie the knots with one strand that is under and one that is over. Because there are an odd number of strands, there will be one extra at the end. To remedy this, when you get to the last 3 strands, hold 2 together as one and tie knot from there.
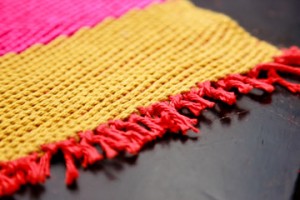
Option 1: One end tied to another end in a double knot.
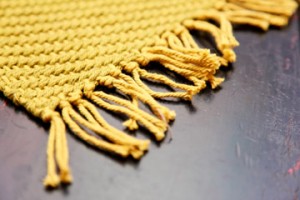
Option 2: Two end strands held together and tied in a single knot.
Woven items are great for home decor like placemats and coasters, as well as accessories like scarves. To see all our woven patterns, click here.
For more weaving tips check out the following articles:
You must be <a href="https://blog.lionbrand.com/wp-login.php?redirect_to=https%3A%2F%2Fblog.lionbrand.com%2Fhow-to-weave-on-a-cardboard-loom-with-lion-brand%2F">logged in</a> to post a comment.