
Cable knitting is a technique that every knitter should know. They add texture, warmth, and visual interest to pieces, and show up on all different kinds of garments. They’re also fairly easy to master — if you can knit and purl, you can do them!
The basic principle is that you are knitting the stitches out of order, so that they cross over each other. You slip half of the stitches of the cable onto a cable needle, then you hold that either in front or in back of the work, knit the rest of the cable, and finally, knit the stitches from the cable needle back onto the main needle.
For this swatch, I used Scarfie® and US size 9 needles.
For practice, we’re going to work a swatch with an eight-stitch cable that has eight stitches on either side. Additionally, knit one stitch on either end as a border.
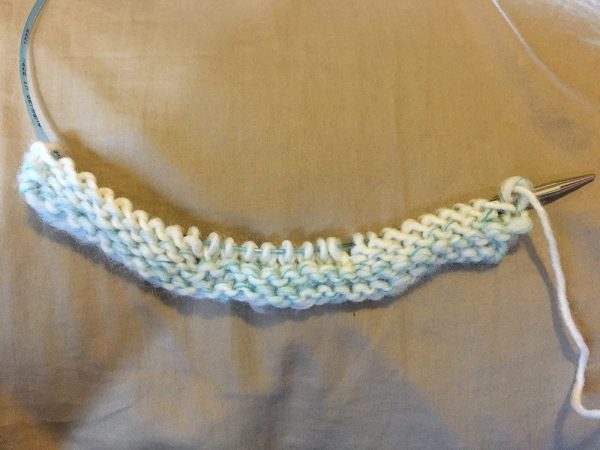
So you’ll start by casting on 26 stitches. Work two rows of garter stitch (knit on both sides), then set up the cables:
Row 1 (RS): K1, P8, K8, P8, K1
Row 2 (WS): K9, P8, K9
Repeat these two rows one more time. On the next row, you will work the cable.
Start the cable row by knitting the edge stitch, then purling 8.
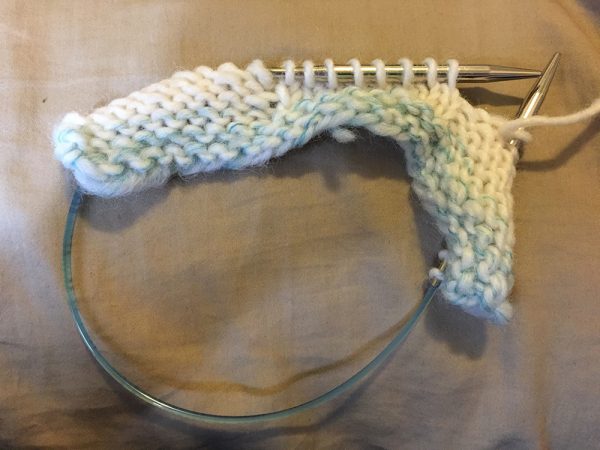
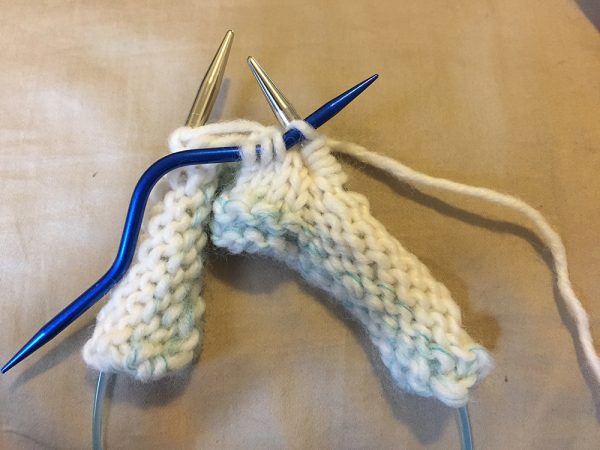
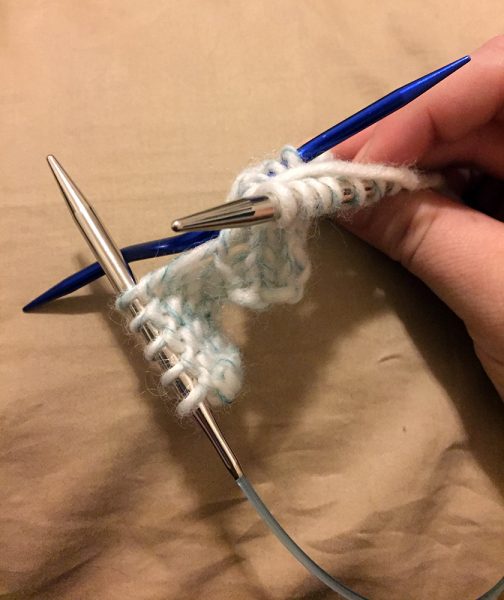
Slip the next four stitches onto the cable needle, then let that hang in front of the work.
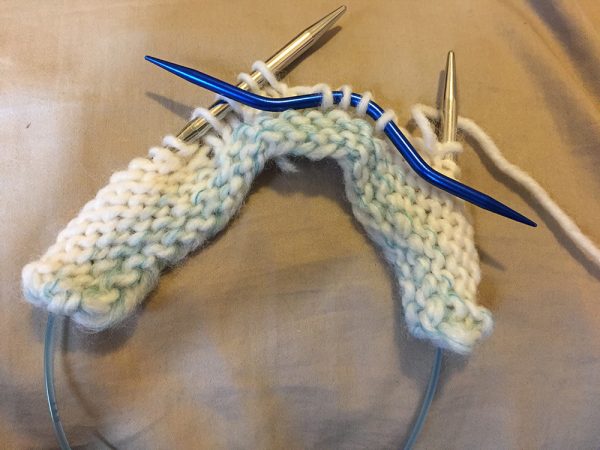
Knit the next four stitches from the left needle onto the right needle.
Bring the cable needle over and knit the stitches from the cable needle.
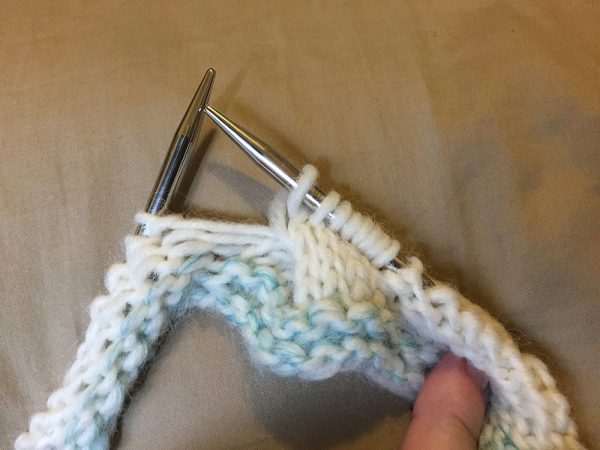
Finish the row, then work the WS row the same way as row 2 above.
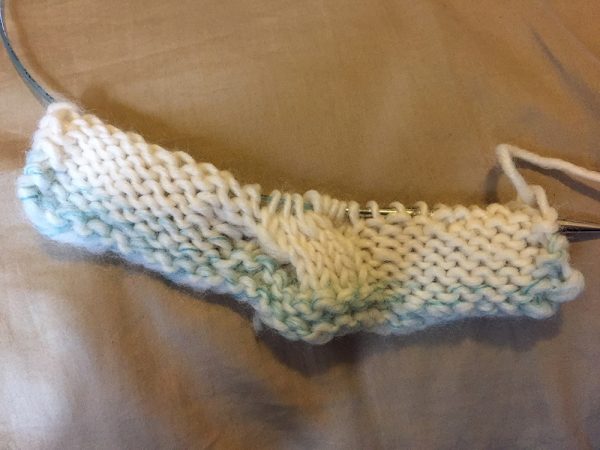
At this point, you will have worked 6 rows. For the purpose of this demonstration, the cable repeat is 10 rows. To finish, you will work rows one and two above twice more.
To work another cable, start this process over. Work rows one and two twice, work the cable row, work row two, then work rows one and two twice again.

When working a long row of cables, you will probably want to use a row counter. Cables are extremely hard to visualize — it always looks like you’ve gone too far right before it’s time to work the cable again.
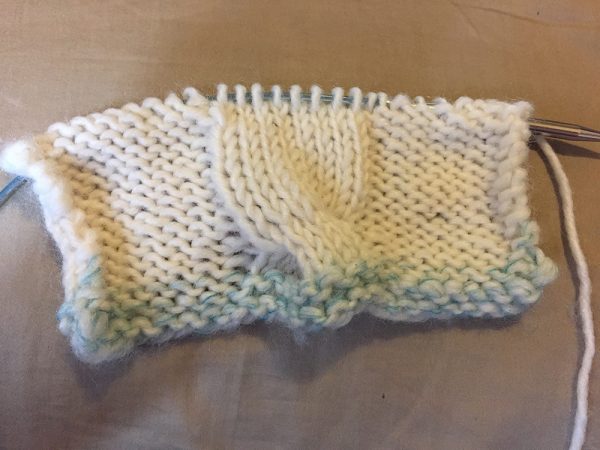
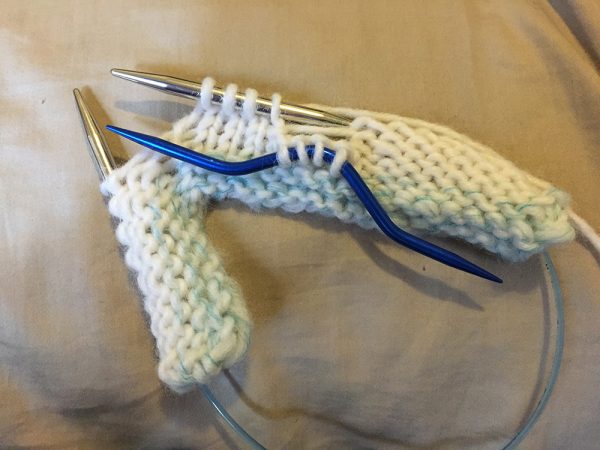
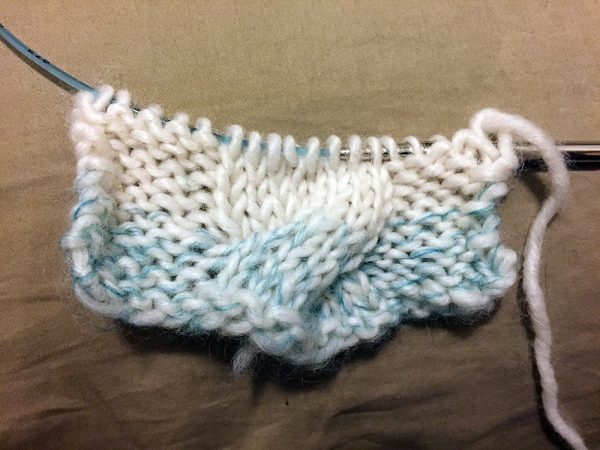
As you can see in the pictures, when worked this way the cable appears to twist with the right side over the left. If you want them to go in the opposite direction, there is only one small difference. Everything is the same, but when you get to the cable row, hold the needle behind the work instead of to the front.
Then the cable will appear to be left over right, like so:
That’s all there is to cabling! There are many different kinds, some as simple as these, and others extremely complex.
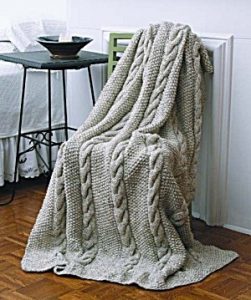
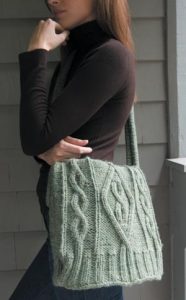
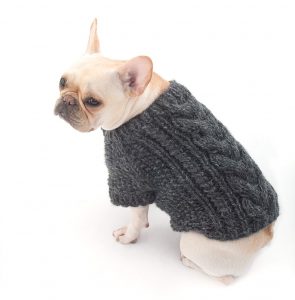
If you want to make some cabled patterns, there are plenty out there — including the Curvy Girl Cabled Cardigan, which is the subject of a KAL right now. Or you can try one of these beautiful items below:


Sim Morg
The two photos in the ‘Continue the cable’ section show that just to the left of the cable, the stitches are pulling. I have the same problem, but it doesn’t seem to go away. Even with washing. Can you suggest something?