
Welcome back to Design with Me! I’m so excited/nervous to finally start designing this blanket! If you missed my first post talking about inspiration, you can read that here.
via GIPHY Excited to start but realizing I have to do math…
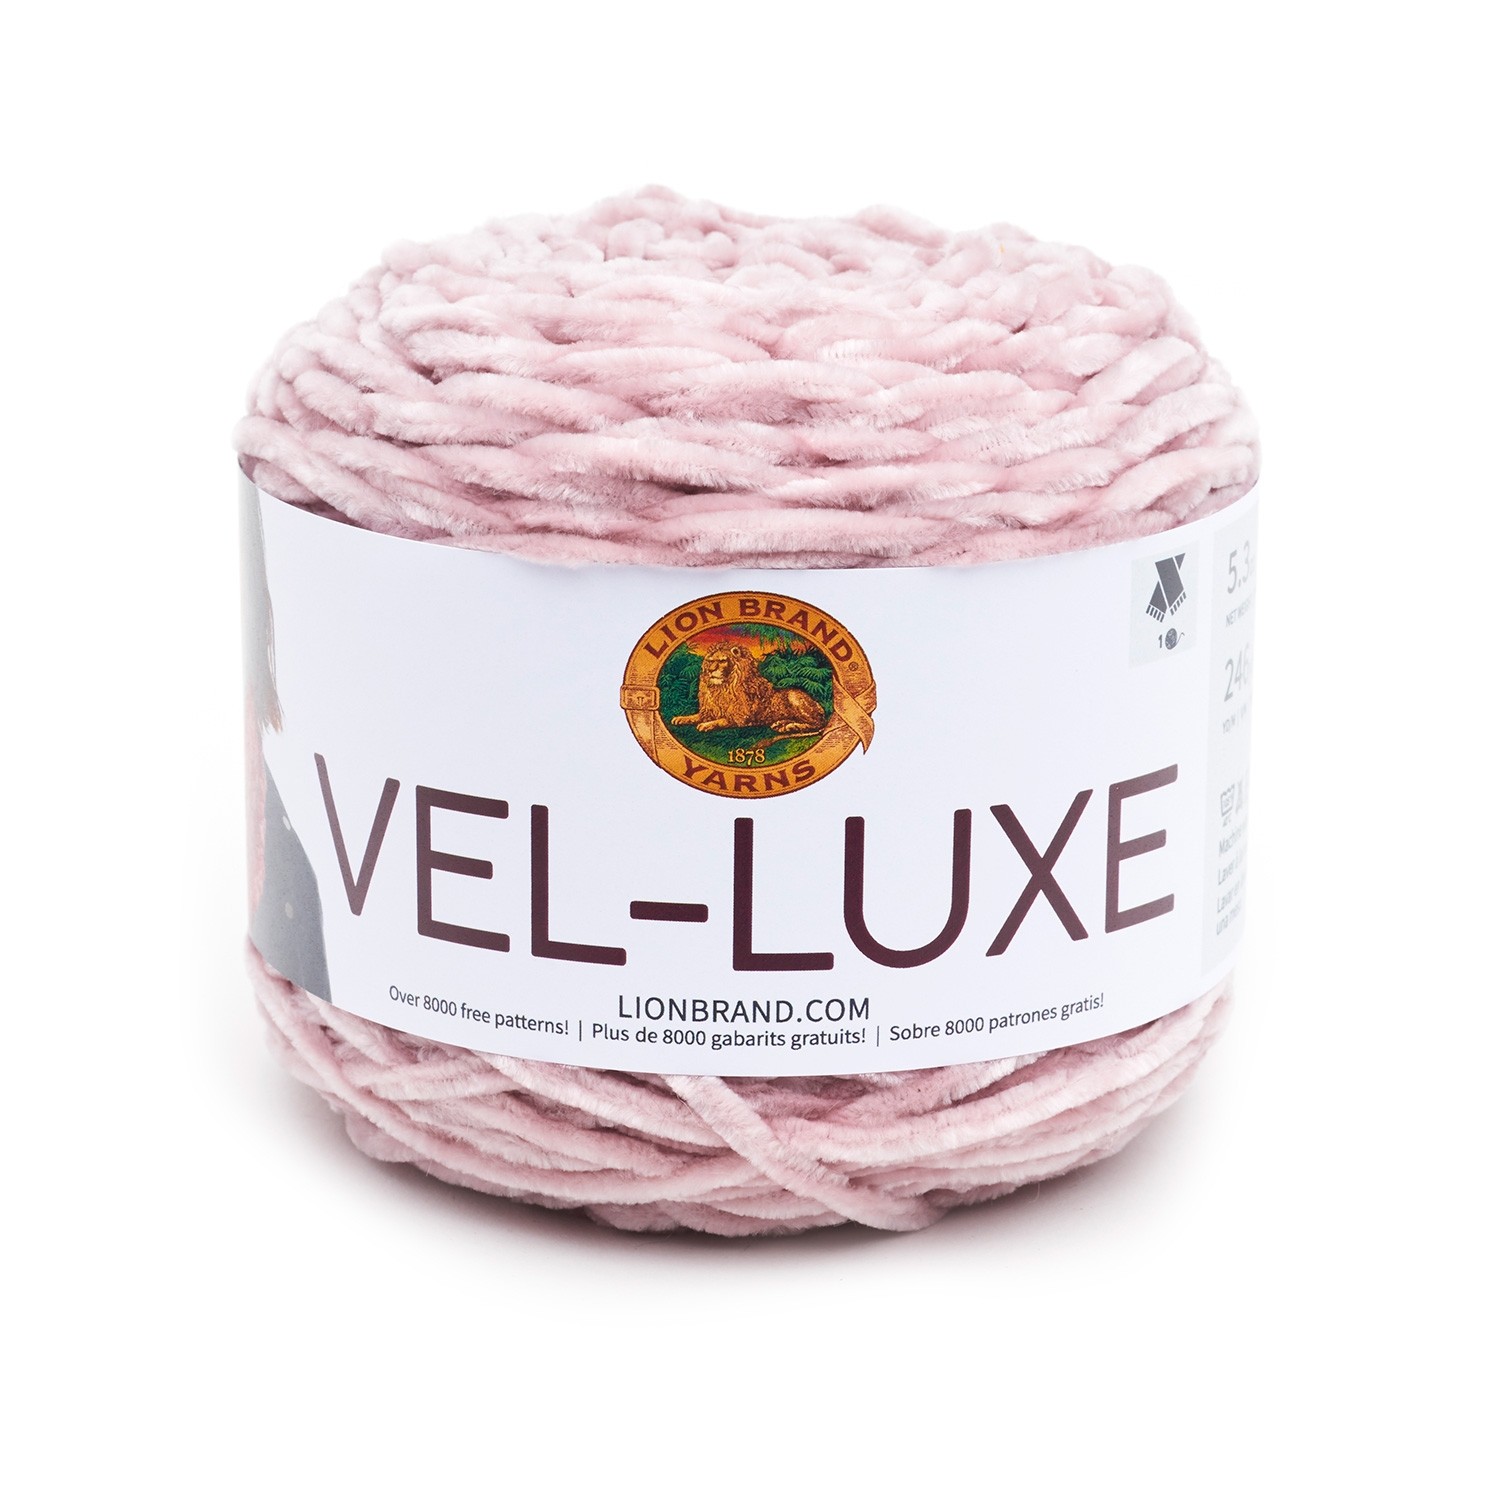
Alright…let’s get to the good stuff. So, since my last post, I have officially decided on a yarn. I knew that I wanted to go with Vel-Luxe just because it’s so soft and luxurious. But, I was torn between two colors – Lilac and Dusty Pink. Ultimately, I decided on Dusty Pink because it’s literally my statement color. What yarn are you using?
So to keep this as basic as possible, but also super squishy, I decided to go with garter stitch. I love this super simple stitch because it’s easy to understand and also looks beautiful when it’s all worked up. I wanted to go with a simple stitch since it’s my first time designing a pattern and I wanted to keep the math super simple on this. First time knitting? Here are some great video tutorials to get you started! For this all you’ll need to know is cast on, knit stitch, and bind off.
Alright…I’m just gonna say this now. I HATE GAUGE SWATCHING!!! I just like getting started and working on my project! But, if I have learned anything working at a yarn company and constantly making things…gauge is essential. For this, look at the back of your yarn label to see the suggested gauge. For Vel-Luxe it suggests a 4.5mm needle to achieve 16 stitches by 24 rows to give me 4″. For my gauge swatch I ended up being right on gauge with a 4.5mm needle. Be sure to double check your gauge! This is what we will be using to find how many stitches we will cast on!
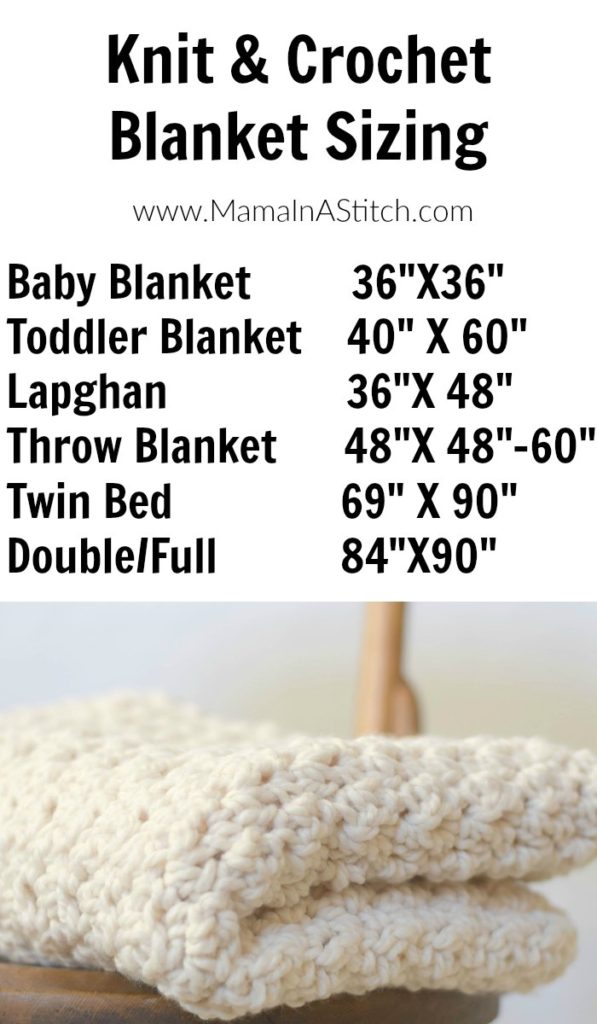
I want this blanket to be a nice throw to go on the couch. So that works out to be about 48″X60″. I found this great chart by Mama in a Stitch that breaks down blanket sizes
For this week’s homework…do a gauge swatch with the yarn that you’re going to use for your blanket! We’re going to need that for next time when we figure out how many stitches to cast on so we can officially get started on our blanket!
Jessica Potasz
So glad you found my blanket sizing chart helpful!! Thanks so much for sharing and I can’t wait to see your progress!
Nancy Pawlowski
I agree with you about Gauge Swatching. That’s why I make afghans and throws, no need to swatch when using a P size hook and #5 or #6 yarns. I explain Gauge in my beginner classes, but with their first time they just blindly follow the size of hook or knit needles the patterns call for – even when I have a sample and their size is half the size of the finished sample’s stitches. Trying to get people to realize they can change hook or needle size is frustrating. I’ve even had them ask if they needed a bigger yarn to get the gauge size. I have a “sampler” of the same yarn using the same amount of stitches, but done with each size crochet hook. I need to do one with knitting as well. It is a great visual that gives them the idea that gauge is by tool size and not yarn size.
I used to knit afghans but gave up when I had to repair one for an old friend who got it caught in her wheelchair and burned part of it (besides the snags, holes, and other problems). It was too hard to fix the “patch” of the hole in the pattern so it didn’t look nice when it was fixed but the holes were taken care of in stockinette stitch. Since then I only crochet afghans as they seldom snag, and if cut they don’t unravel like knitting does.
Good luck with your blanket! I think the yarn you’ve picked will be a nice soft one for the finished product.