
Thank you for joining me in the Ella Tied Cardigan Crochet Along. It’s time to tackle the LEFT and RIGHT front sides.
I have a secret for you: crocheting is reversible, so you don’t technically have to make the both left AND right fronts if you don’t want to. If you like the LEFT technique of fastening off and breaking the yarn and restarting in a few rows, make 2 LEFTS. If you would rather keep your yarn attached throughout the shaping of the front, make 2 RIGHTS!
ONE CAUTION: I spotted a tiny bit of errata in the RIGHT FRONT section of the pattern. See below in RED INK:

I think it’s easier to make 2 RIGHT Fronts because it is fewer ends to weave in. However, you may like having those ends (from the left front instructions) out later when constructing the sweater. It’s your choice! You are in charge of this project!
Once you finish one front side, be very aware of any tension shifts. Compare the front side to the back piece to make sure they are living in the same tension land!
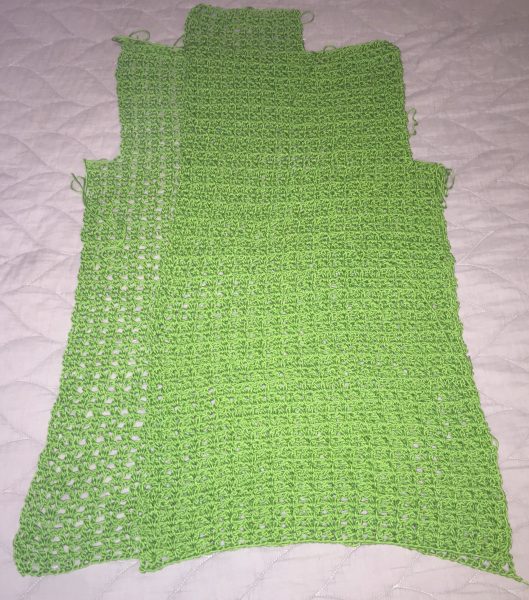
The armholes should line up and so should the bottoms!
Begin the second front side and after a few rows, do a quick comparison to be sure they are turning out to be the same size. And yes, that collar extension should be longer on the back piece. Don’t worry — it looks weird now, but it is CORRECT!
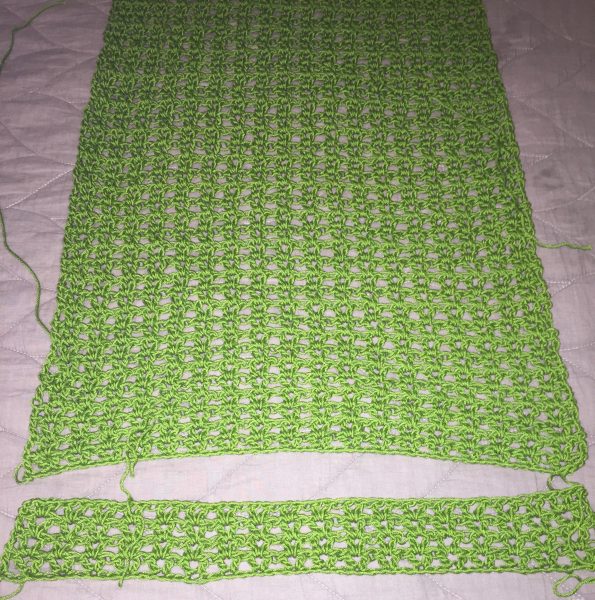
Checking as you go takes just a few minutes, and saves a lot of possible future FROGGING if you hadn’t taken the time to just check in with your project as you go.
Don’t forget to visit the Ravelry group where we are discussing all things Ella Tied Cardigan Crochet Along! Happy Crocheting!