
 Crocheting a circle is a skill that is the basis of making items from hats to amigurumi. There are two ways to make circles, each with advantages and disadvantages, but the basic formula is the same. Here’s what you need to know:
The spiral technique means that you go around and around and around. If you look at it in the left column below, you’ll see that this leaves a little step in each round as you work, but it also creates a smoother fabric, good for amigurumi.
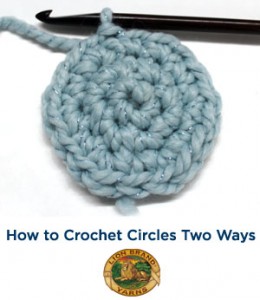
For standalone circles, joined rounds (see the right column below) will look most circular, without that little step that you get working in spiral. When you work joined rounds, it means that at the end of each round, you’ll join the first and last stitch with a slip stitch, chain for the height of your next round (ch 1 for sc, ch 2 for hdc, etc.) and then start the next round. While this creates a little jog in the fabric where the rounds were joined, it also allows you to use stitch patterns more easily once you’re working even, as in hats, since each round is separate from the next. In joined rounds, you can also use stitch patterns that are worked back and forth (see my blog post from last week).
Spiral |
Joined Rounds |
 |
 |
 |
 |
 |
 |
Regardless of which method you choose, the formula is the same:
Chain 2 (or make a magic ring)
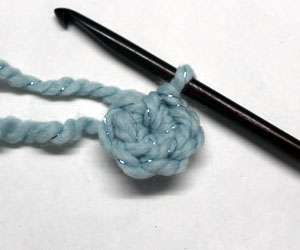
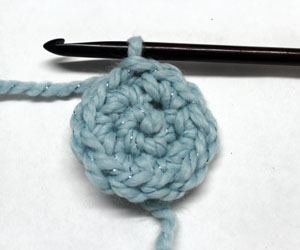
Rnd 1: Single crochet 6 times into the first chain (or magic ring) = 6 sc, as seen in the top 2 pictures.
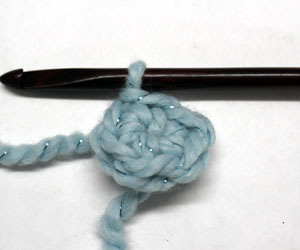
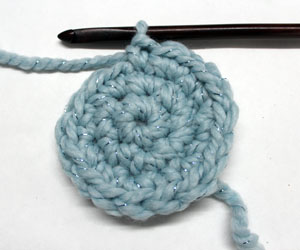
Rnd 2: Sc twice into each sc = 12 sc, as seen in the middle 2 pictures.
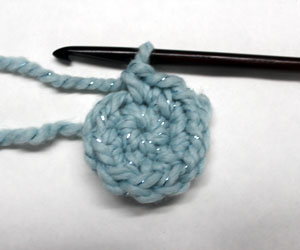
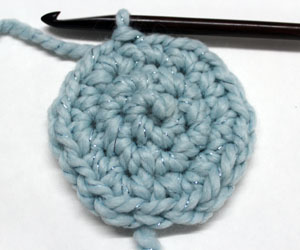
Rnd 3: *Sc twice into the first sc, sc into the next sc; repeat from *all around = 18 sc, as seen in the bottom 2 pictures.
Rnd 4: *Sc twice into the first sc, sc into the next 2 sc; repeat from *all around = 24 sc
Rnd 5: *Sc twice into the first sc, sc into the next 3 sc; repeat from *all around = 30 sc
For joined rounds, at the end of each round, add the following step:
Slip stitch into the first sc of the round, ch 1.
Want to make a bigger circle? You’ll simply add 1 stitch each round to the number of single crochets between the increases (this bit: *Sc twice into the first sc, sc into the next # sc; repeat from *all around)
Pro tip #1: You could use half-double or double crochets instead, but they will look better in joined rounds. If using them, be sure to adjust the number of chains you make for the “height” of each round as mentioned above.
Pro tip #2: If your circle is bowing into a bowl shape, loosen your grip on the working yarn. Pulling the yarn too tightly will cause each stitch to bow up, so give a light tug of your hook to loosen that working yarn after making each stitch.
Happy crocheting!
Pictured: the yarn I’m using is Wool-Ease Thick & Quick in Mystical.
melodie
Hey zontee, I just made my baby blanket I would show you a pic of it but I do not a USBC for pic on the computer. It is pink and white. Mom said it is soooo cute
la loca de las lanas
esta muy bien explicado gracias
Pilly
Gracias por la información muy bien expuesta y fácil para poder seguir . gracias