
Welcome back to the Learn to Crochet series! Today we’ll be making our second project, the Level 2 Striped Hat.
Over the past couple of weeks, we’ve learned some new stitches as well as how to read a crochet pattern or chart. You’re going to be using all of those new skills for the striped hat!
It may seem like a leap forward to be making a hat already, but actually, it’s not. This one is super easy! You’re actually just working back and forth for the whole thing. The shape is created at the end by using a piece of yarn to draw the top closed.
You will need to change colors regularly while making this hat. For a quick tutorial on how to do so, check out our Learn section.
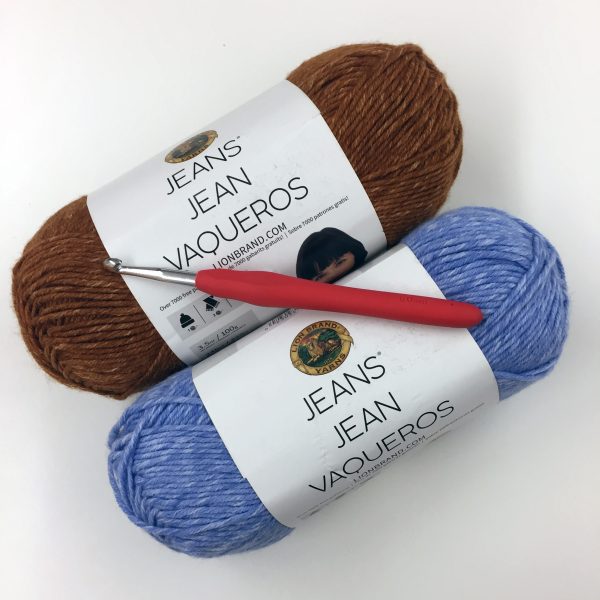
For this hat, you need two skeins of category 4 yarn, one each in two different colors. I used Jeans® for my hat, but we are backordered on several colors of that yarn, so your best bet is to stick with the pattern and use Heartland®. Vanna’s Choice®, 24/7 Cotton®, and Wool-Ease® are other great options that would work here.
You will also need a J-10 (6.0 mm) hook and a needle for sewing the seam.
Got everything you need? Then let’s go!
You’ve got two colors: color A and color B. For me, A was the blue and B was the brown.
This hat starts with a chain of 33 in color A. Then you start working into the 4th ch, so you end up with rows of 30 stitches. You’re working straight back and forth, changing colors and stitches every other row.
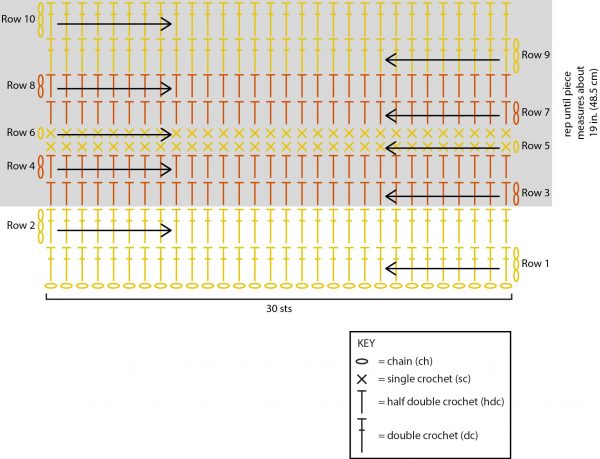
We covered reading the chart for this pattern last week, so if you need a refresher, you can look back at that. The basic idea with this is that you do two rows of double crochet in color A, two rows of half-double crochet in color B, two rows of single crochet in color A, and two rows of half-double crochet in color B. Don’t forget your turning chains, which are pictured in the chart.
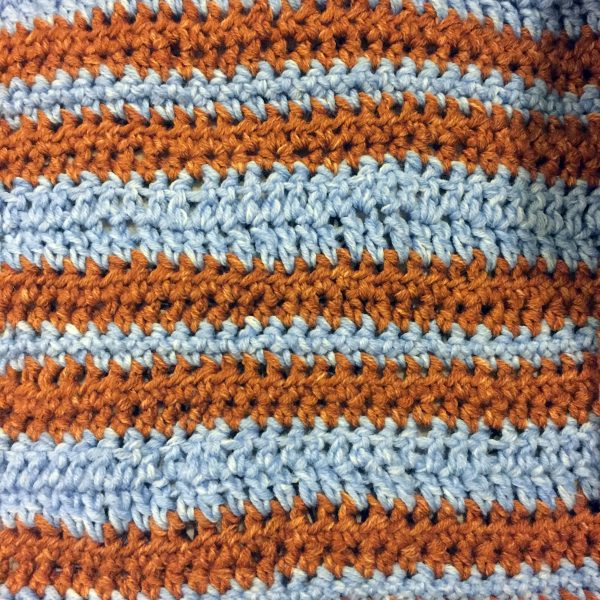
You do this until it’s about 19 inches long, or however long best fits your head. Make sure to end with color B so that the stripes line up properly. You can end after row 4 if you choose to, but in my opinion the pattern looks best if you end after row 8.
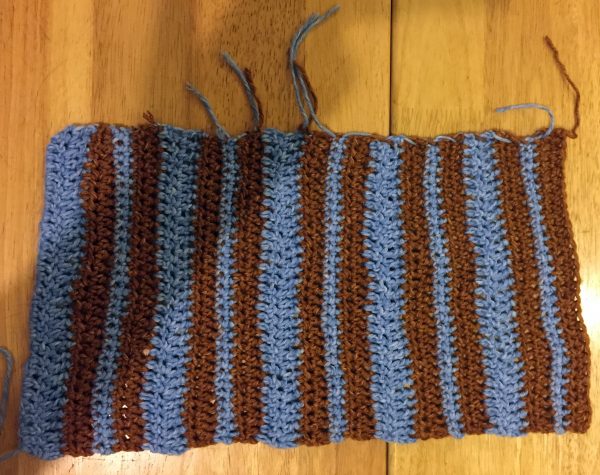
A note on changing colors: I experimented with both cutting the yarn at every stripe and carrying the yarn along the side. In this project, it doesn’t make a big difference which you do since you are gathering up that edge to make the top of the hat. In other projects, it would probably yield a nicer-looking final product to cut the yarn at each row and weave them in at the end. Yes, that’s a pain in a piece with as many changes as this one. If you do it as you go it’s a little less tedious that having to do everything at the end.
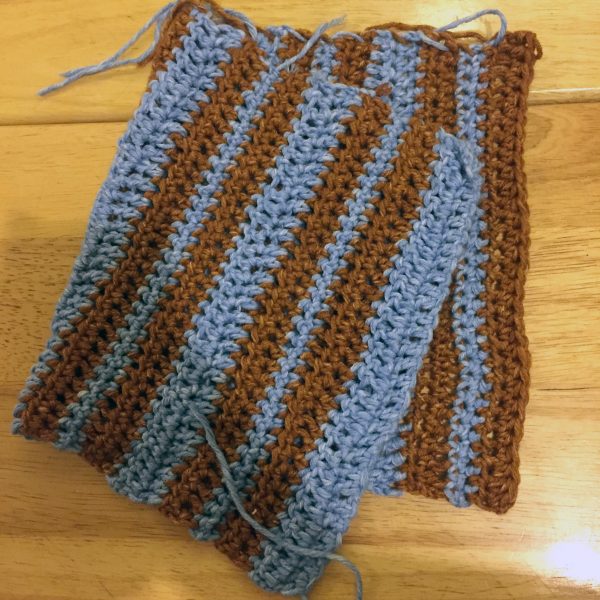
Once your piece is long enough, you’ll fasten off, then hold the short ends together. Sew up that seam.
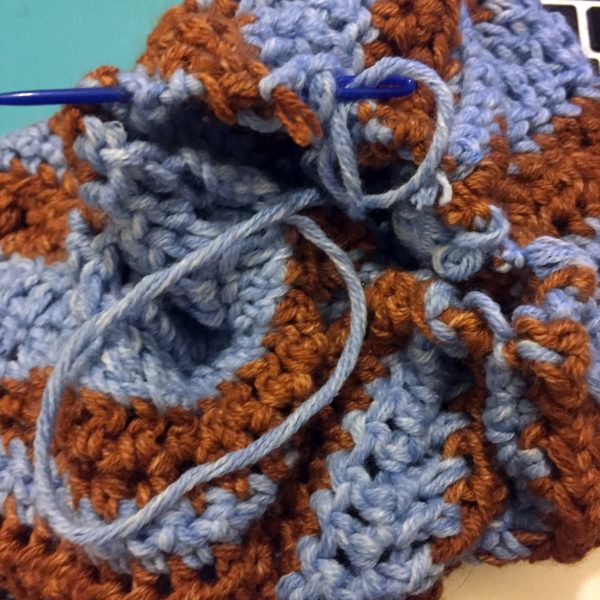
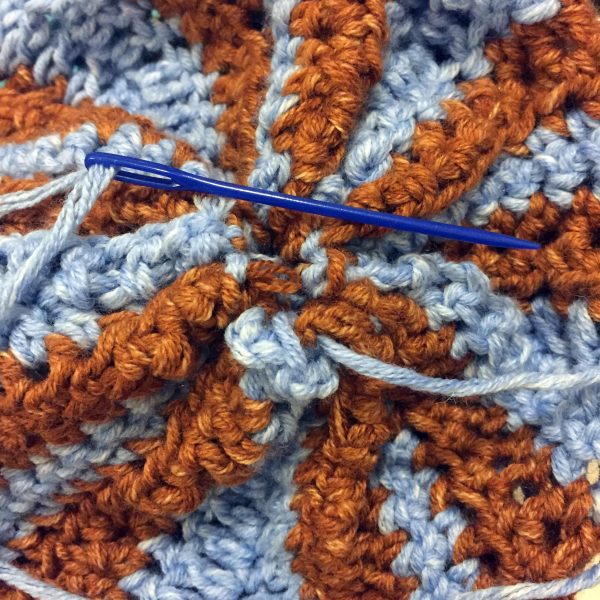
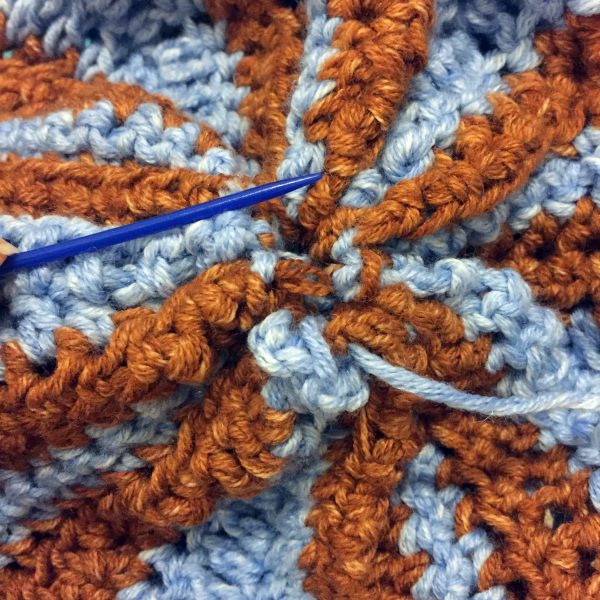
Next you’ll gather the top. Using the sewing needle, weave a piece of yarn along the top edge, then pull it tight to create the top of the hat. Pull that piece through to the inside of the hat and weave in the end.
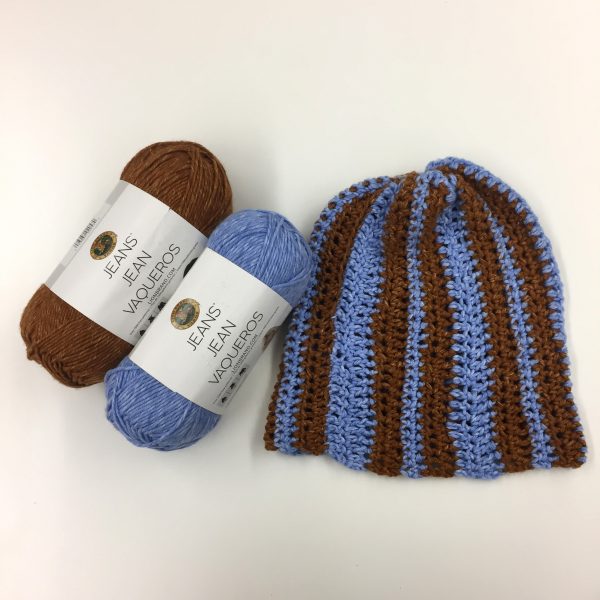
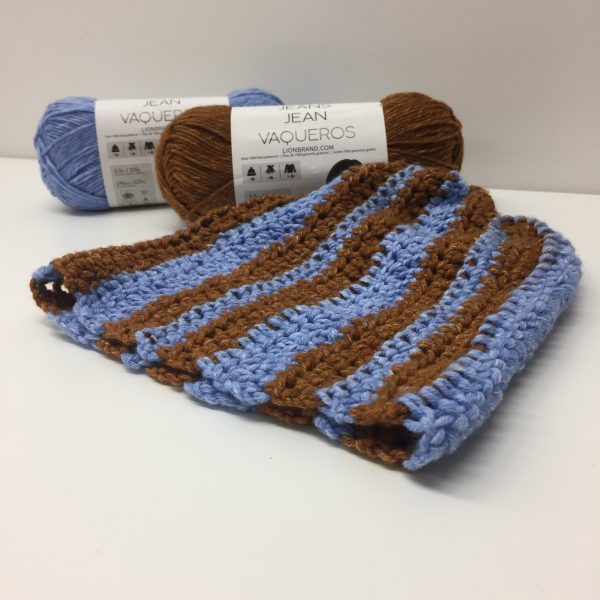
Now, you should have a striped hat that looks something like this. It’s OK if it isn’t perfect, it’s still a hat that you crocheted. It shouldn’t have used up the whole skein of either color yarn, so you can always make another if you want to practice!
Someone left a comment on a past post asking how to tell the first stitch in a row. I admit, that’s something I occasionally struggle to find. Usually, however, you can see what looks like a little bump or knot.
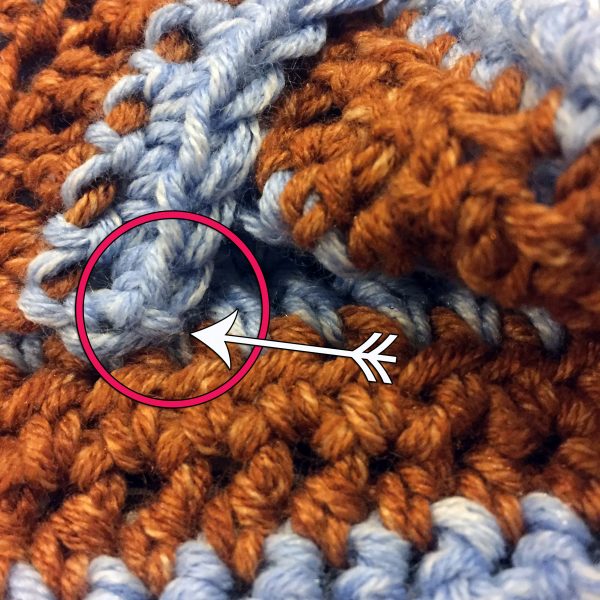
I count the first stitch coming out of that bump as one, and go from there.
Next week we’re going to talk about crocheting in the round. I promise it’s not scary! After that, we’ll practice our new skill with the Three Color Tonal Cowl. Then we’ll talk about increasing and decreasing, followed by our last project, the Level 3 Ripple Cowl. Once we’re done with that you will, of course, be a crochet maven ready to take over the world.
Dawn McGregor
Well, I made the toque(what we call them in Canada), wasn’t all that hard, went quite quickly But I have a question–I changed 33 as stated, then only ended up with 18-20 stitches when i counted, it fits etc, but don’t understand what happened?? Can you explain to me what you think i did wrong.
I have noticed the same thing in my practice swatches I would to the cast on then single chain, etc. and wouldn’t end up with the amt you said I should have, I would pull out and start again, but still end up with the same issue. I just don’t understand this.
Deebee
I’ve been crocheting since Jr High (1968), but I’ve really been enjoying these lessons. I’ve avoided charts but tackled this one. I made the hat and put it in the collection for next year’s Mitten Tree donations. My goal is 1 project per month starting Feb or 11 projects.