
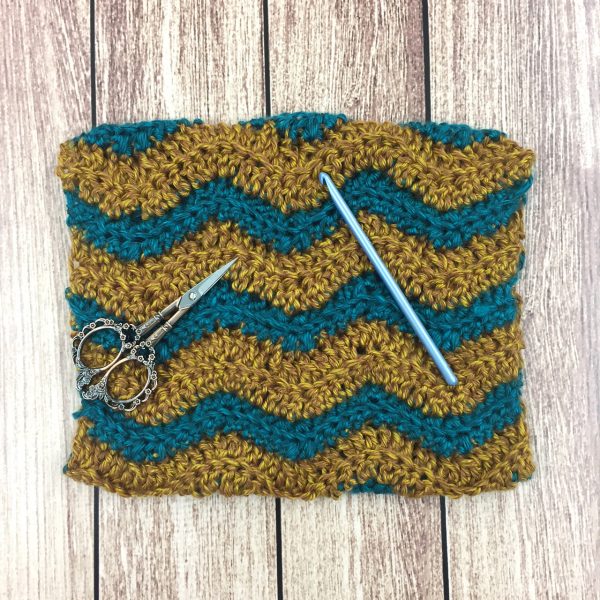
It’s our last project, you guys! Is anyone else a little bit sad? For this final week, we’re making the Level 3 Ripple Cowl.
The ripple cowl uses the skills we learned last week: increasing and decreasing. As we practiced in that lesson, making increases and decreases across a row creates a zigzag effect. Switching colors as well as stitches back and forth keeps the pattern interesting without being too difficult.
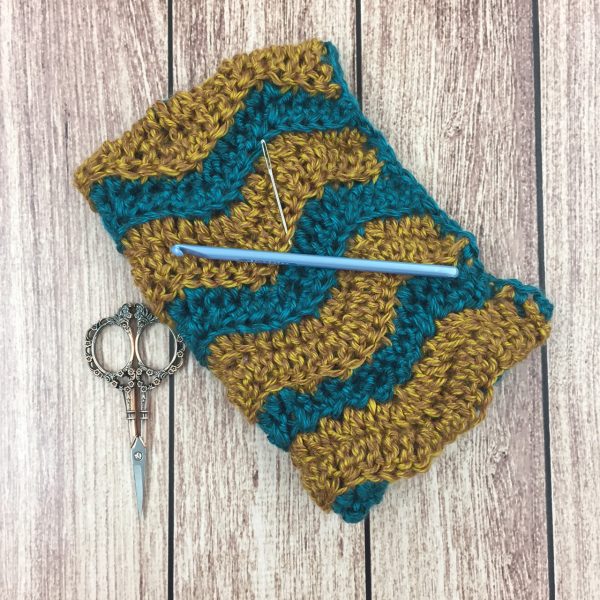
For this cowl, you’ll need two skeins of Heartland® — one each in two colors. I chose Cuyahoga Valley and Yellowstone. You’ll also need a J-10 (6.0 mm) hook and a darning needle to weave in ends — which there are plenty of, since it’s striped.
You start by chaining 39, but since you’re working dc on the first row, you skip the first 3 chains. So you actually should end up with 36 stitches on each row.
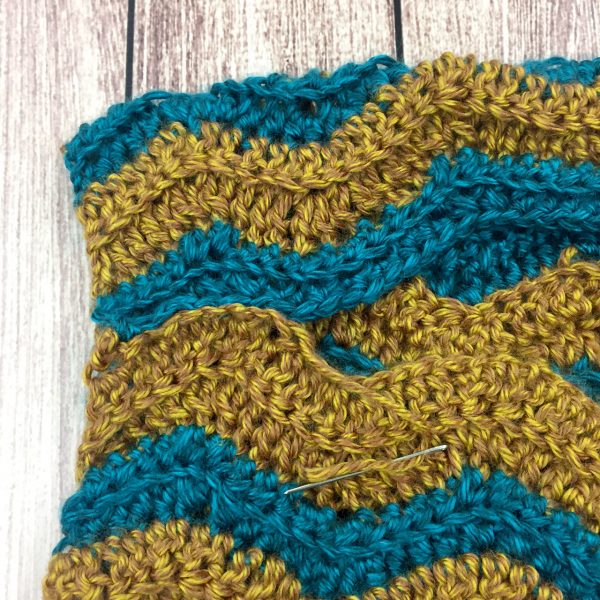
The body of the cowl itself is fairly simple and repetitive (not in a bad way) once you get the hang of it. Each row is an increase stitch (with the turning ch counting as the first stitch), 3 stitches, 2 decreases, 3 stitches, 2 increases, repeated across the row, with one increase at the end. You do this for two rows of dc in one color and then two rows of hdc in the other color.
If that sounds confusing, the pattern has both a chart and more detailed written directions.
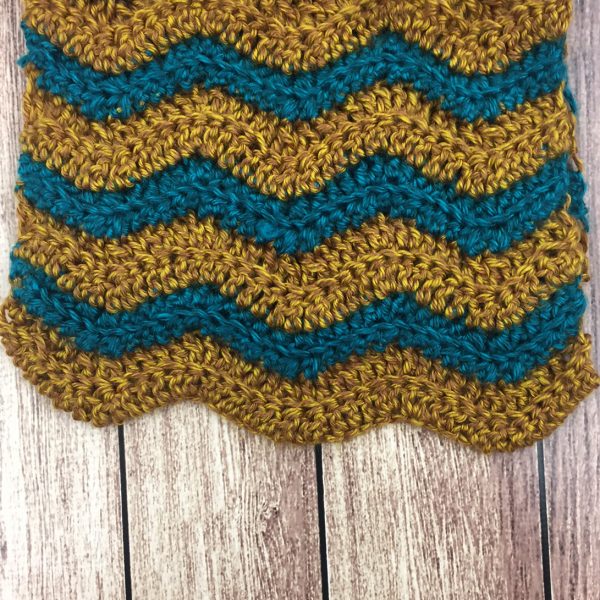
The bulk of this project is just those four rows over and over. The pattern instructs you to repeat is a total of 19 times, but if you want it shorter or longer, you can adjust accordingly. Since you start with the dc rows, you need to end with the hdc ones, so that it fits together correctly when you sew it up.
The short ends of the cowl should line up nicely to seam together.
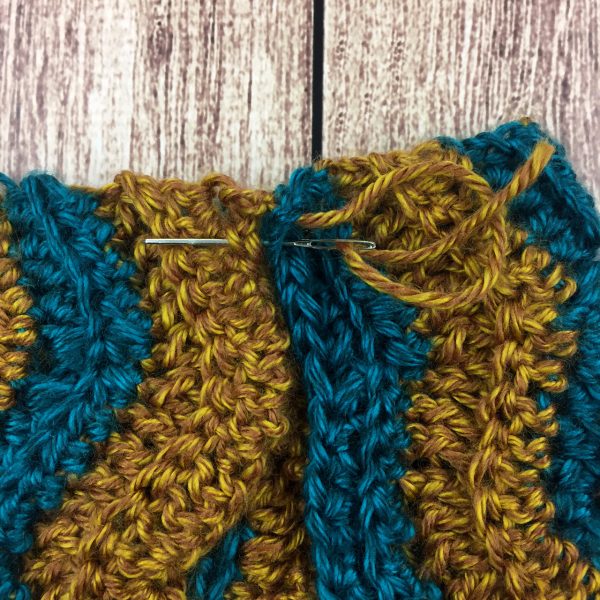
If you sew it neatly, you shouldn’t be able to see the seam at all, and the cowl will look like one consistent piece.
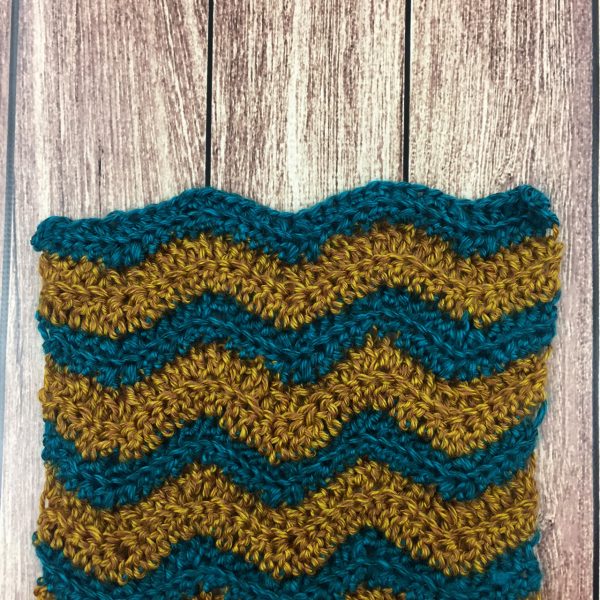
The last step is edging. This pattern calls for you to use color A for it, which in this case would have been Yellowstone. However, I am a sucker for any shade of teal, so I used color B, Cuyahoga Valley.
We are done with this series, so you’re basically a crochet expert now, right? You have the skills you need to break out on your own and try some new things.
Next week, we will have one last post to talk about where to go from here. If you have any questions you’d like me to address, leave a comment and ask!