
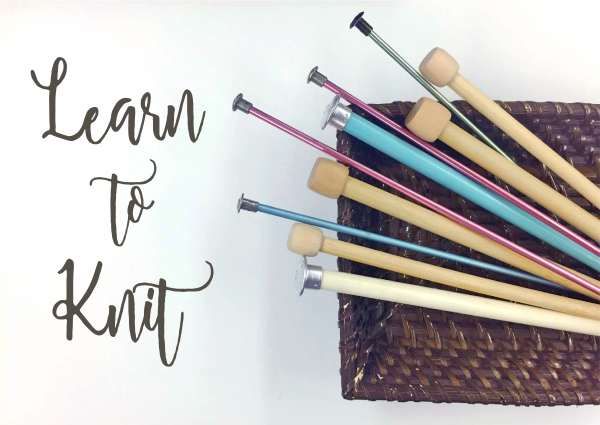
Who’s ready to learn the easiest stitch out there to knit? You all are! Last week we learned how to cast on, so now you are all ready to learn how to garter stitch.
k = knit
Knitting is the art of creating a fabric by making interlocking loops of yarn. There are two basic ways to create these loops:
There are different methods for holding the yarn and needles. In the ‘English’ method, the yarn is controlled and looped (or thrown) with the right hand to create stitches. In the ‘Continental’ method, the yarn is controlled in the left hand and the stitches are made by ‘picking’ loops off the needle with the needle held in the right hand. Some knitters feel that the Continental method is faster because there is less waste in motion. Since the yarn is controlled in the left hand, the Continental method may also be a little easier for left-handed knitters and somewhat more difficult for right-handed ones. Both methods work well and if the one does not feel comfortable to you, you may want to try the other.
Today, we will be learning the English method.
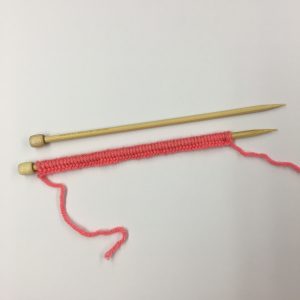
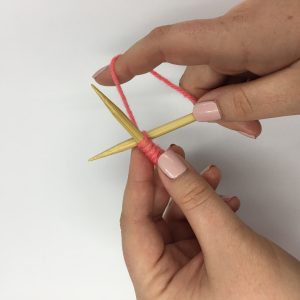
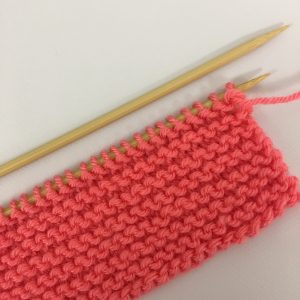
Step 1: Cast on your stitches. I am using Vanna’s Choice in color Pink Grapefruit and the recommended size 9 (5.5 mm) needles. I casted on 60 stitches for this lesson.
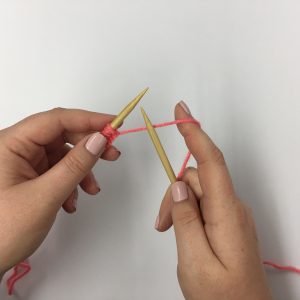
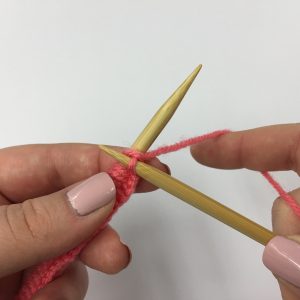
Step 2: Start by casing on as many stitches as are required by your pattern. When your cast-on is ready, hold the needle with the cast-on stitches on it in your left hand so that the first stitch is approximately one inch from the top of the needle. Loop the yarn that goes from the bottom of the first stitch to ball over the top of the forefinger of your right hand and hold the empty needle in your right hand.
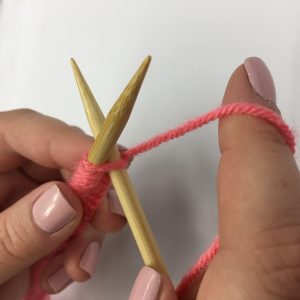
Step 3: You already know what to do next! Insert the tip of the right needle into the stitch closest to the tip of the left needle. This is the same way that you inserted the needle in step 4 when we learned how to cast on!
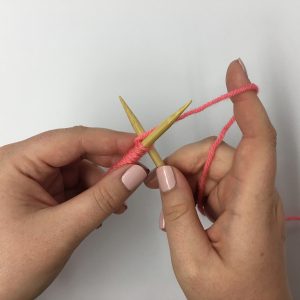
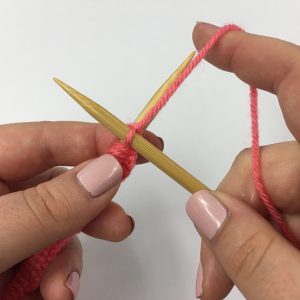
Step 4: Move your left hand so that both needles are held in your left hand between your thumb and your forefinger. Using your right forefinger, wrap the yarn from the stitch on the left needle up and over the top of the right needle in a clockwise motion. (same motion that you used in step 6 of casting on)
Slide the right needle (with the loop of yarn on it) down and towards you through the center of the stitch that is on the left needle.
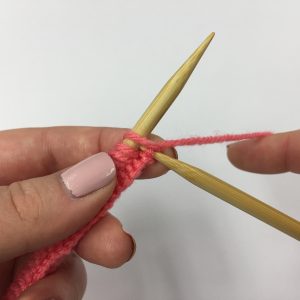
Step 5: Pull the yarn that is around the tip of the needle down and through the stitch on the left needle to create the new loop (stitch) on the right needle. (same motion that you used in step 7 of casting on)
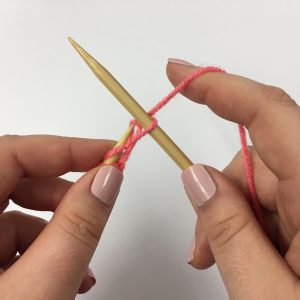
Step 6: Ready for something new? Just slip the new stitch and the stitch from the left needle to which it is connected completely off the tip of the left needle.
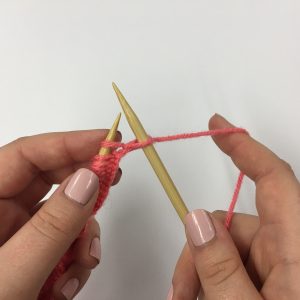
Step 7: Now, you should have one stitch on your right needle. You have just knit your first stitch! So easy, right?
Now continue repeating steps 1 through 7 until you have knit all of the stitches off of your left needle and onto your right one. When you reach that last stitch DON’T PANIC. Just knit the stitch. You have now completed your first row!
Note: the cast-on does not count as a row if you are knitting a piece where you have to count rows. what you have just finished – cast-on included – is row 1.
When the row is finished, it is time to turn your work! Exchange the empty needle in your left hand with the full needle in your right and begin again!
Video tutorial can be found here!
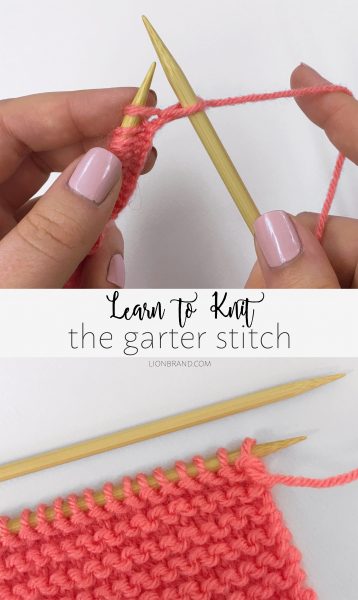
After you have knit several rows, the fabric you are making will feel bumpy and you’ll be able to tell that it is composed of a series of ridges. Each ridge is created by two rows of knitting. The ridges are on both sides of the knitted fabric and you can easily see and feel them.
This is called the Garter Stitch.
Fabric that is made completely in garter stitch is very stable and stretchy. Pieces made in garter stitch do not curl. Because of this characteristic, garter stitch edges are often used to stabilize pieces of knitted fabric so that they will lie flat.