Hey there crocheter! I hope your hooks and yarn are ready–because we’re kicking off the first piece of the Mystery Make-Along pattern! I won’t be dropping any spoilers here (I’m trying to be good!), but as the days go by I may come back and start posting some WIP pics. So be careful when you…
Read More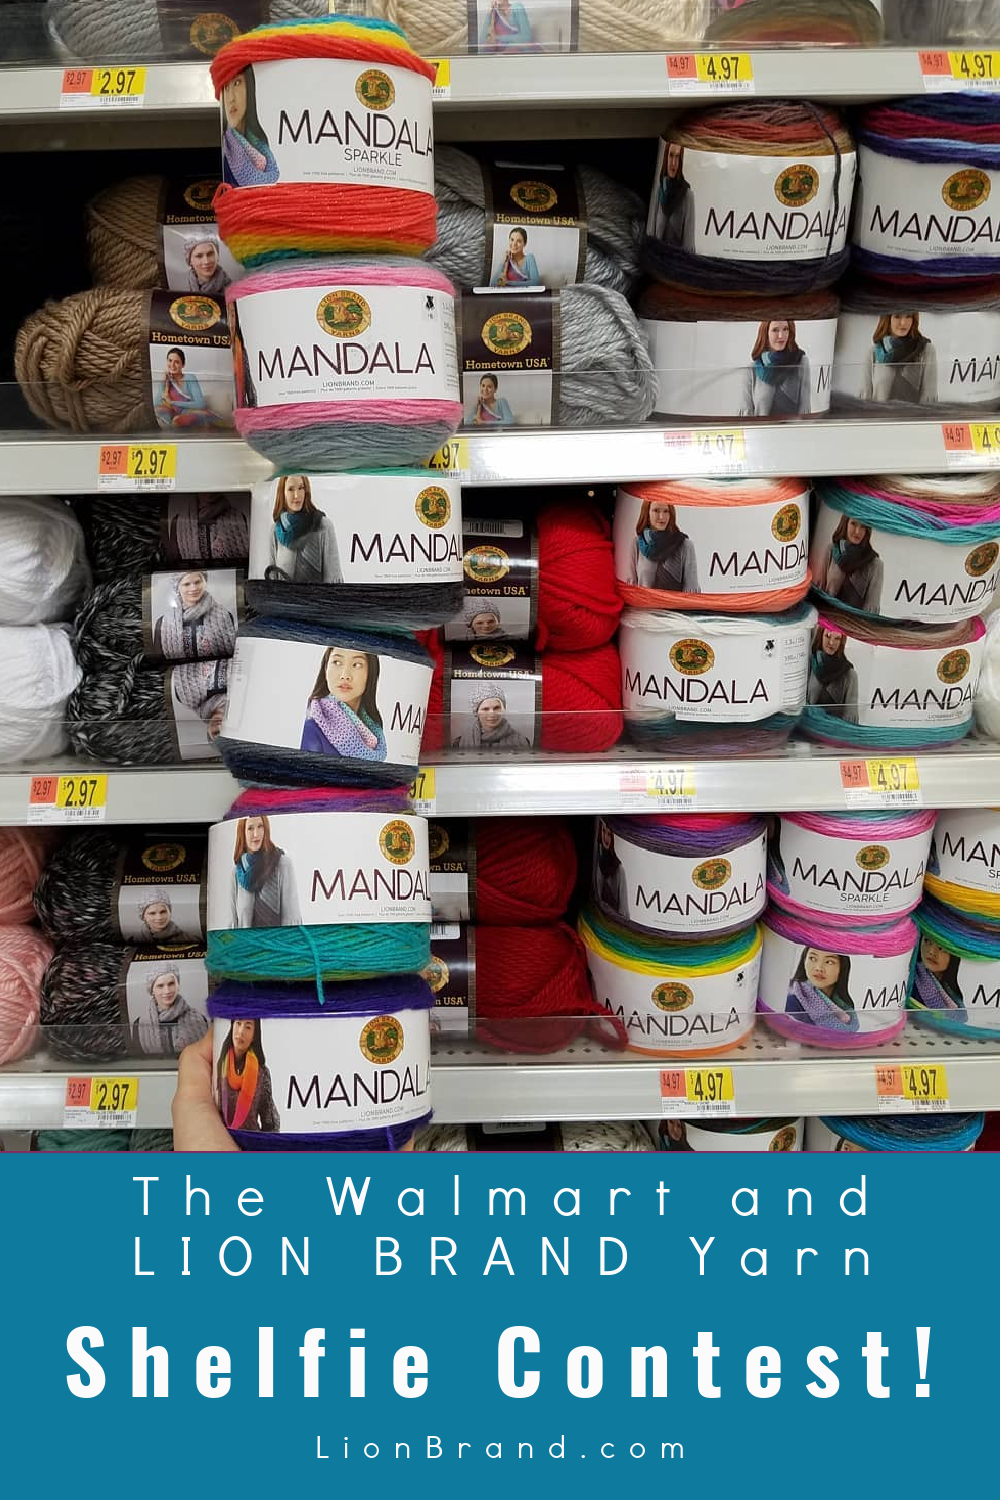
We love our Shelfie contests and this time we’re partnering with our friends at Walmart to bring you, even more, Shelfie fun! This is an opportunity to let your creativity shine through. Of course, just remember to please be courteous, and if you decorate pack it all back up when you’re done. Enter Take a…
Read More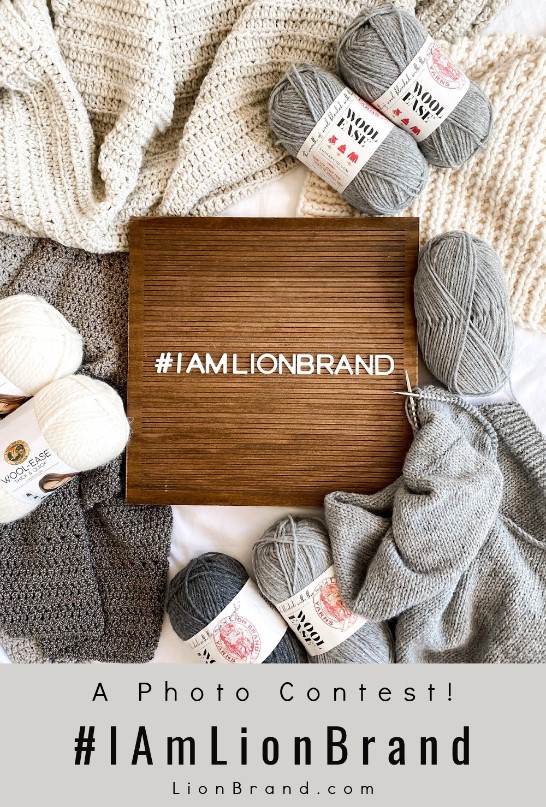
March 26th is Lion Brand Yarn Day, an all-day social media party for all things Lion Brand Yarn, and this year we want to start the celebration off early with a photo contest! At Lion Brand, we love seeing all the ways that you can get crafty with yarn. This year we want to get…
Read More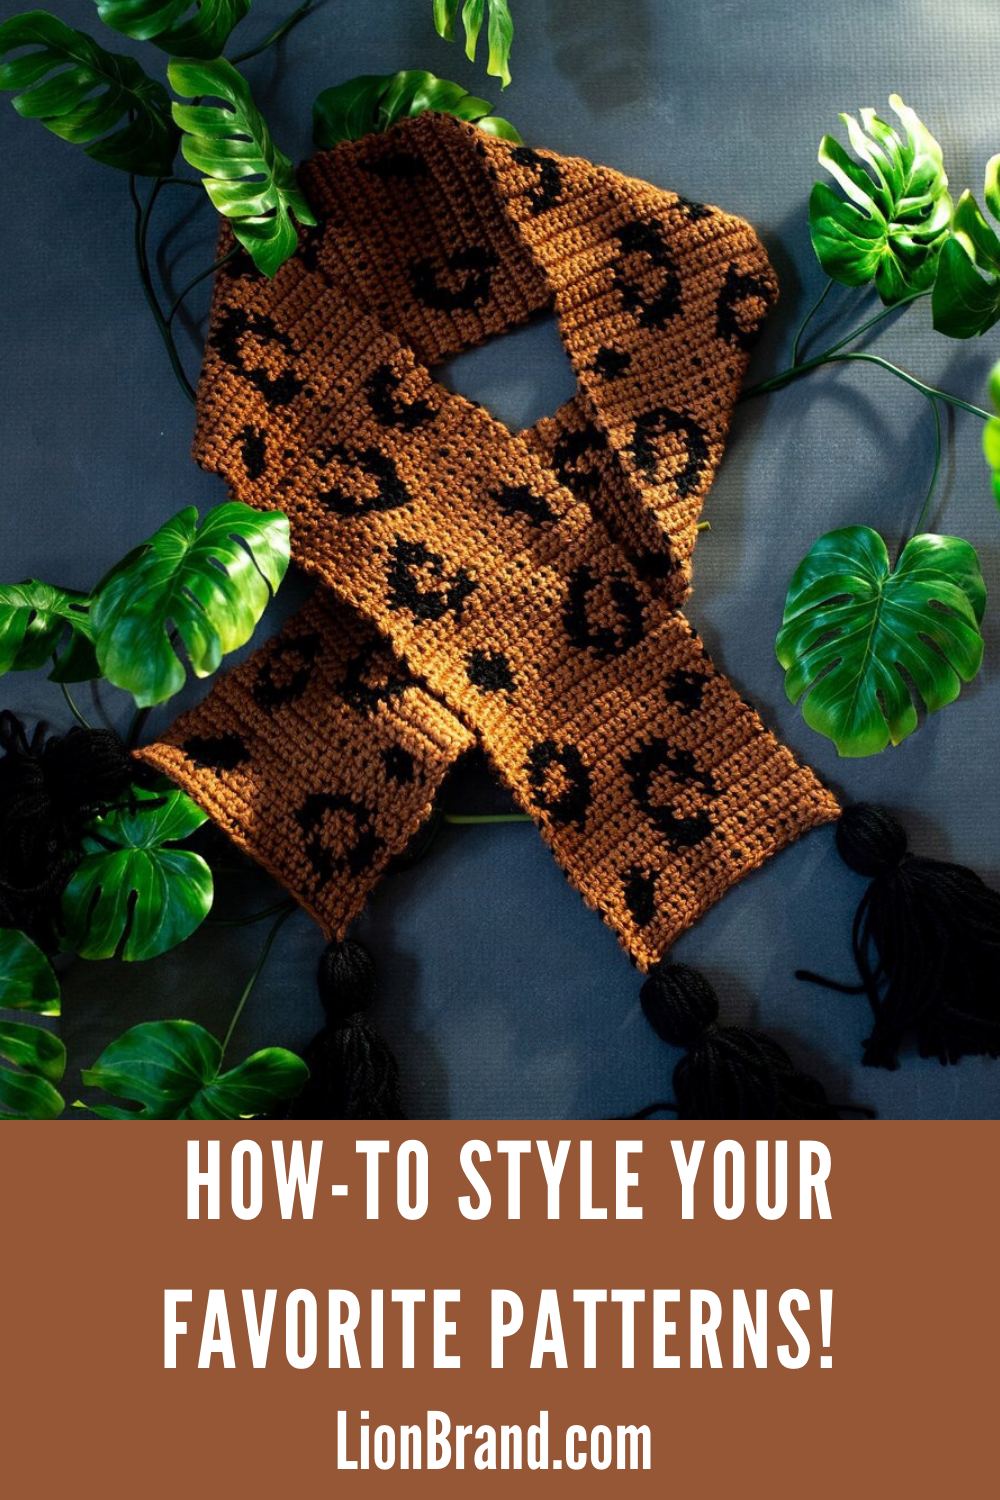
You’ve finished your project, now you get to wear it! Have you ever felt stumped on how to wear your newly finished objects? Not to worry, Yael of The Shi Shi Boutique, a local small business in New York City, walks us through how she would style some of your favorite Lion Brand Yarn Patterns.…
Read More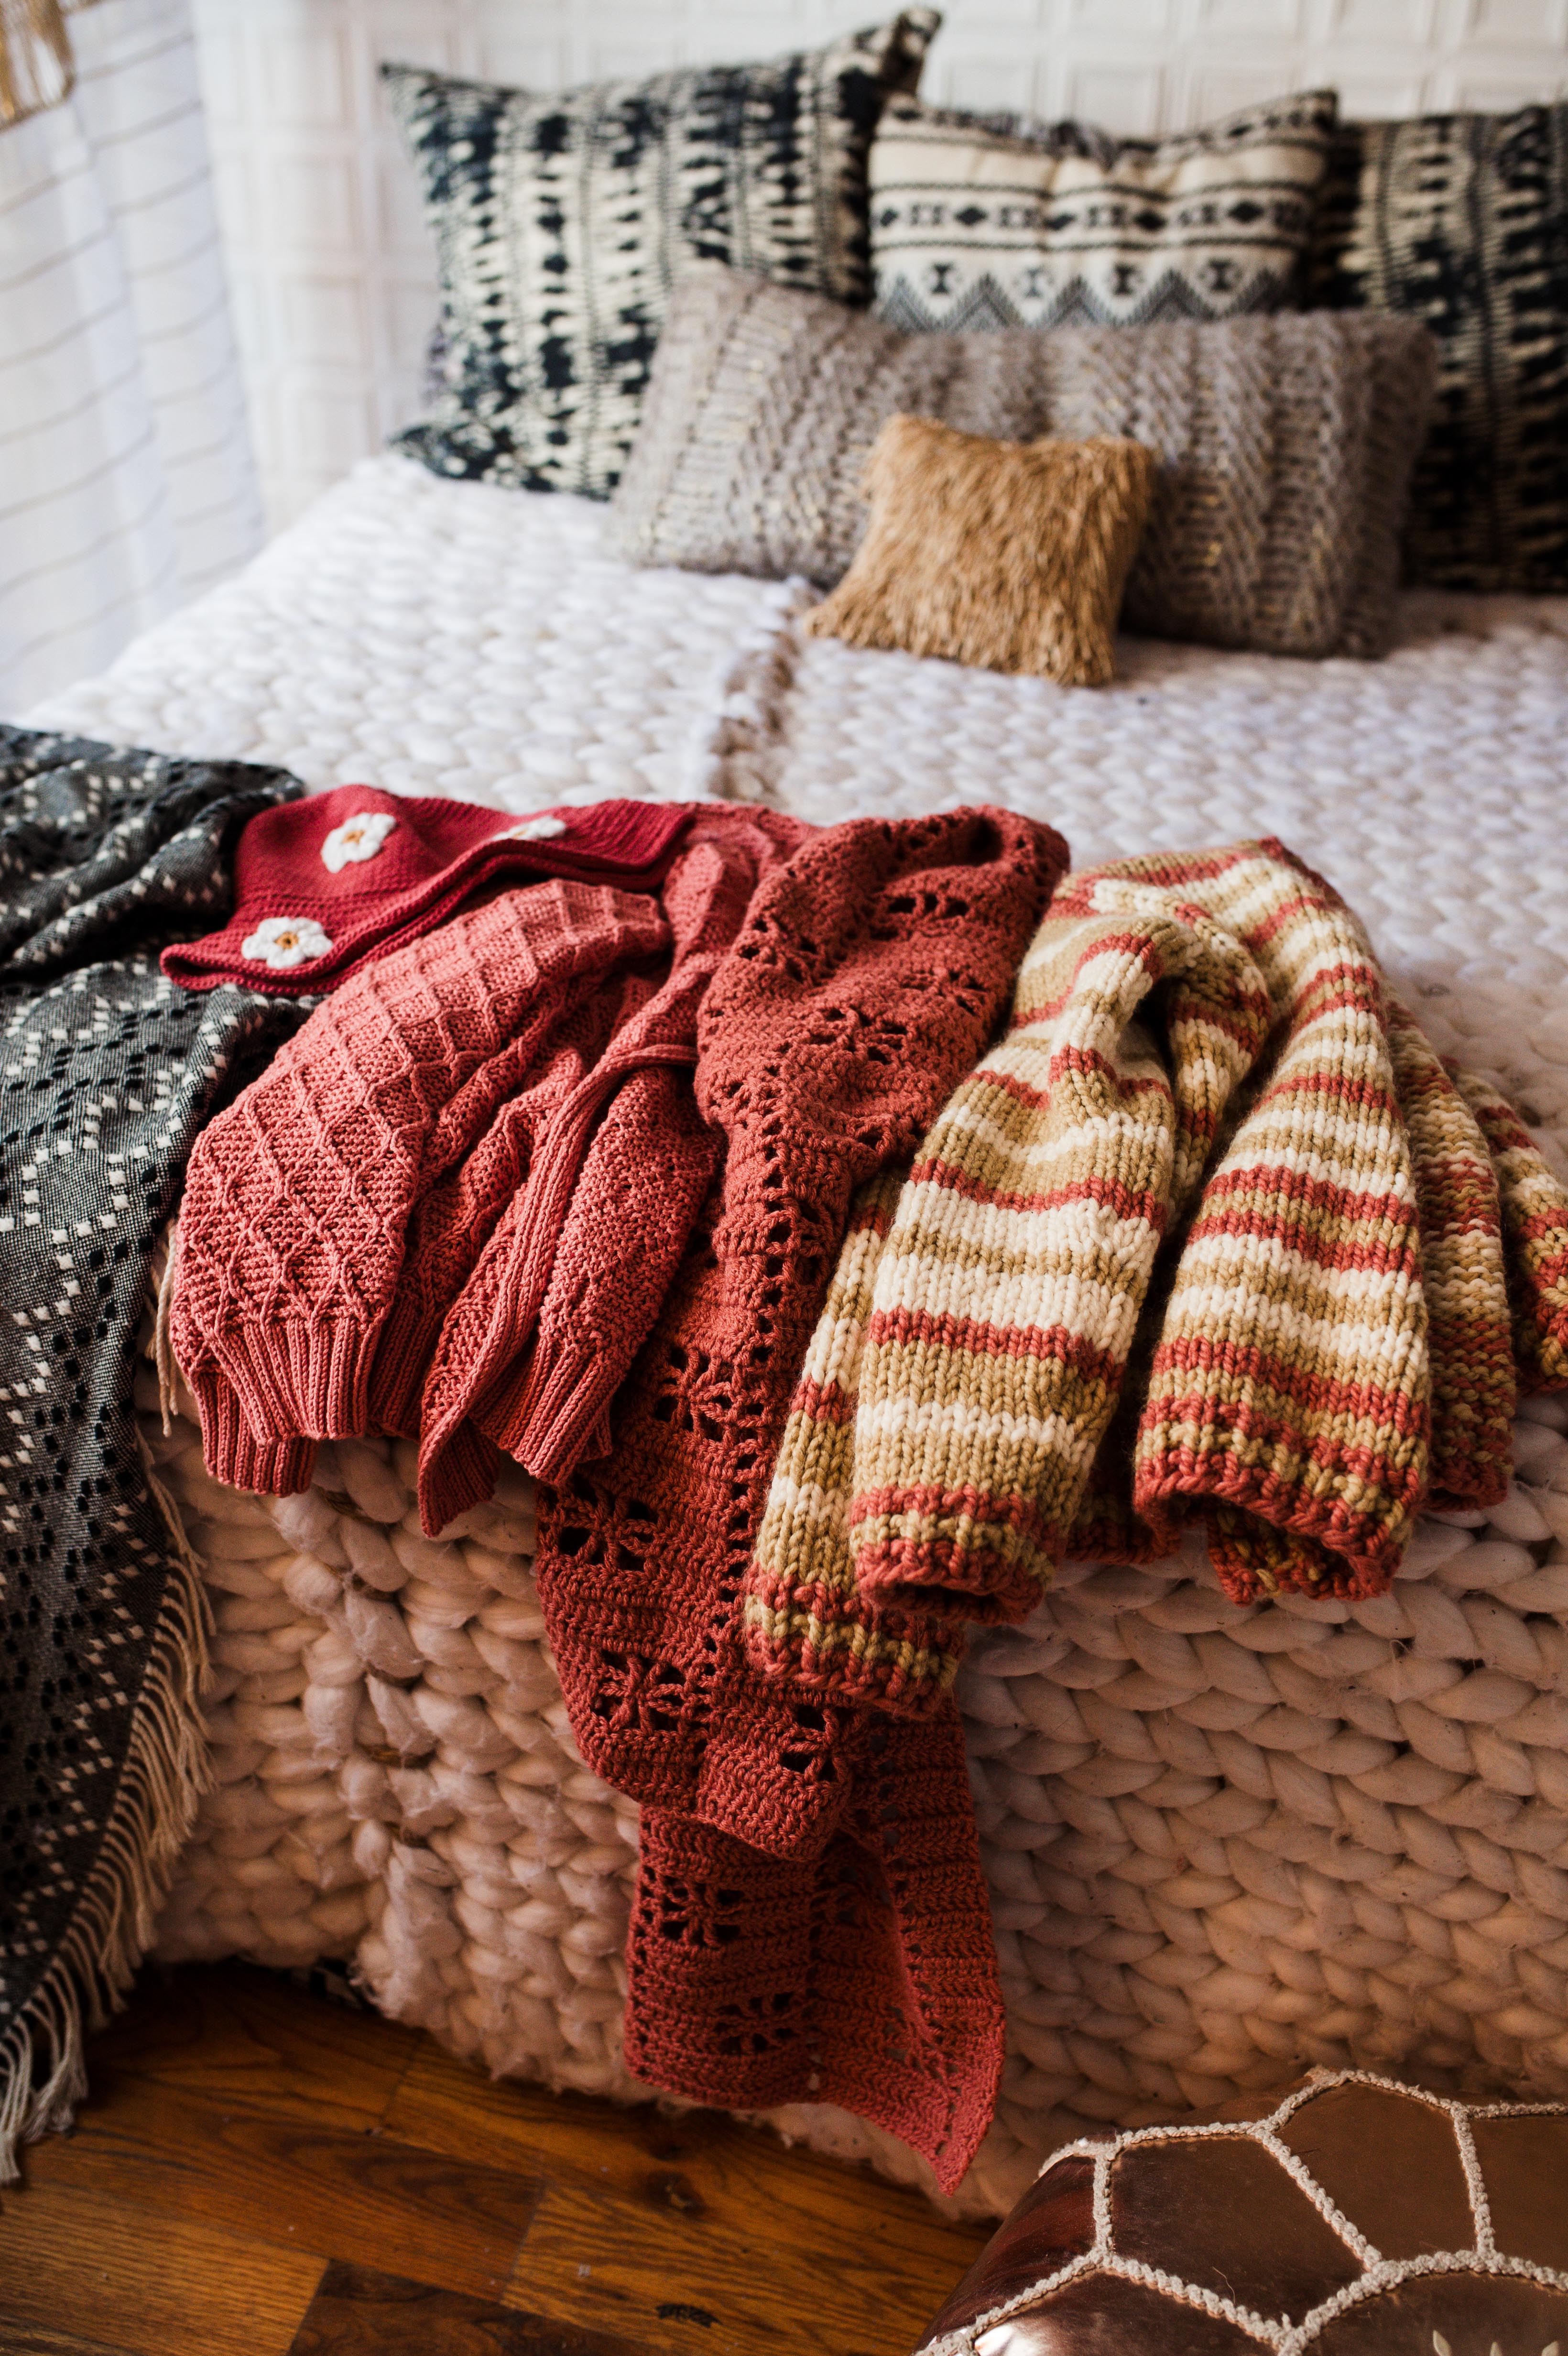
We are excited to look toward 2021 with the announcement of our Official Yarn Color Of The Year! Every year we work hard to pinpoint the colors that are inspiring you. Pulling together the most influential colors of the upcoming year to make sure we are bringing you the yarns you want to see. Last…
Read More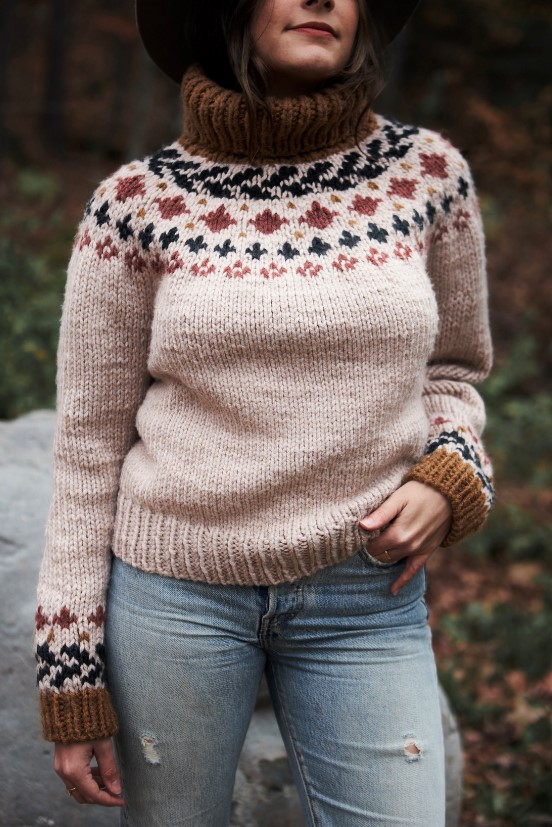
Brand new designs have arrived in the kits section on LionBrand.com! Two of Wands has done it again! Pairing her unique sense of style and color together for The Heritage Collection. These knit and crochet kits are all worked up using her instant customer favorite yarn, Hue + Me! These kits are available online in the colors as shown…
Read More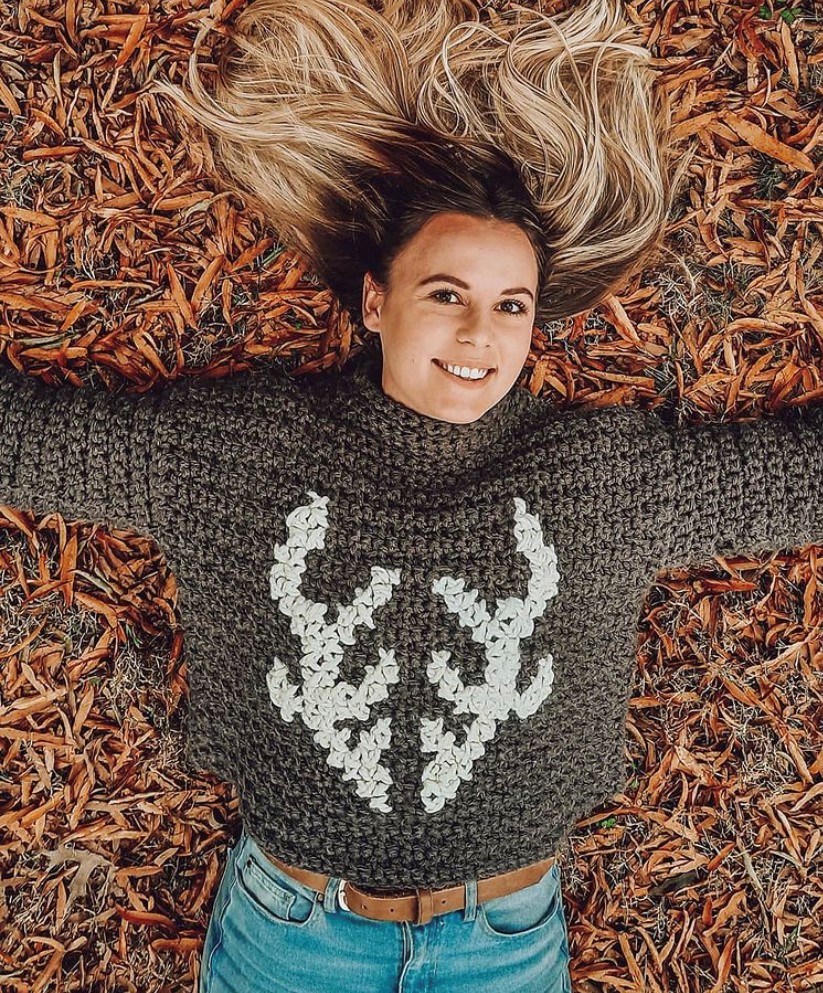
So you have your Hue + Me Yarn from Two Of Wands and Lion Brand Yarn… now what? These makers from around the world have found fun and unique ways to create using Hue + Me. Get your hooks and needles ready because here are 15 new projects for you. All made with Hue +…
Read More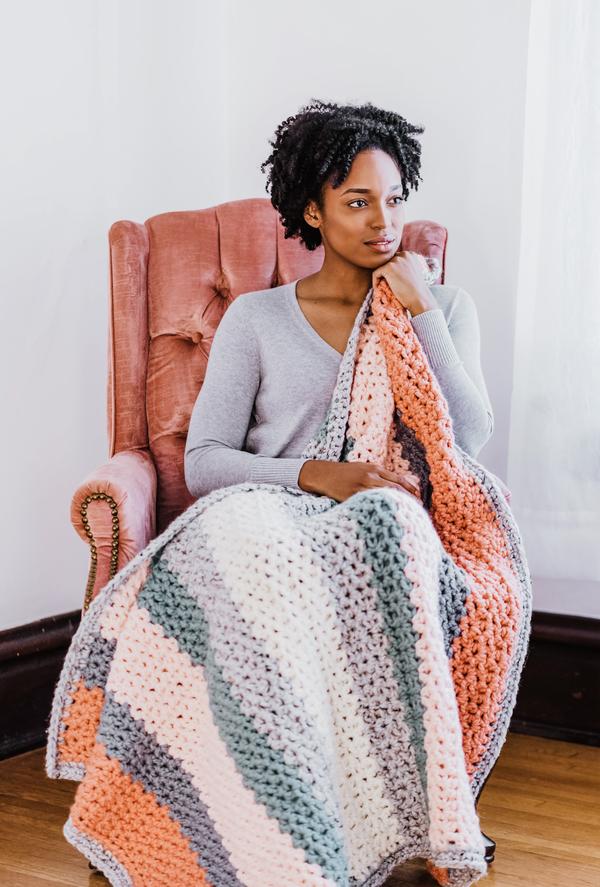
Brand new designs have arrived in the kits section on Lion Brand! A crochet afghan, a beanie and mitt set, a pattern for dachshund lovers, a pocketed cardigan, a zigzag afghan, a crochet tote bag, and a stunning statement scarf! These kits are available online in the colors as shown below and you can change the colors out to…
Read More
Kristin Matteo from Ocean Grove, NJ Kristin is on Instagram as @tripsandtastes Who is your Hometown® Hero? I am nominating Stacy Wiener, the Founder of “Supporting A Community with Kindness (S.A.C.K)” @soapsacks. Stacy deserves this recognition because she has taken her passion for crocheting and knitting and turned it into a global movement that is…
Read More
Brand new designs have arrived in the kits section on Lion Brand! A crochet raglan, a lightweight poncho, a striped cardigan, a Cowl and Beanie set, a sampler blanket, a sweater and blanket inspired by the roaring 20s, a cropped cardigan, a simple poncho project, and a cropped hoodie! These kits are available online in the colors as shown…
Read More