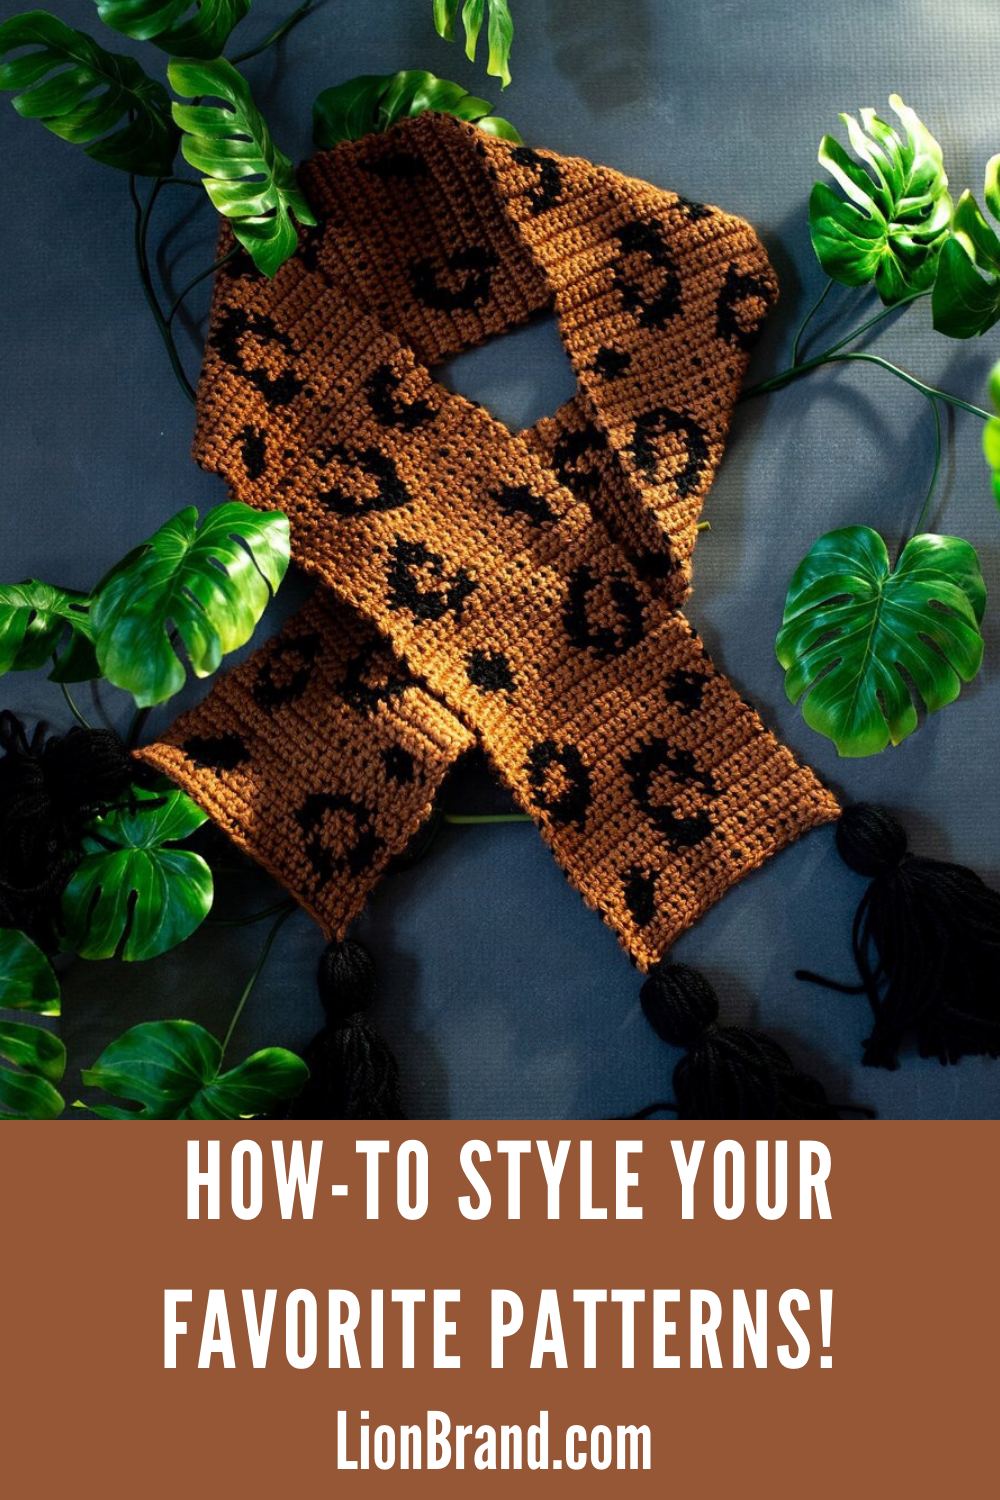
You’ve finished your project, now you get to wear it! Have you ever felt stumped on how to wear your newly finished objects? Not to worry, Yael of The Shi Shi Boutique, a local small business in New York City, walks us through how she would style some of your favorite Lion Brand Yarn Patterns.…
Read MoreOnce you’ve learned to use a cable needle you might find yourself addicted to casting on projects to watch these stitches twist and grow across the fabric. (It really is fascinating to watch and not as scary as you think! Just start slow with basic cables.) Now what do you do if you want to start…
Read More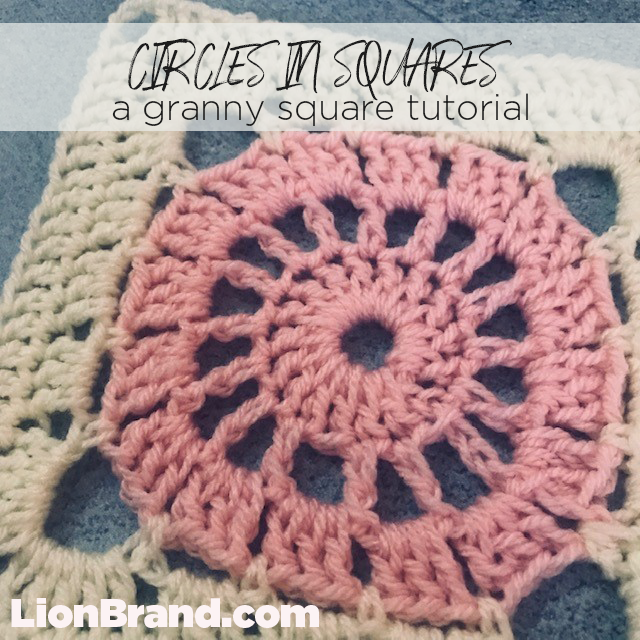
I got a few questions on my last granny square posts about what to do with all the ends of yarns. Granny squares are great for using up scrap or stash and working with lots of colors, but worrying about weaving ends afterward can be daunting. What I do is crochet over my ends every…
Read More
There’s an abundance of information out there on the Internet and that includes plenty of references for knitting as well. However, that doesn’t always mean that finding what you’re looking for is easy, so we’ve done a little detective work for you. Below is a list of sources for tutorials and videos that will get…
Read More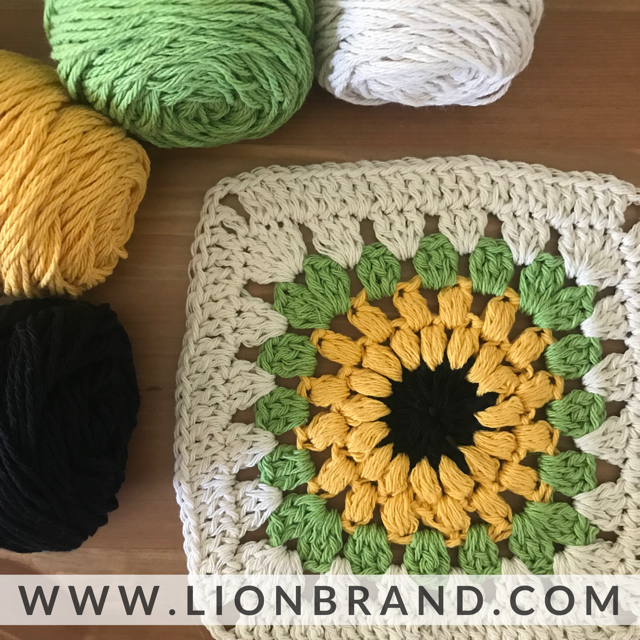
Will granny squares ever go out of style? I think not. They’re portable, can use stash and scrap yarn, and have so far withstood the test of time. These iconic squares have grown far beyond the “traditional” granny square into elaborate motifs and medallions. In this post we will be stitching a flower circle-in-square variation.…
Read More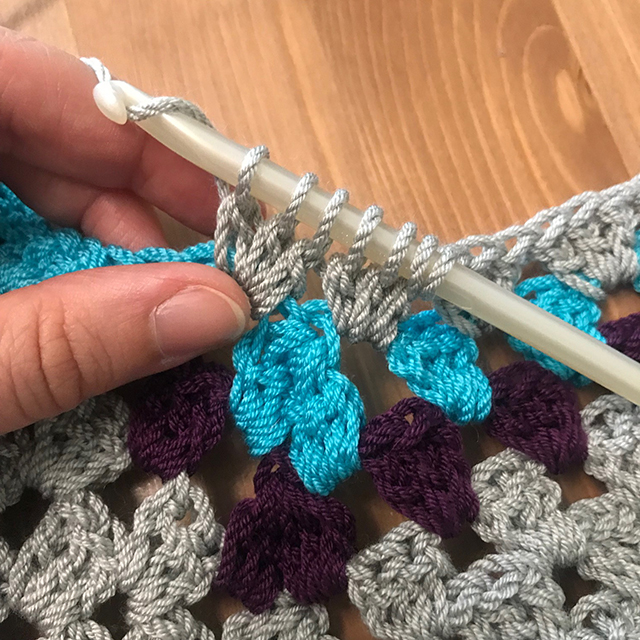
Granny squares and ripple stitches are perhaps two of the most iconic types of crochet. How about combining the two? Going along with my color theme and playing along with the popularity and staying power of granny squares and ripple stitches I decided to try out the granny chevron stitch, or granny stitch ripple. If…
Read More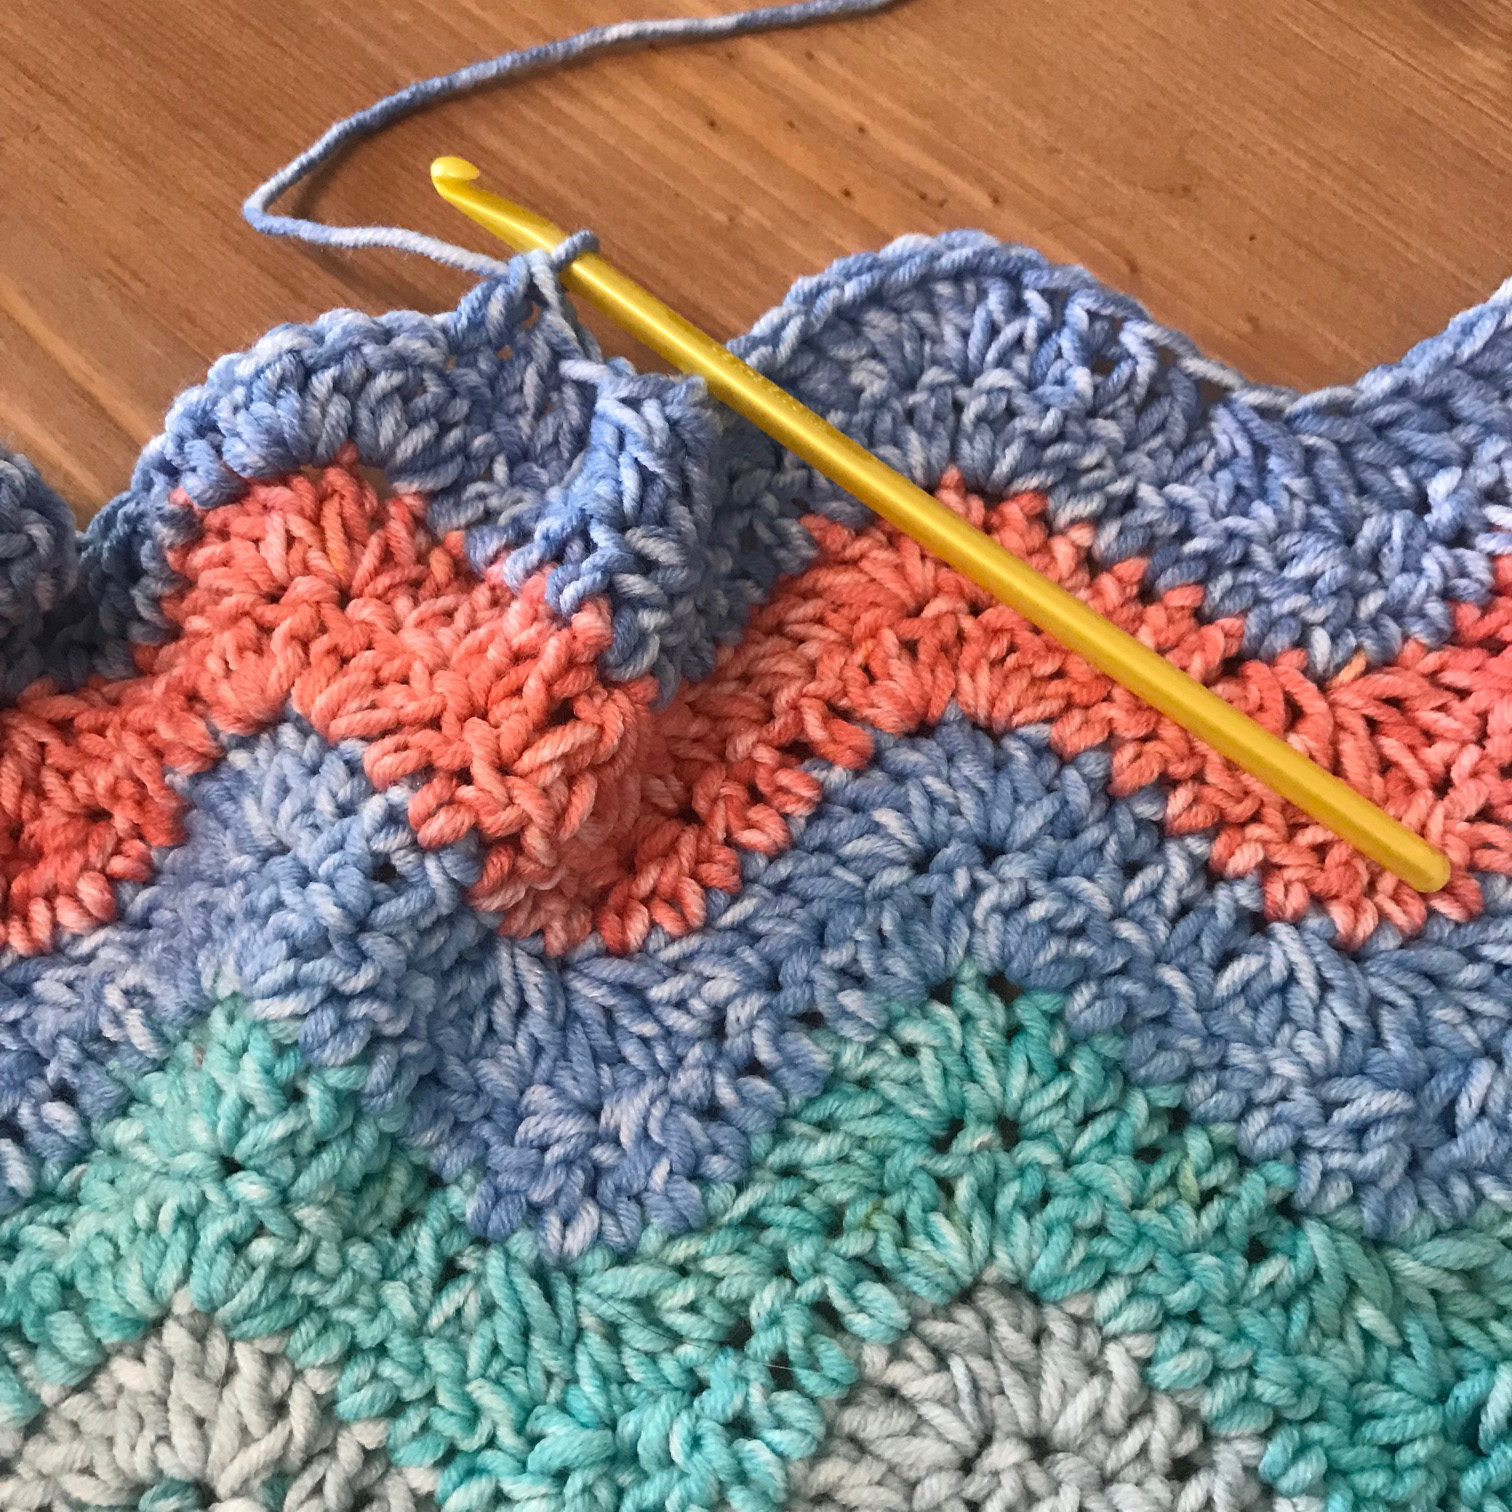
This week I stumbled upon some Mandala® Ombre in Mantra and Tranquil. The cake of Tranquil had pops of an aqua color showing that pulled the blue green tones of the Mantra cake in. It’s a match! I’m not the type to always be super “girly” with lots of pinks and purples, but I do…
Read More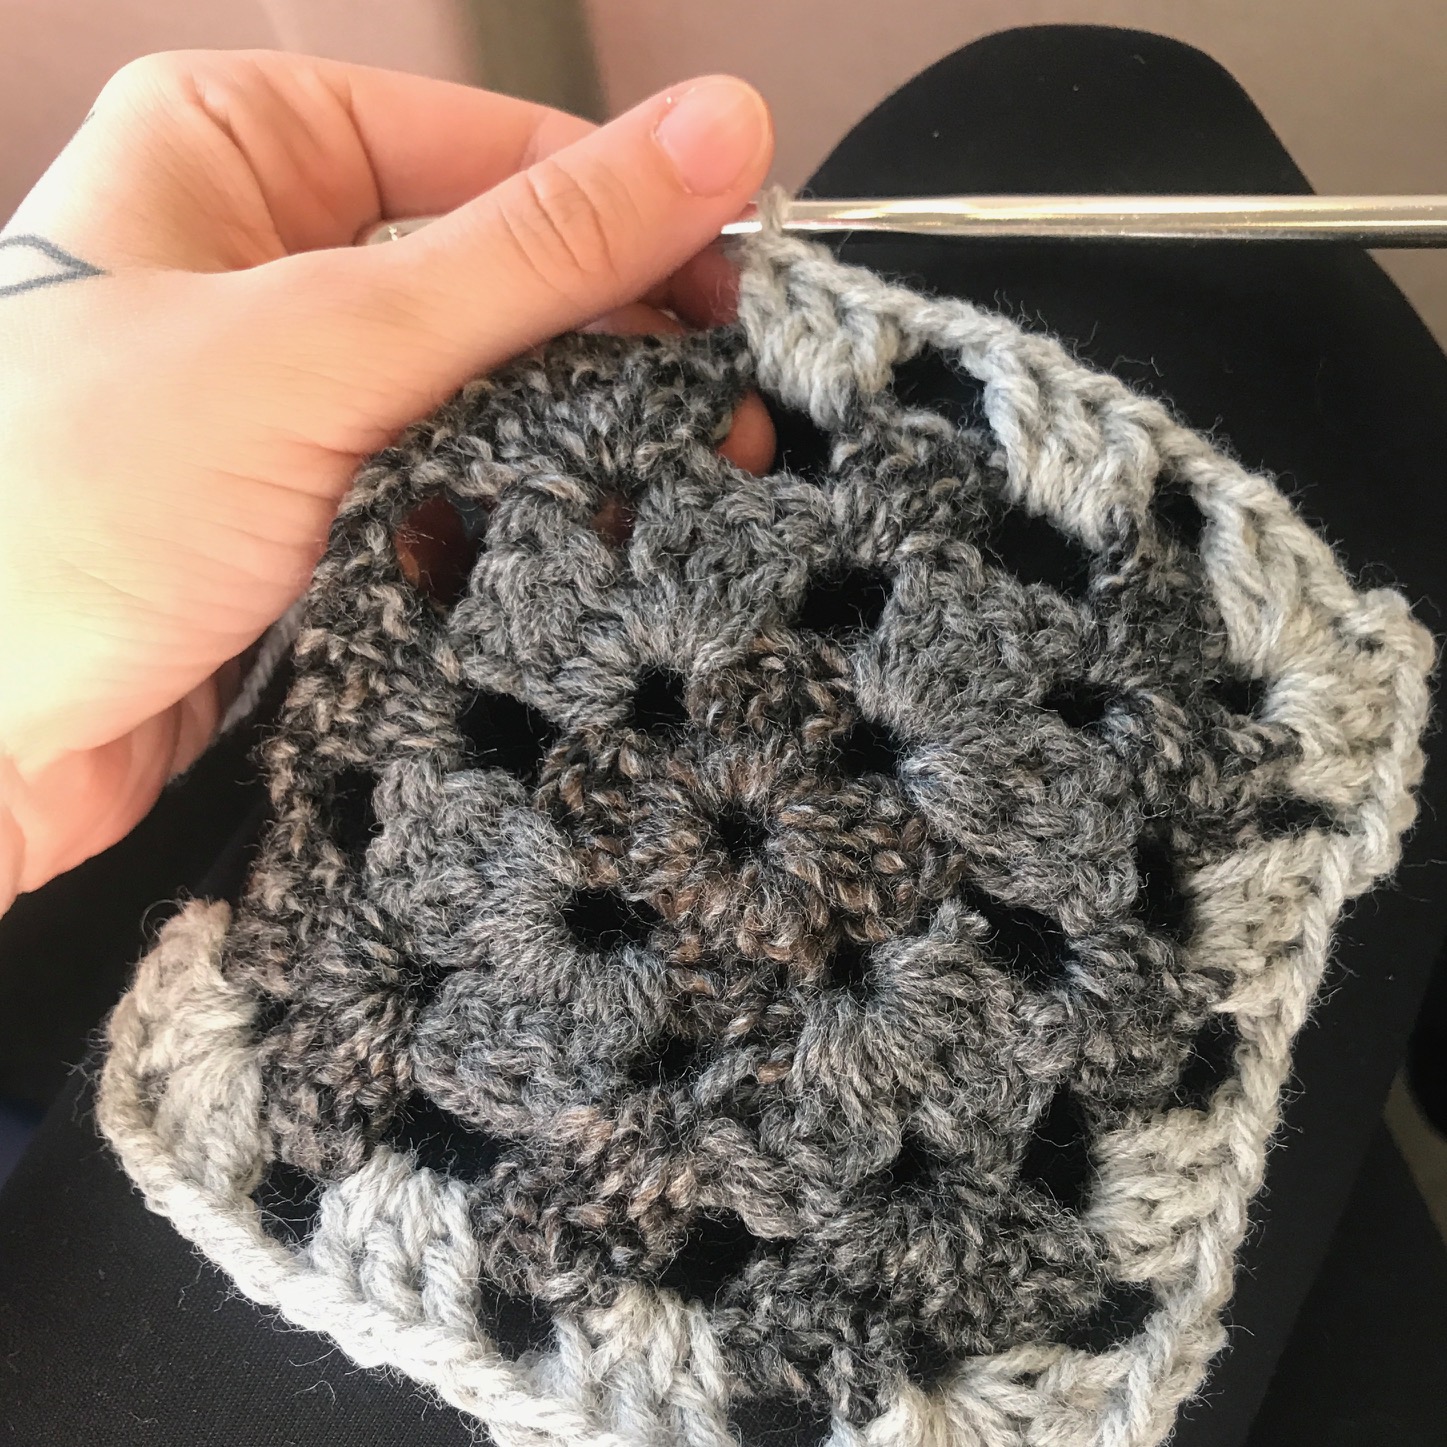
Another lifetime ago, or so it seems, I used to dye yarn. I began just looking for something to go along with my love of designing. Along the way I re-discovered a love of color. I say “rediscovered” because as a little kid I know I had absolutely no fear of colors or prints and…
Read More
Phew, gauge swatching is officially over with! Now onto the math… via GIPHY Guys…one thing I hate more than gauge swatching…math. I’ll admit it now, I’m awful at it, always have been and always will be. That’s why I wanted to keep this blanket very simple with garter stitch. To find out how many stitches…
Read More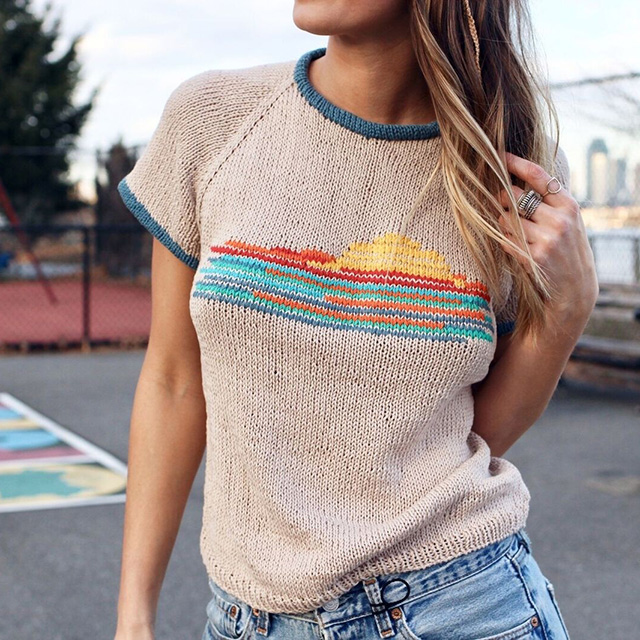
I’ve been knitting for around 15 years and can execute complex lace and design intricate cable patterns, but getting the correct amount of ease in my garments sometimes still eludes me. First, what is ease? There’s a lot more on this below, but basically it’s the amount of inches more or less than your actual…
Read More