Post by Gretchen, Lion Brand Yarn Studio Education Director
In my last post I mentioned covering increases next, but this week in the Sock Along we ended up talking about Kitchener stitch, also known as grafting. We have a participant who tried Magic Loop for the first time and has already finished one sock, but struggled to work the graft at the toe. After putting it in time out, she picked out the unsuccessful graft and brought the sock in. Several people gathered around as I demonstrated the steps to her, knowing that their cuff down socks would require them to work this eventually. It’s actually not difficult, but it is different than knitting.
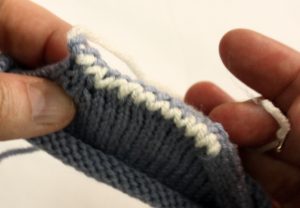
Kitchener stitch is a way to join two sets of live stitches with a ‘seam’ that follows the path a row of knitting would follow – so it becomes essentially seamless.
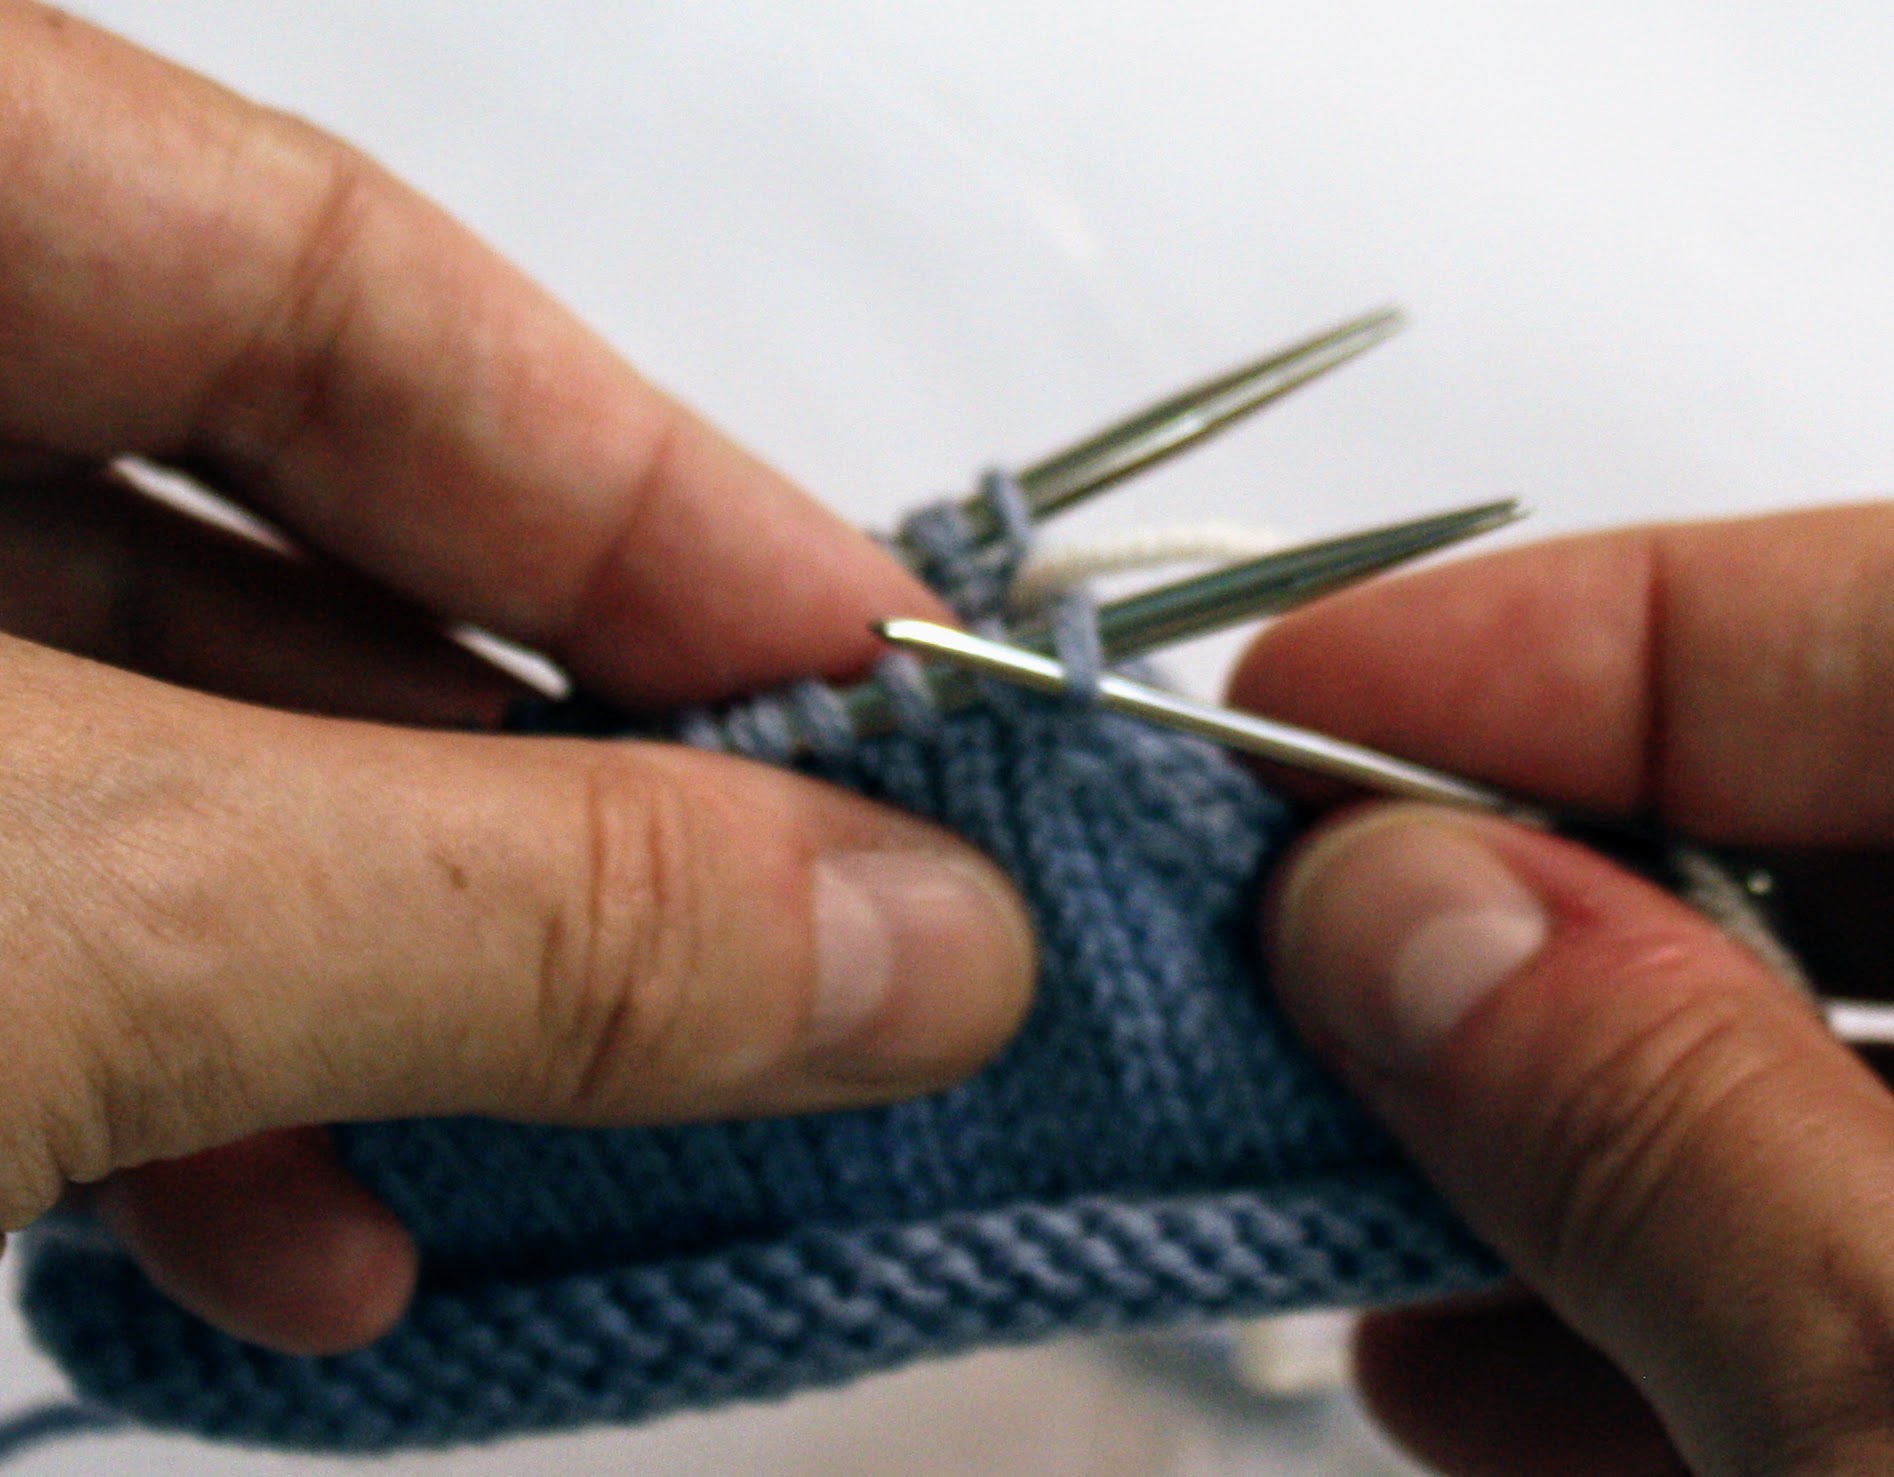
If you think about it, a knit stitch is a loop pulled through another loop. So to graft stitches together we will use the darning needle to bring the seaming yarn into each stitch twice – once for each side of the “V” – and link it to the opposite group of stitches in between each of the two passes. To do this, we bring the darning needle through two stitches on each knitting needle (front and back) pulling one stitch off and leaving one on. By alternately working two front stitches and two back stitches, removing one at each step they become interlocked.
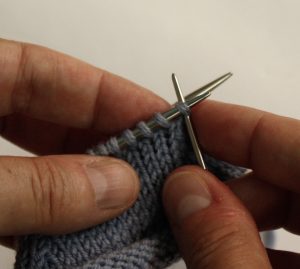
It’s important to have the same number of stitches on each needle.
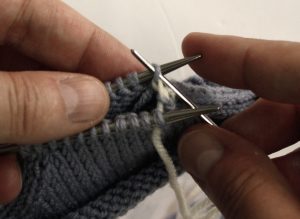
Leave a tail 4 to 5 times longer than the length of your graft. Thread a darning needle with your tail and work as follows:
Note: I have worked the Kitchener stitch in a different color, so you can easily see what it looks like and where it is in the finished toe.
Set Up – do these two steps only once:
Insert darning needle as if to PURL into the first stitch on FRONT needle (leave stitch on needle)
Insert darning needle as if to KNIT into the first stitch on the BACK needle. (leave stitch on needle)
Then follow steps 1-4 below.
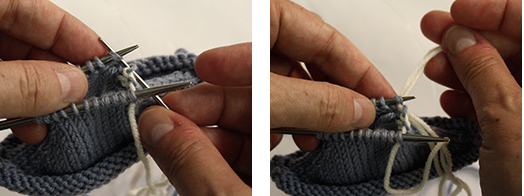
1) Insert darning needle as if to knit through the first st on the front knitting needle and slip off the end of the knitting needle. Hold it on your darning needle while you:
2) Insert darning needle into the second st on the front needle as if to purl and pull the yarn through, leaving the st on the needle.

3) Insert darning needle into the first st on the back needle as if to purl and slip off the end of the knitting needle. Hold it on your darning needle while you:
4) Insert darning needle as if to knit through the second st on the back needle and pull the yarn through, leaving the st on the needle.
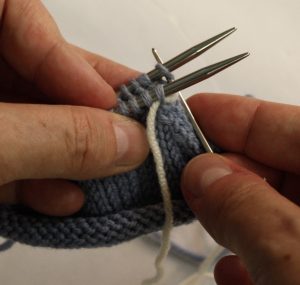
Repeat steps 1-4 until you have one stitch left on each needle.

For the last 2 stitches you will work steps 2 & 4 only.
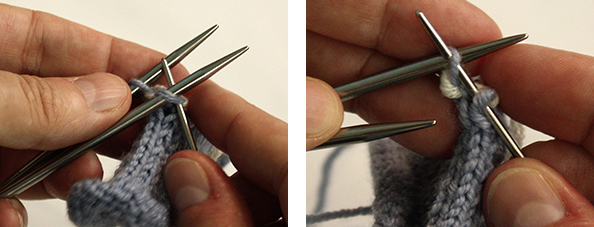
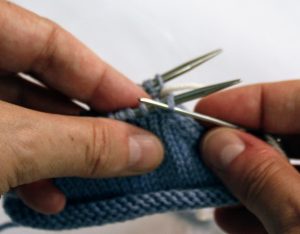
Be sure to bring your yarn underneath the knitting needles as you move your darning needle back and forth. You want to avoid having your working yarn loop over the top of the needles.
I find it much easier to only pull the yarn through both stitches at the same time, rather than each stitch individually. I’m less likely to become confused about which step I’m on mid-way.
Until you get comfortable grafting it’s a good idea to leave your tension a little loose, because it’s easier to tighten it up than it is to loosen stitches that are too tight. It should look like a line of slightly loose, but regular stitches. From here it is easy to go back and even your tension out, tugging each stitch from the edge opposite your yarn tail all the way across.