
Hey there, knitters! I hope your needles and yarn are at the ready—because it’s time to cast on the first piece of our Mystery Make-Along! I won’t be sharing any spoiler-y details here (trying to keep the mystery alive!), but as time goes by a WIP pic or two might slip in. One question that…
Read More
#LBYTEMPBLANKET Feel free to personalize your blanket! Change your stitch, swap your colors (or add colors for higher temps if you live in a very warm area. Perhaps Hot Pink and Burgundy?) I like to use the high temperature for the day to determine my color, however, some people prefer low temperature or you can…
Read More
Join Lion Brand and 49 designers and bloggers from seven different countries as we embark on the 2020 “My Life in Yarn” campaign with the Traveling Afghans project! Starting in January, the Traveling Afghans will set sail from NYC and journey to a new designer every two weeks. Each designer will create a 10″x10″ square…
Read More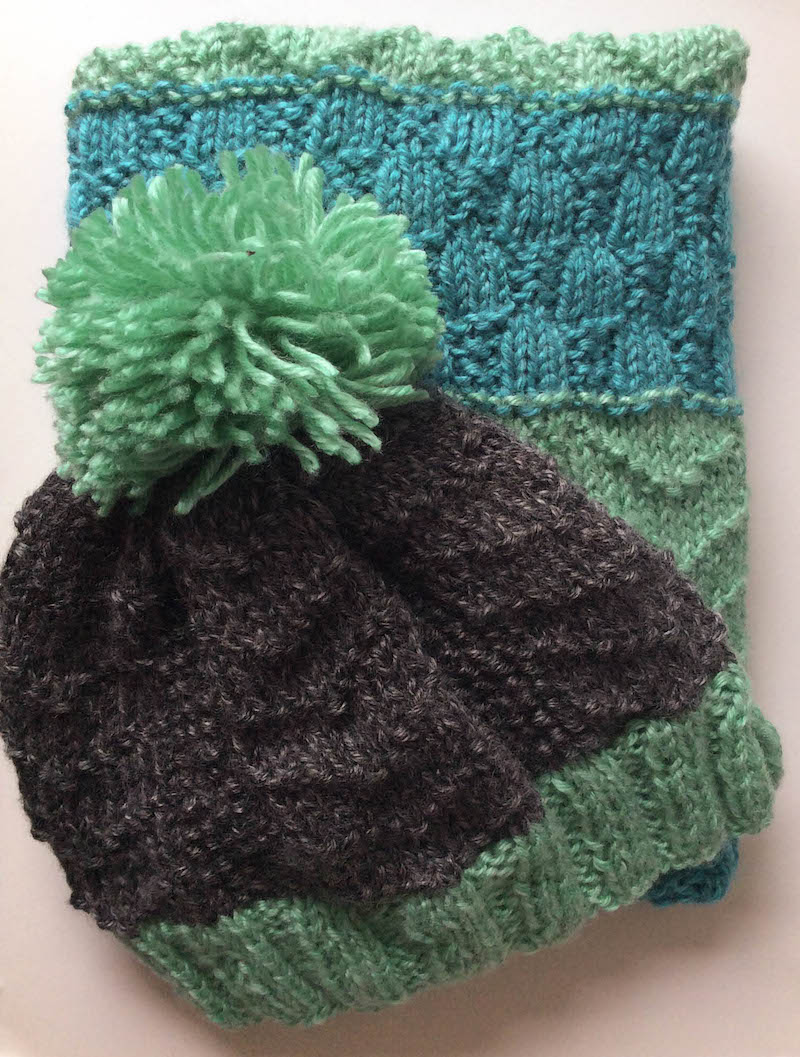
This is Marie from Underground Crafter and I can’t believe it’s my last visit with you for the Hummingbird Hat and Baby Bird Blanket Knit-a-Long! There’s still plenty of time to join in (and enter to win the end-of-KAL prizes). You can get all the details here. Remember last week I mentioned a surprise? Even…
Read More
I’m Marie from Underground Crafter and I’m so excited to see what you’re working on for the Hummingbird Hat and Baby Bird Blanket Knit-a-Long! If you’re just finding out about the KAL, you can get all of the details here. We’re using Lion Brand Heartland to make a hat and baby blanket. You can donate…
Read More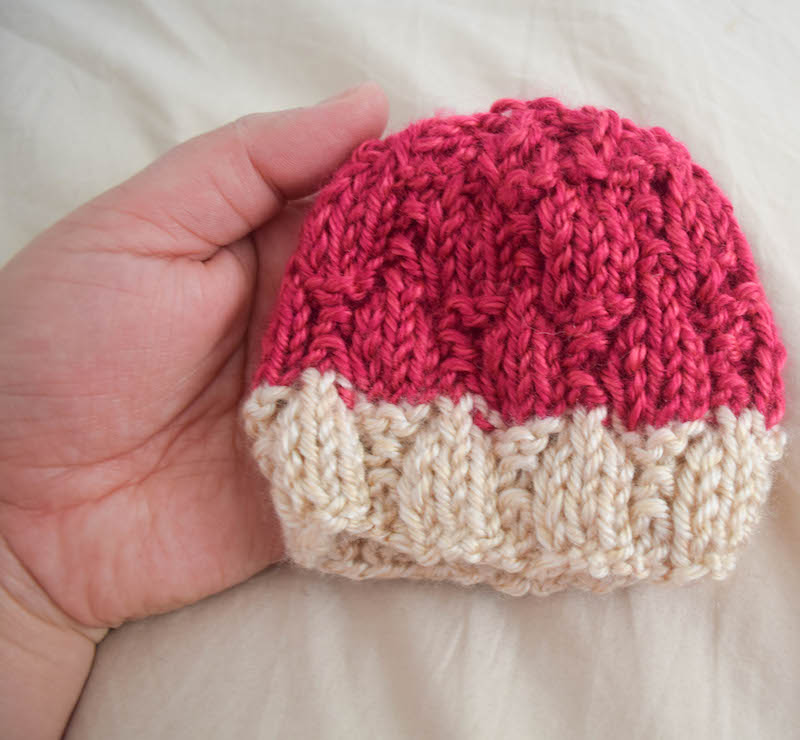
This is Marie from Underground Crafter. I shared a teaser about the Hummingbird Hat and Baby Bird Blanket Knit-a-Long last week. To recap, this KAL includes a hat and a baby blanket in Heartland, one of my favorite Lion Brand yarns. Both patterns are designed for donation to Knots of Love, a nonprofit charity that…
Read More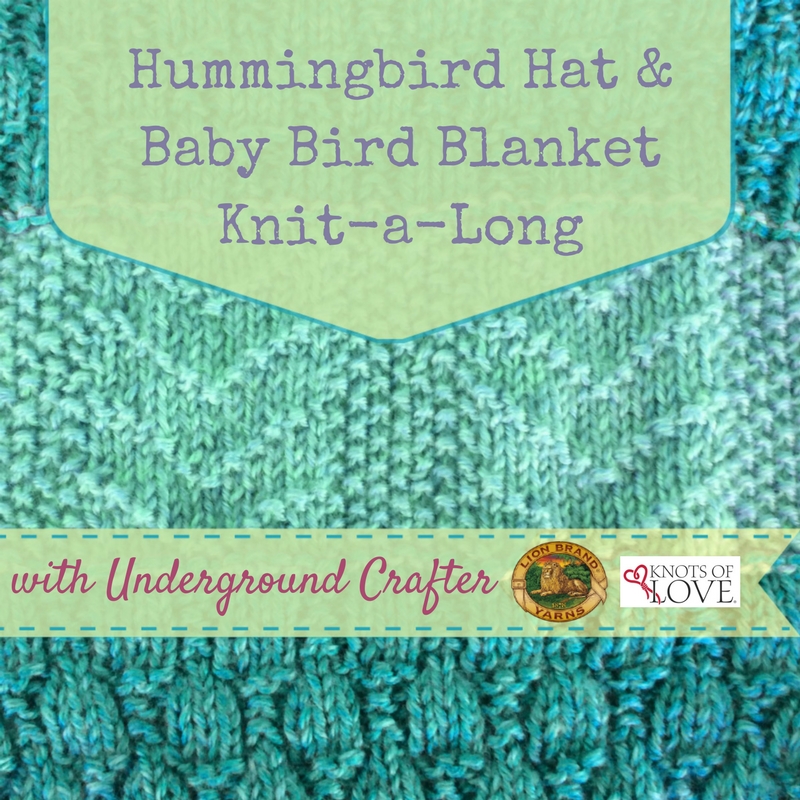
I’m Marie from Underground Crafter and I’m so excited to be kicking off a special Knit-a-Long in support of one of my favorite charities that accepts handmade donations. This KAL also features one of my favorite Lion Brand yarns, Heartland. About Knots of Love Knots of Love is a non-profit organization that distributes handmade hats…
Read More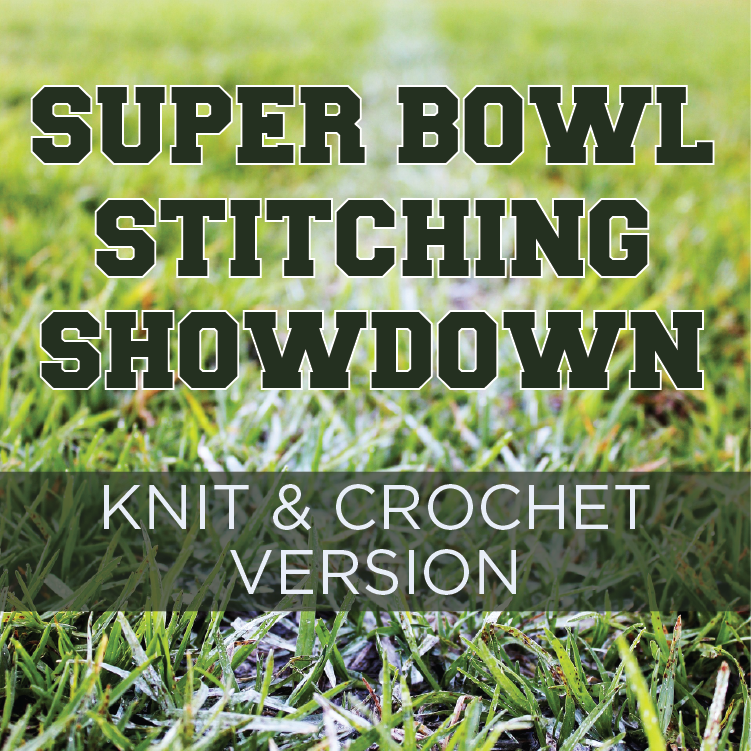
Stitch your way through Super Bowl LII: Patriots vs. Eagles Ladies, there is no need to be bored this year during the Super Bowl! If you’re about to find yourself at a Super Bowl party on February 4th, we have the perfect Stitch Along for you! Knitters and crocheters alike can participate with the game…
Read More
The brand new Lion Brand Fall/Winter Style Guide was just unveiled on November 3 and we couldn’t be more excited to make all of the things! (Seriously. All of it.) There are 15 designs, which we broke down into two segments. Part One, the first 8 pattern kits, were released today (11/3) and the following 7…
Read More
Post by Gretchen, Lion Brand Yarn Studio Education Director Since we had so many people outside New York City expressing interest our Summer Sock Along at Lion Brand Yarn Studio, we decided to share some of what we talked about in each session here on the Lion Brand Notebook. Even though everyone in the group…
Read More