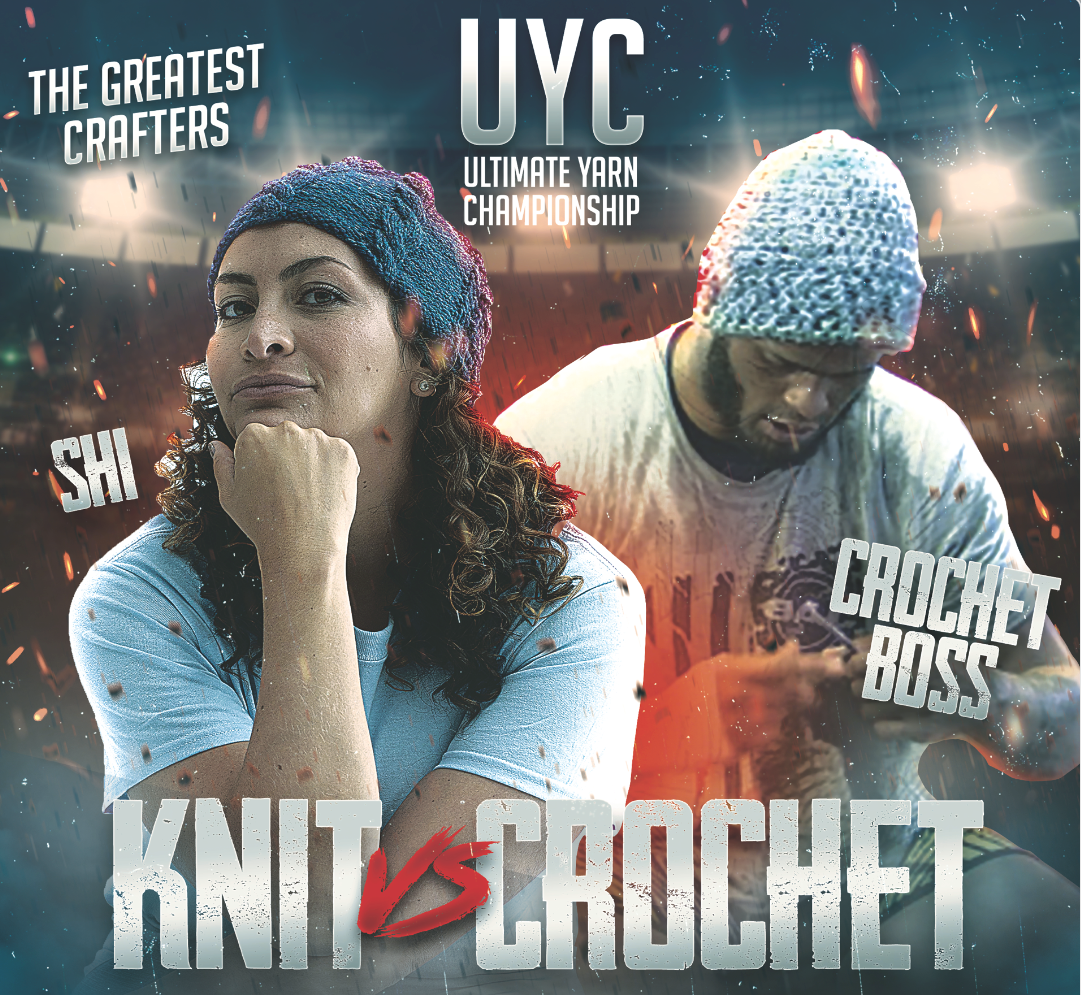
Who will become the Ultimate Yarn Champion?
Read More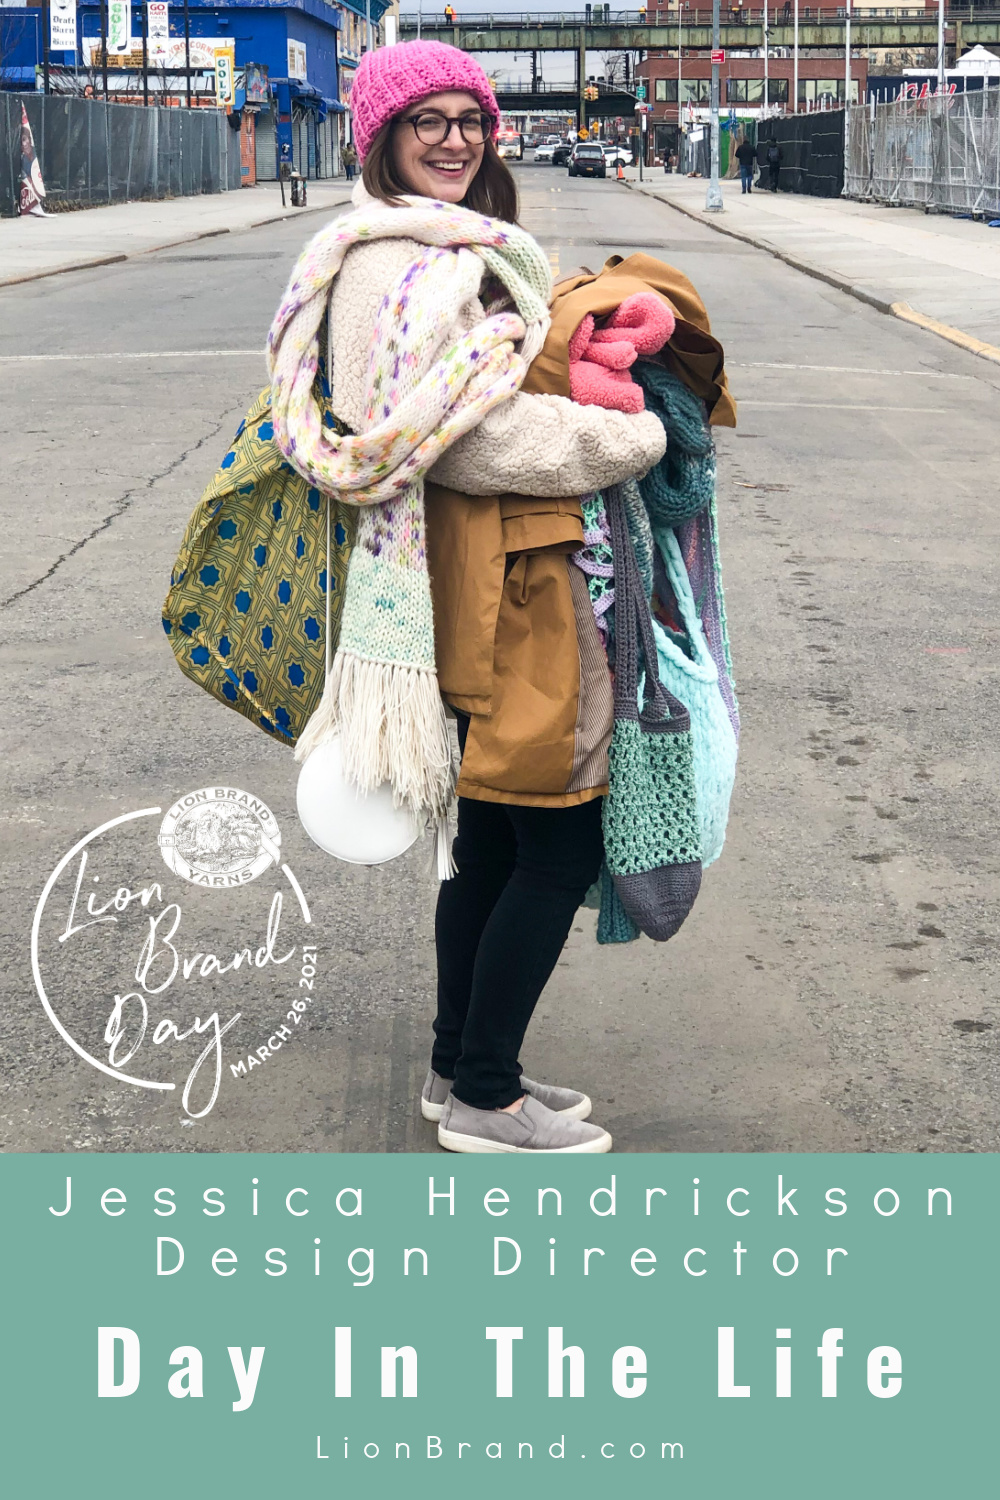
We asked Jessica Hendrickson, the Lion Brand Yarn Design Director, to keep a journal during one of her busy photoshoot days. Jessica and her team are the masterminds behind the patterns you love on LionBrand.com! Let’s go behind-the-scenes as Jessica takes us with her during her day at a Lion Brand Yarn photoshoot! 8:30 am…
Read More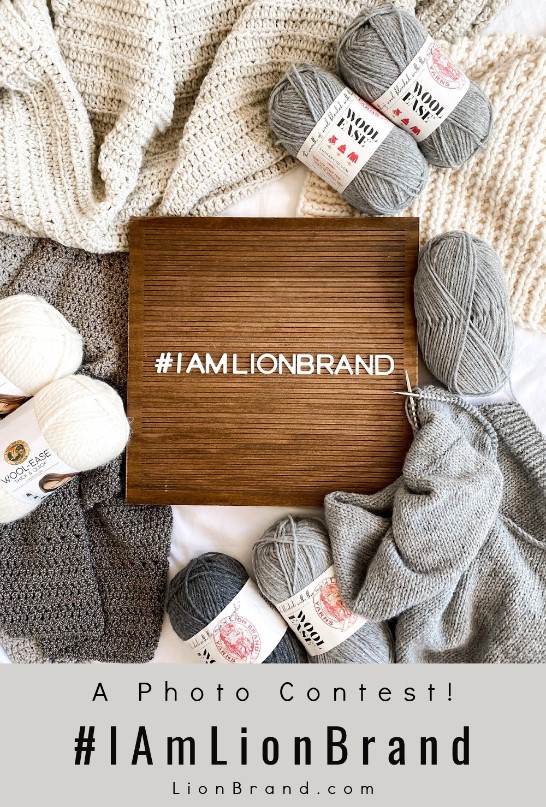
March 26th is Lion Brand Yarn Day, an all-day social media party for all things Lion Brand Yarn, and this year we want to start the celebration off early with a photo contest! At Lion Brand, we love seeing all the ways that you can get crafty with yarn. This year we want to get…
Read More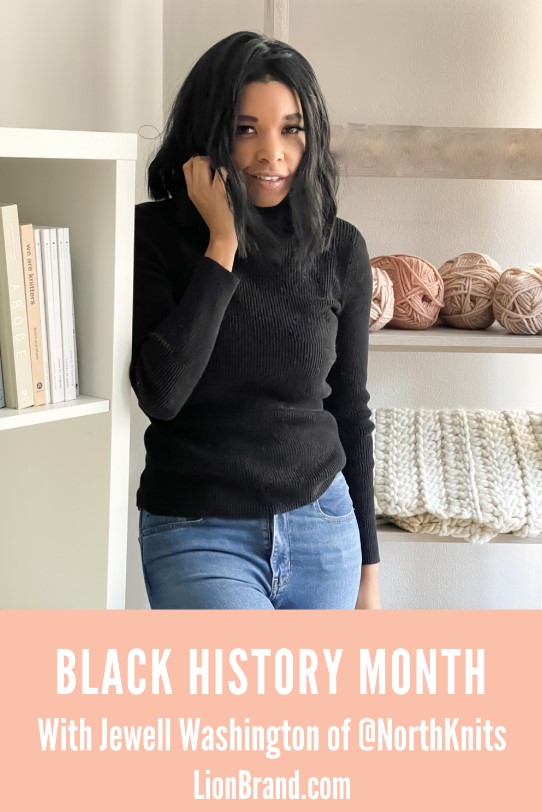
By Jewell Washington of @northknits I find it no coincidence that the very day I wrote this post is Rosa Parks’ birthday. February 4. Rosa was born in the year 1913 in Tuskegee, Alabama. She passed when she was 92 years old, but not without making an impact on the world that would span generations.…
Read More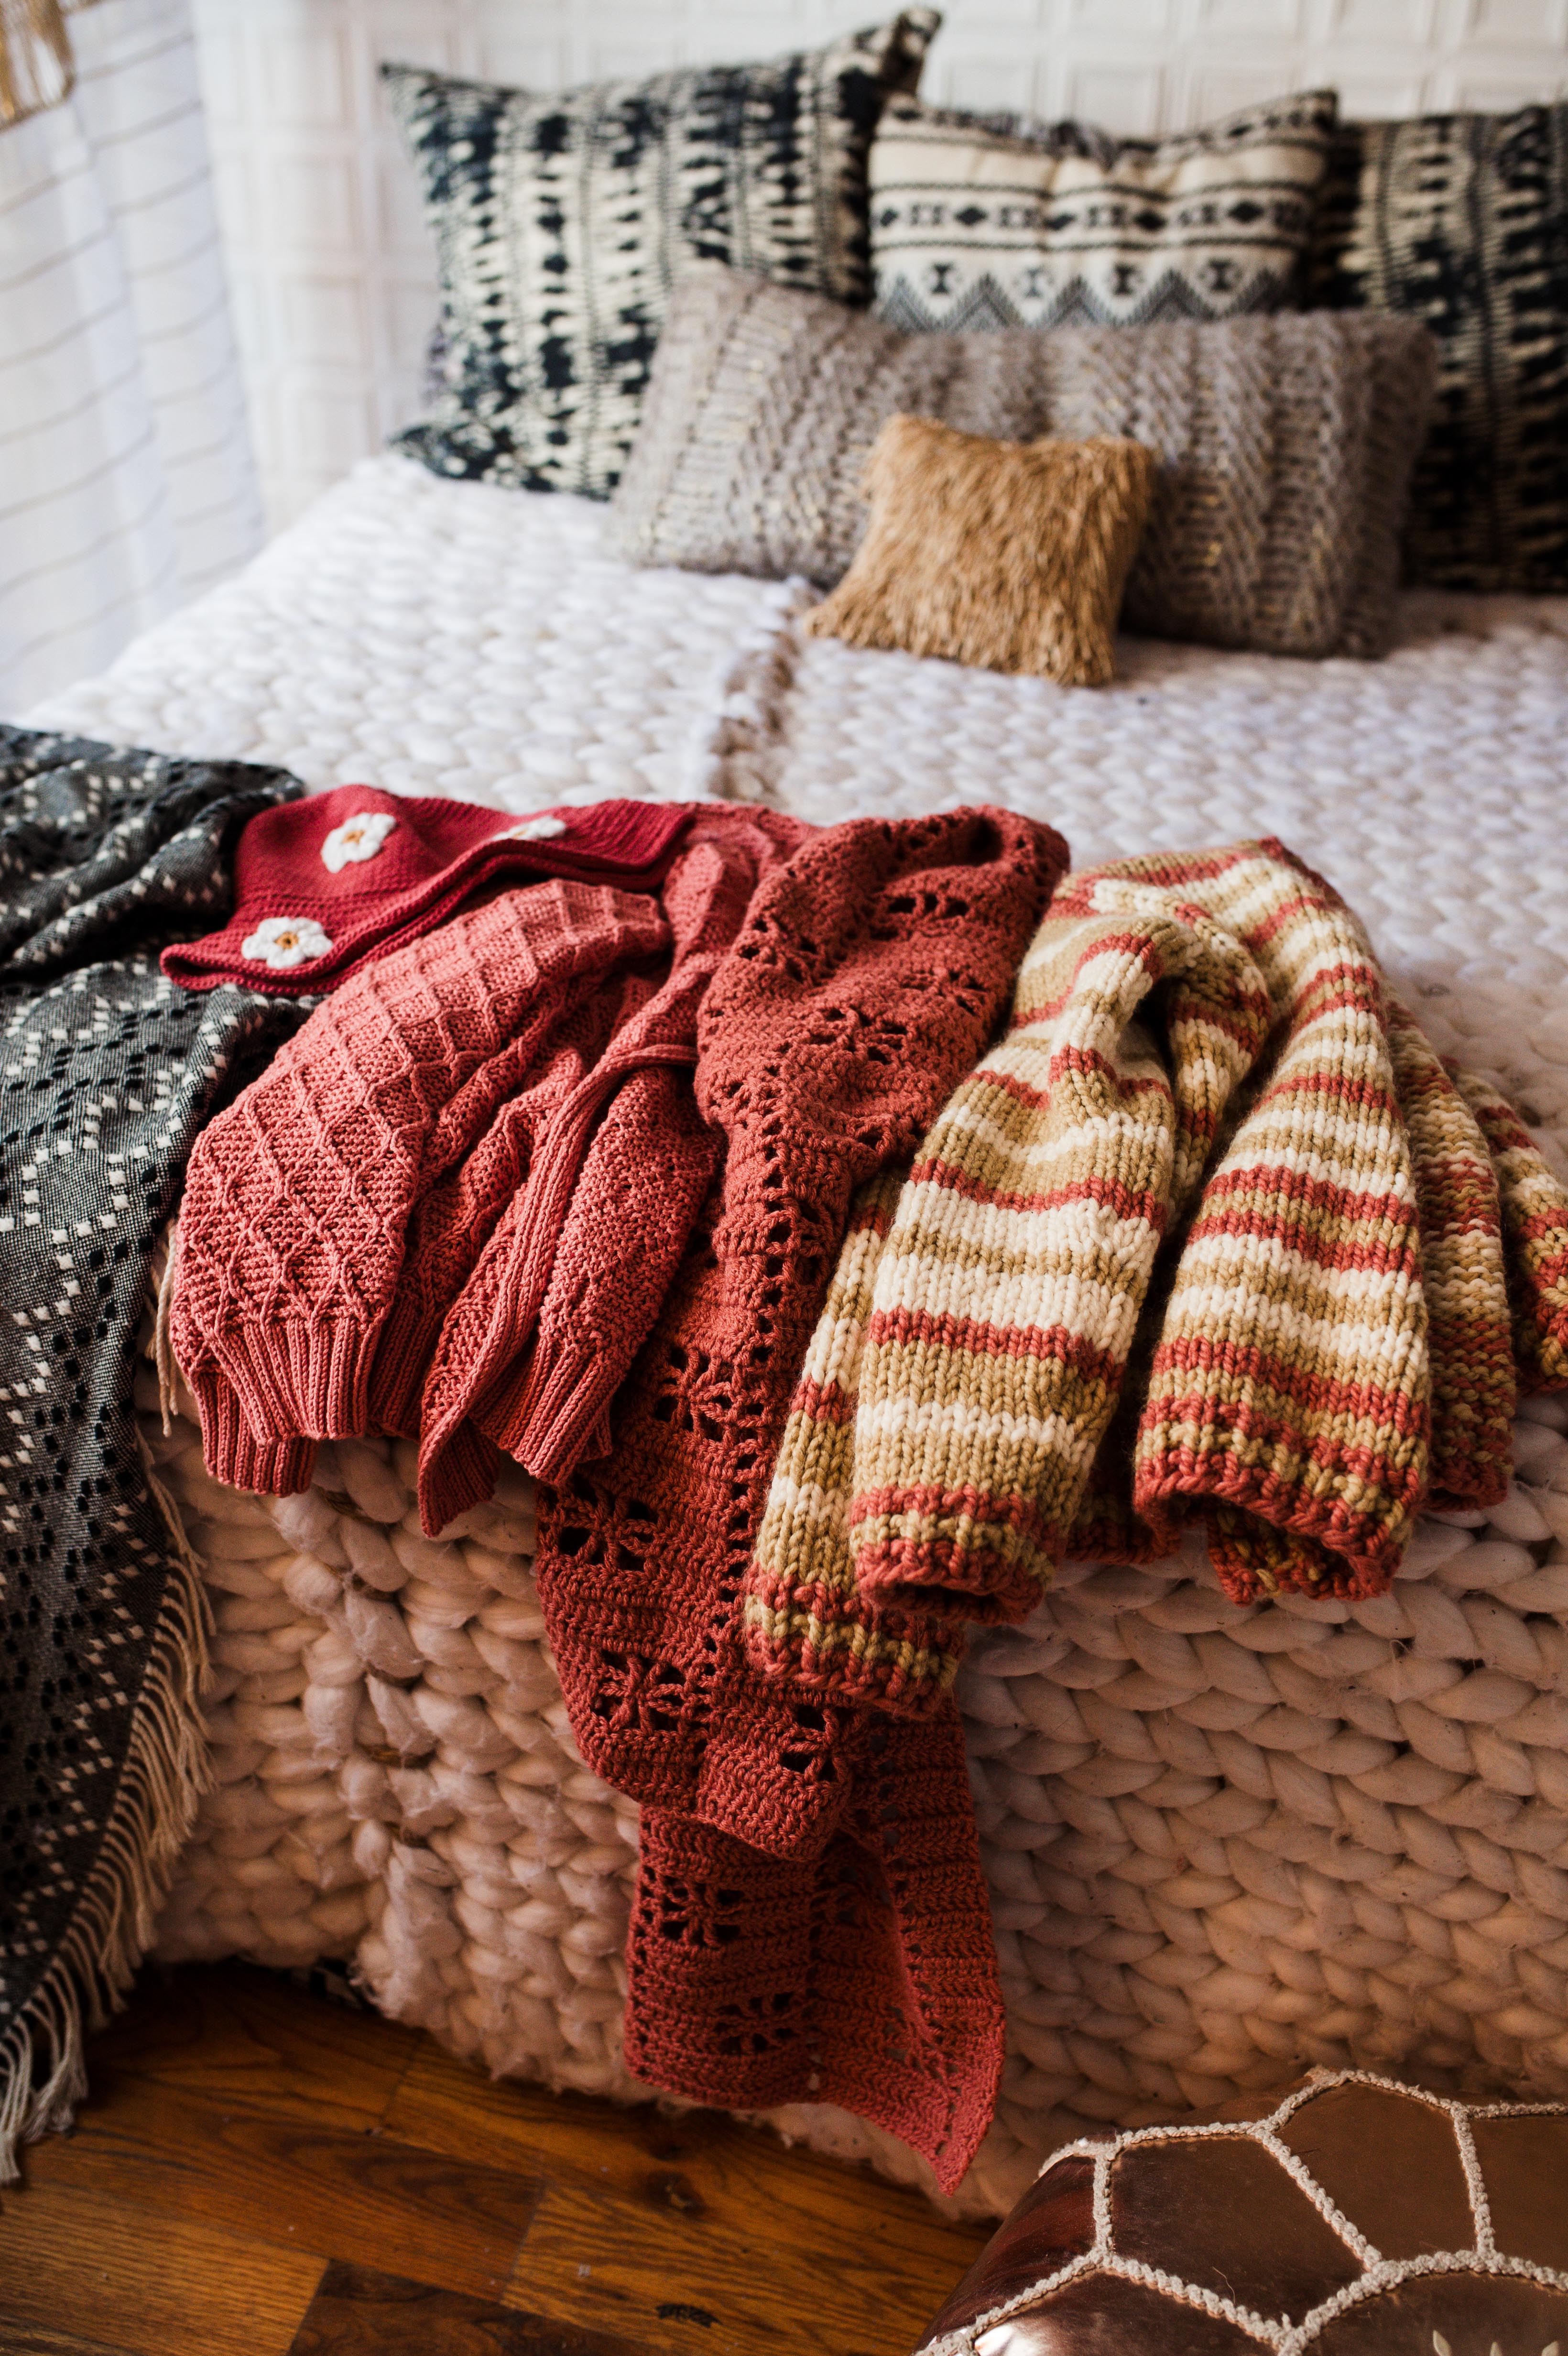
We are excited to look toward 2021 with the announcement of our Official Yarn Color Of The Year! Every year we work hard to pinpoint the colors that are inspiring you. Pulling together the most influential colors of the upcoming year to make sure we are bringing you the yarns you want to see. Last…
Read More
So you have your Hue + Me Yarn from Two Of Wands and Lion Brand Yarn… now what? These makers from around the world have found fun and unique ways to create using Hue + Me. Get your hooks and needles ready because here are 15 new projects for you. All made with Hue +…
Read More
Kristin Matteo from Ocean Grove, NJ Kristin is on Instagram as @tripsandtastes Who is your Hometown® Hero? I am nominating Stacy Wiener, the Founder of “Supporting A Community with Kindness (S.A.C.K)” @soapsacks. Stacy deserves this recognition because she has taken her passion for crocheting and knitting and turned it into a global movement that is…
Read More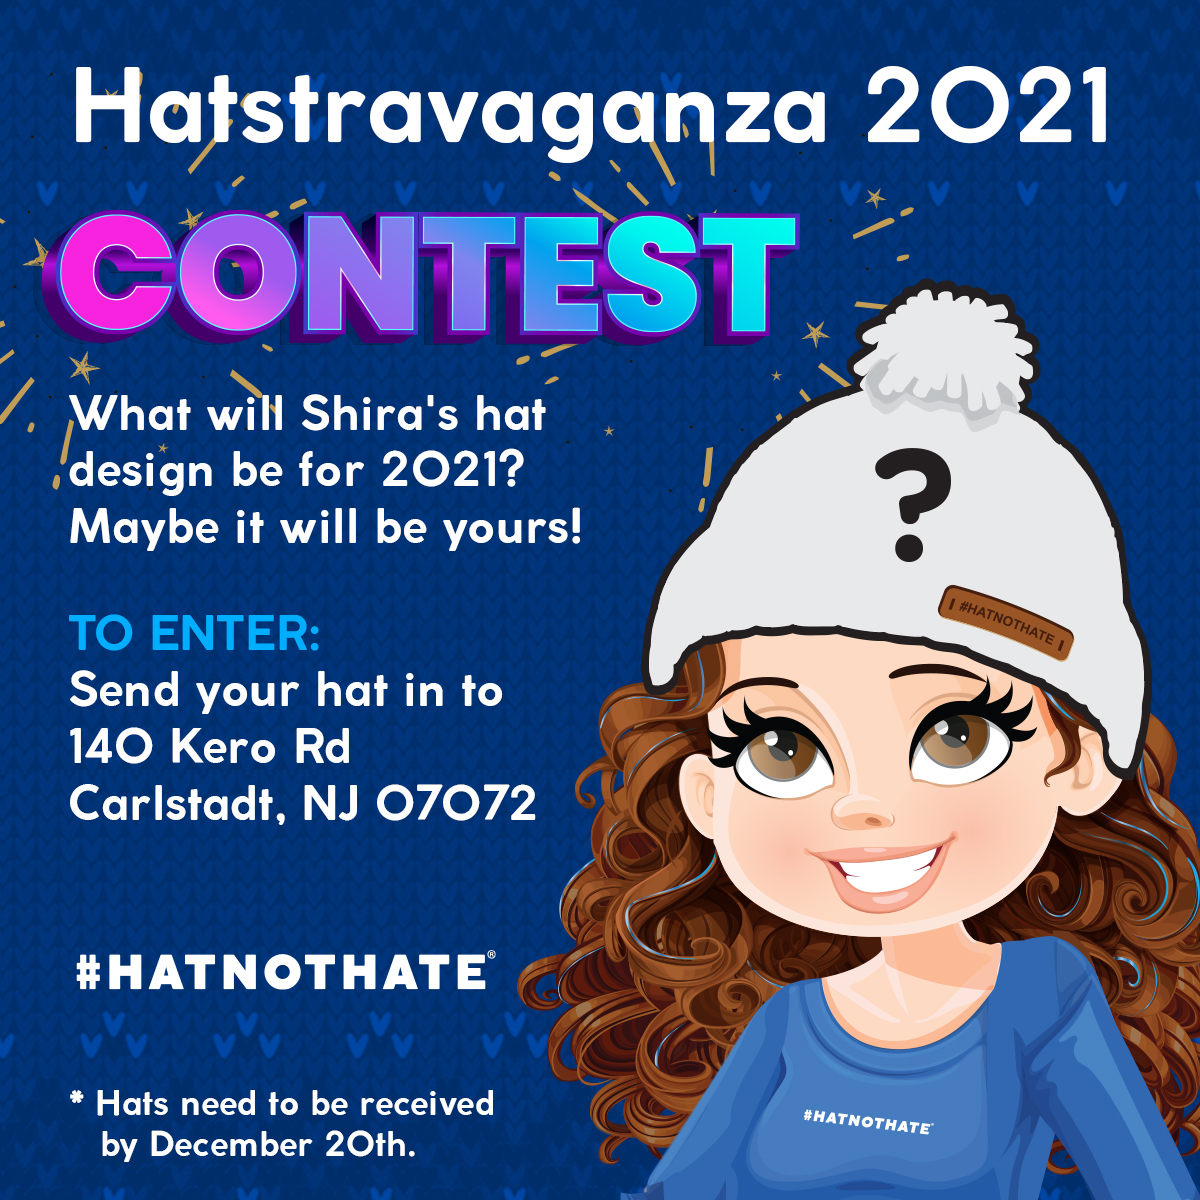
It might still be 2020 but Shira is already making big plans for #HatNotHate 2021! Hat Not Hate is an anti-bullying campaign founded by Shira Blumenthal. Each year Hat Not Hate collects Blue hats and distributes them to schools during the month of October which is National Bullying Prevention Month. The goal for 2021 is…
Read More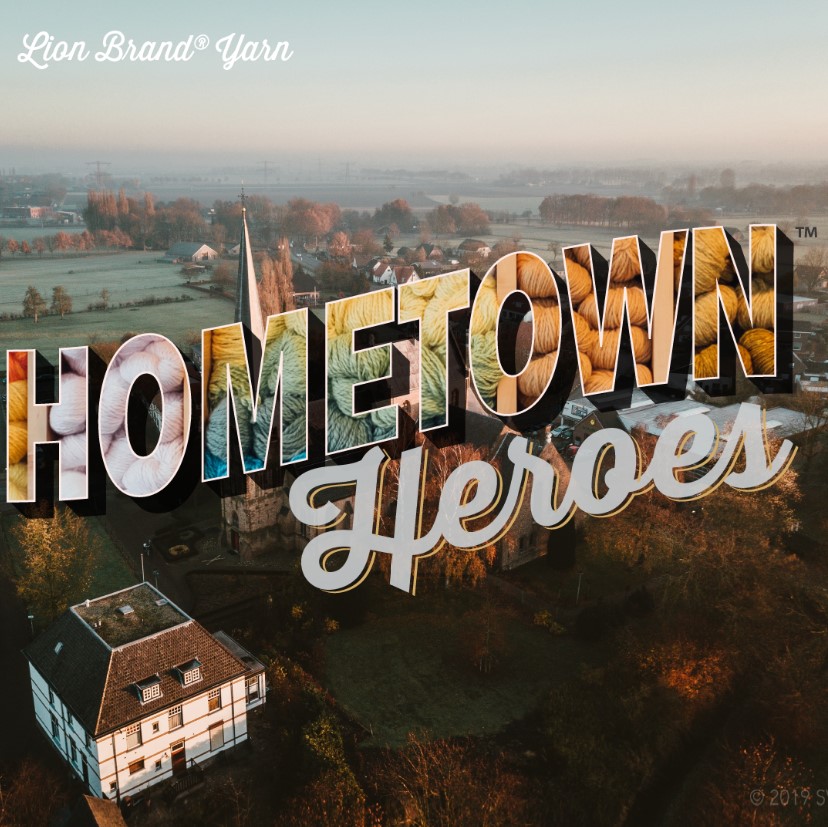
Kathleen Conti from Franklin Square, NY Kathleen is on Instagram as @Ladybug144 Who is your Hometown® Hero? Alice Cashman and Pearl Chin from Knitty City. @bryantparknyc & @KnittyCity Can you tell us about your Hometown® Hero and what their project has meant to you? A few years ago, I came across an initiative that was…
Read More
December is fast approaching and we have the perfect contest to get you in the Holiday spirit. The host of The Shi Show, Shira Blumenthal wants to bring a little joy to your needles and hooks this season with a zany Sweater Contest! We are looking for your most over the top and creative sweaters…
Read More