Lion Brand
Notebook
®
Home
Categories
Crocheting
Knitting
Patterns
Free Patterns
Pattern Recommendations
Charity
Community
Crafts & Home Decor
Fashion & Style
Fiber Arts & Artists
Fiction
Tips & How To
Tutorials
Wellness
Yarns
Shop Yarns, Patterns & Kits
TRON
Home
Categories
Crocheting
Knitting
Patterns
Charity
Community
Crafts & Home Decor
Fashion & Style
Fiber Arts & Artists
Fiction
Tips & How To
Tutorials
Wellness
Yarns
Shop Yarns, Patterns & Kits
Tag Page
crochet
June 6, 2020
-
0
comments
When 80 Blankets Became 125
April 4, 2020
-
4
comments
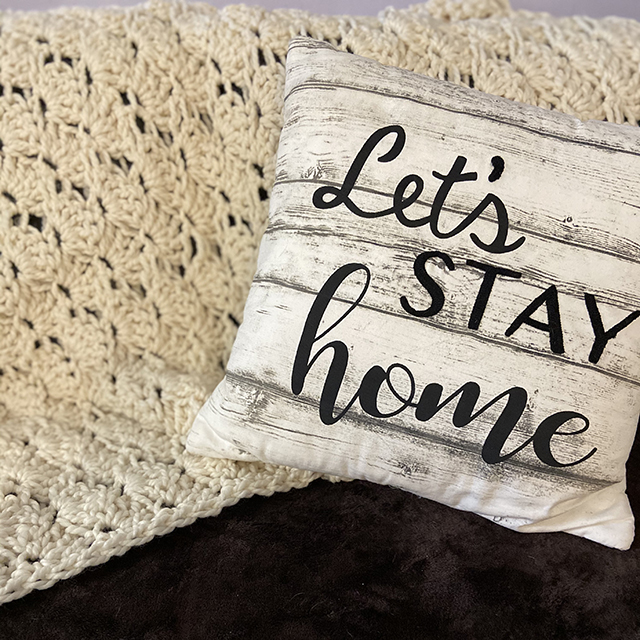
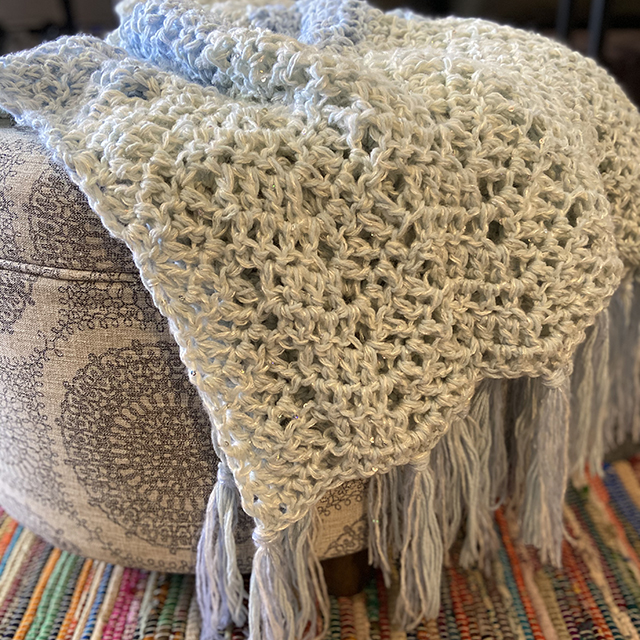
80 Blankets: Piles of Pineapples
April 4, 2020
-
0
comments
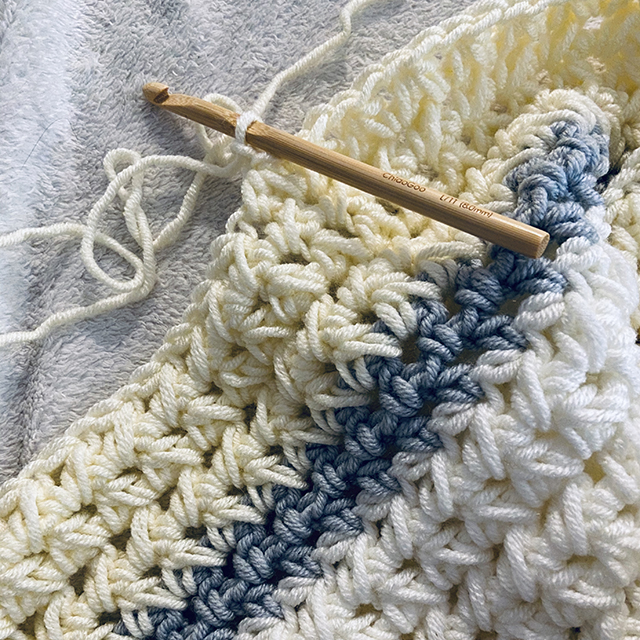
80 Blankets: Sparkling Waves
April 4, 2020
-
6
comments
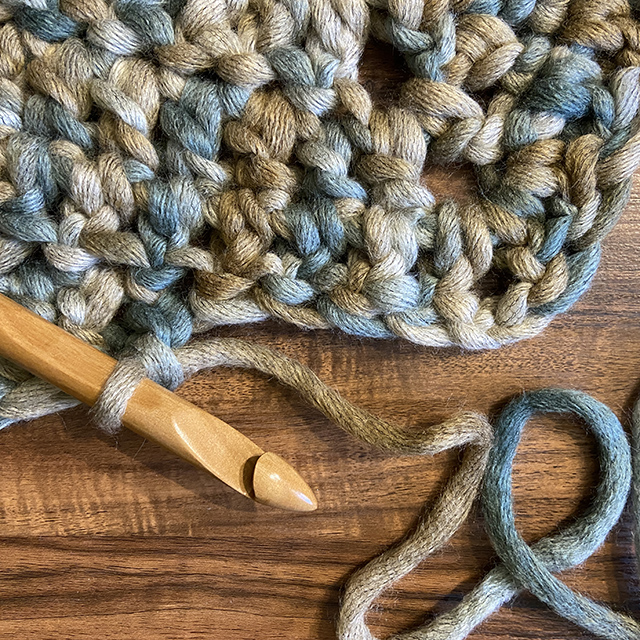
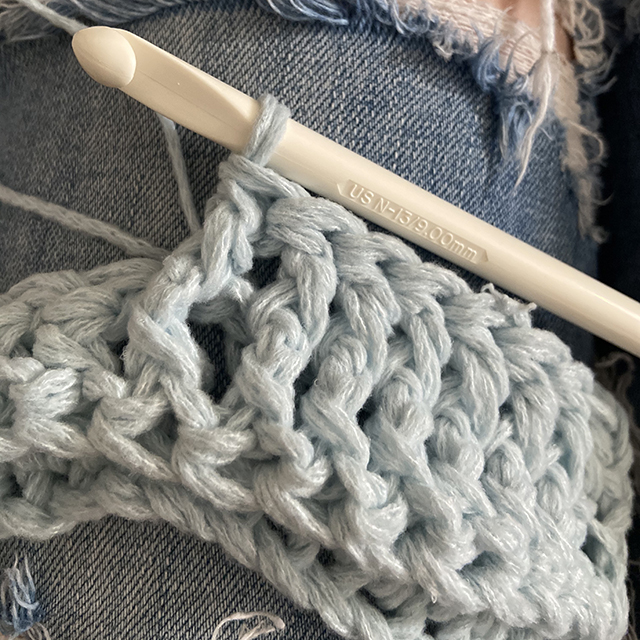
80 Blankets: Speed Hook Crochet
April 4, 2020
-
8
comments
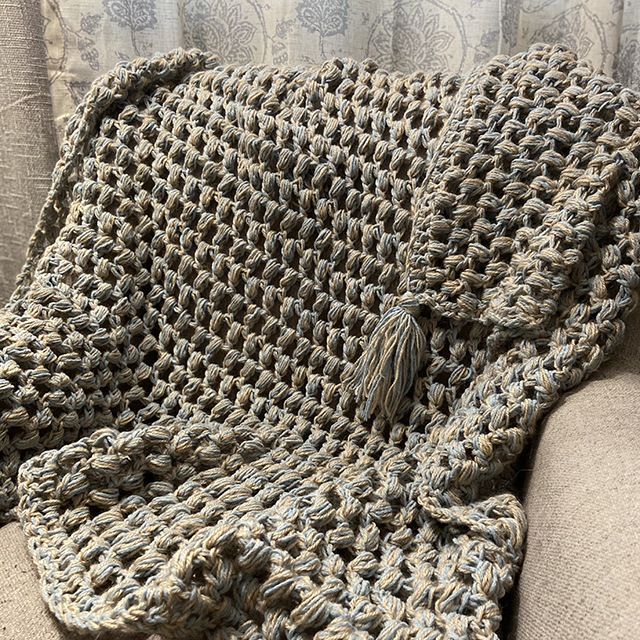
80 Blankets: Paired Half Doubles
March 3, 2020
-
3
comments
80 Blankets: Winter Night Chevrons
March 3, 2020
-
25
comments
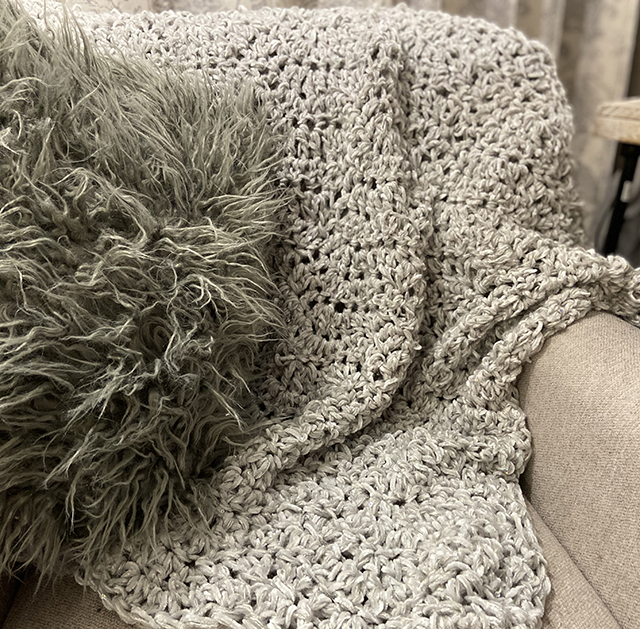
80 Blankets: Double The Butta
January 1, 2020
-
1
comments
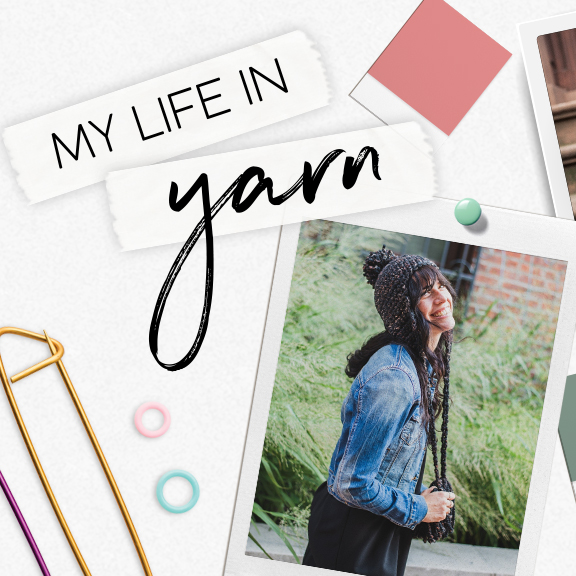
My Life In Yarn
January 1, 2020
-
59
comments
2020 Yarn Color Of The Year: Succulent
July 7, 2019
-
7
comments
5 Ways Knit and Crochet Explain Math and Science
1
2
3
…
38