Hey there crocheter! I hope your hooks and yarn are ready–because we’re kicking off the first piece of the Mystery Make-Along pattern! I won’t be dropping any spoilers here (I’m trying to be good!), but as the days go by I may come back and start posting some WIP pics. So be careful when you…
Read More
#LBYTEMPBLANKET Feel free to personalize your blanket! Change your stitch, swap your colors (or add colors for higher temps if you live in a very warm area. Perhaps Hot Pink and Burgundy?) I like to use the high temperature for the day to determine my color, however, some people prefer low temperature or you can…
Read More
Join Lion Brand and 49 designers and bloggers from seven different countries as we embark on the 2020 “My Life in Yarn” campaign with the Traveling Afghans project! Starting in January, the Traveling Afghans will set sail from NYC and journey to a new designer every two weeks. Each designer will create a 10″x10″ square…
Read More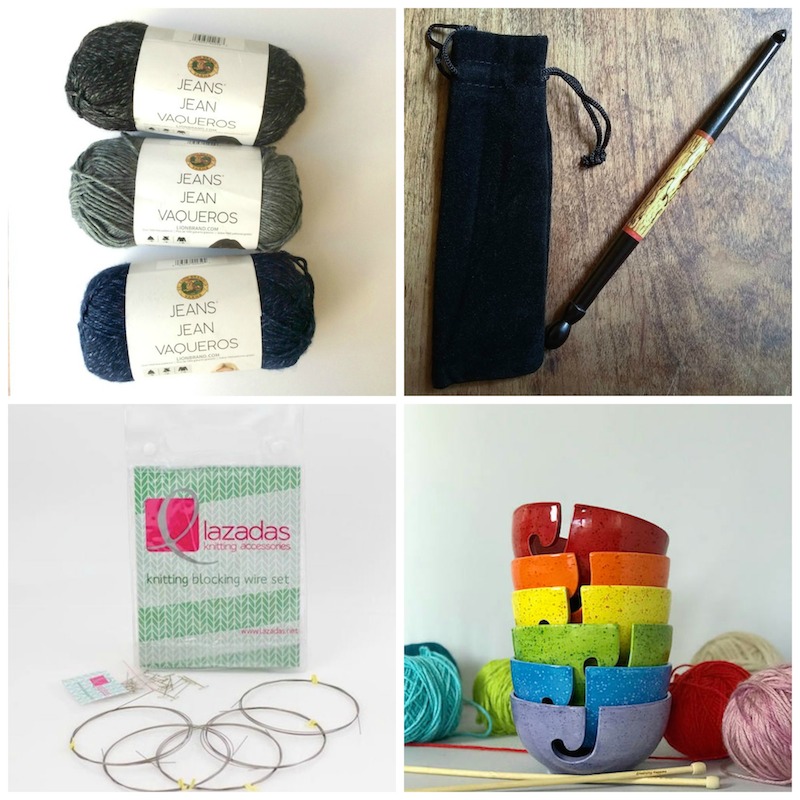
This is Marie from Underground Crafter. I’m excited to be back for the third part of the Phoenix Wrap Crochet-a-Long, a free mystery CAL to make a rectangular shawl in Lion Brand Jeans, one of my favorite soft yarns. If you’re just joining us, you can read the announcement here and get a roundup of…
Read More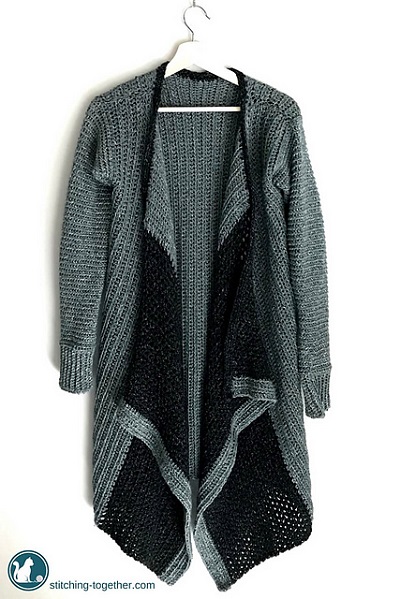
This is Marie from Underground Crafter. I shared a teaser about the Phoenix Wrap Crochet-a-Long last week. To recap, this is a 3-part project where you can make a beautiful rectangular shawl in 3 colors of Lion Brand Jeans (or Jeans Colors). I designed the Phoenix Wrap to meet the donation requirements to Sue Rock…
Read More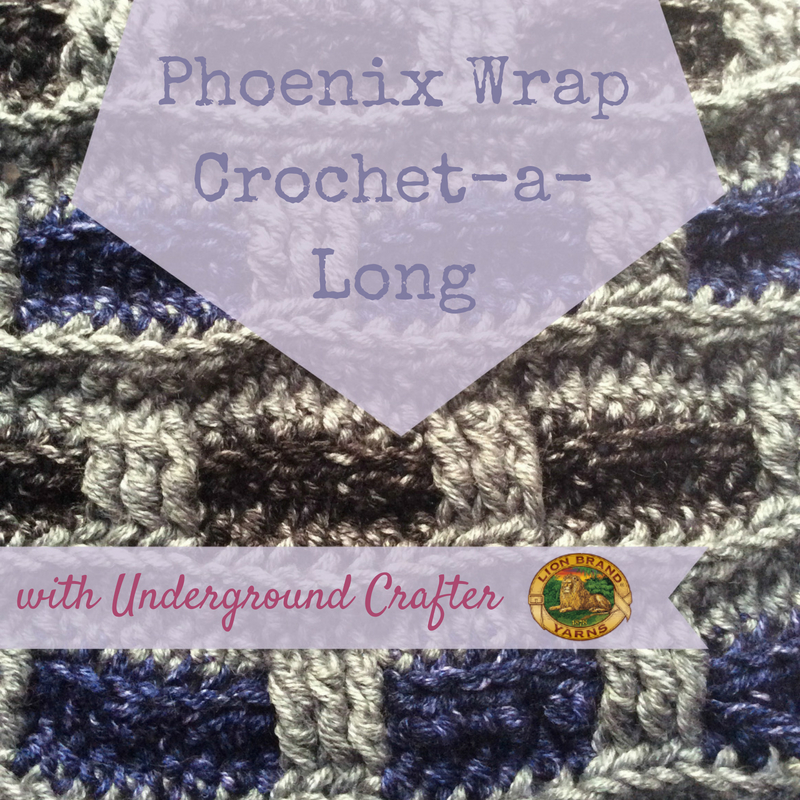
I’m Marie from Underground Crafter and I’m here to kick off the Phoenix Wrap Crochet-a-Long in the versatile and soft Lion Brand Jeans! Why the “Phoenix Wrap”? I designed this pattern in support of one of my favorite charities that accepts handmade donations, Sue Rock Originals Everyone, Inc. This is a local New York City…
Read More
Stitch your way through Super Bowl LII: Patriots vs. Eagles Ladies, there is no need to be bored this year during the Super Bowl! If you’re about to find yourself at a Super Bowl party on February 4th, we have the perfect Stitch Along for you! Knitters and crocheters alike can participate with the game…
Read More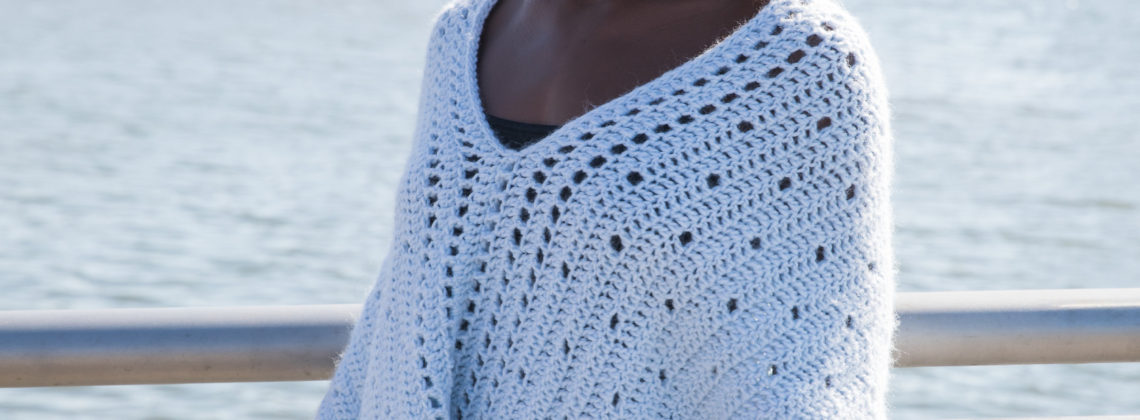
Our favorite crochet piece from our new Fall Winter Style Guide By: Abby and Lindsay When we first started developing this Style Guide we were so excited to create a collection of gorgeous hand knit and crochet pieces that you’ll be dying to add to your closet. Each item in the Style Guide is brilliant,…
Read MoreWelcome to our final post on the Ella Tied Cardigan! I can’t believe it’s over already! It went by so fast! If you are not finished yet (or haven’t even started!), no worries, the posts will always be up and our Ravelry thread is not going anywhere! If you are like me, when you purchase…
Read MoreThank you for joining us in crocheting the Ella Tied Cardigan. Up to this point you have lovely pieces for an Ella Tied VEST! Let’s get some sleeves on this lovely cardi! As you are getting SUPER comfortable with that V stitch by now, there is a danger of tension shifting. Honestly, It can get…
Read More